Tuesday, September 04, 2018

Save The Bees BOM

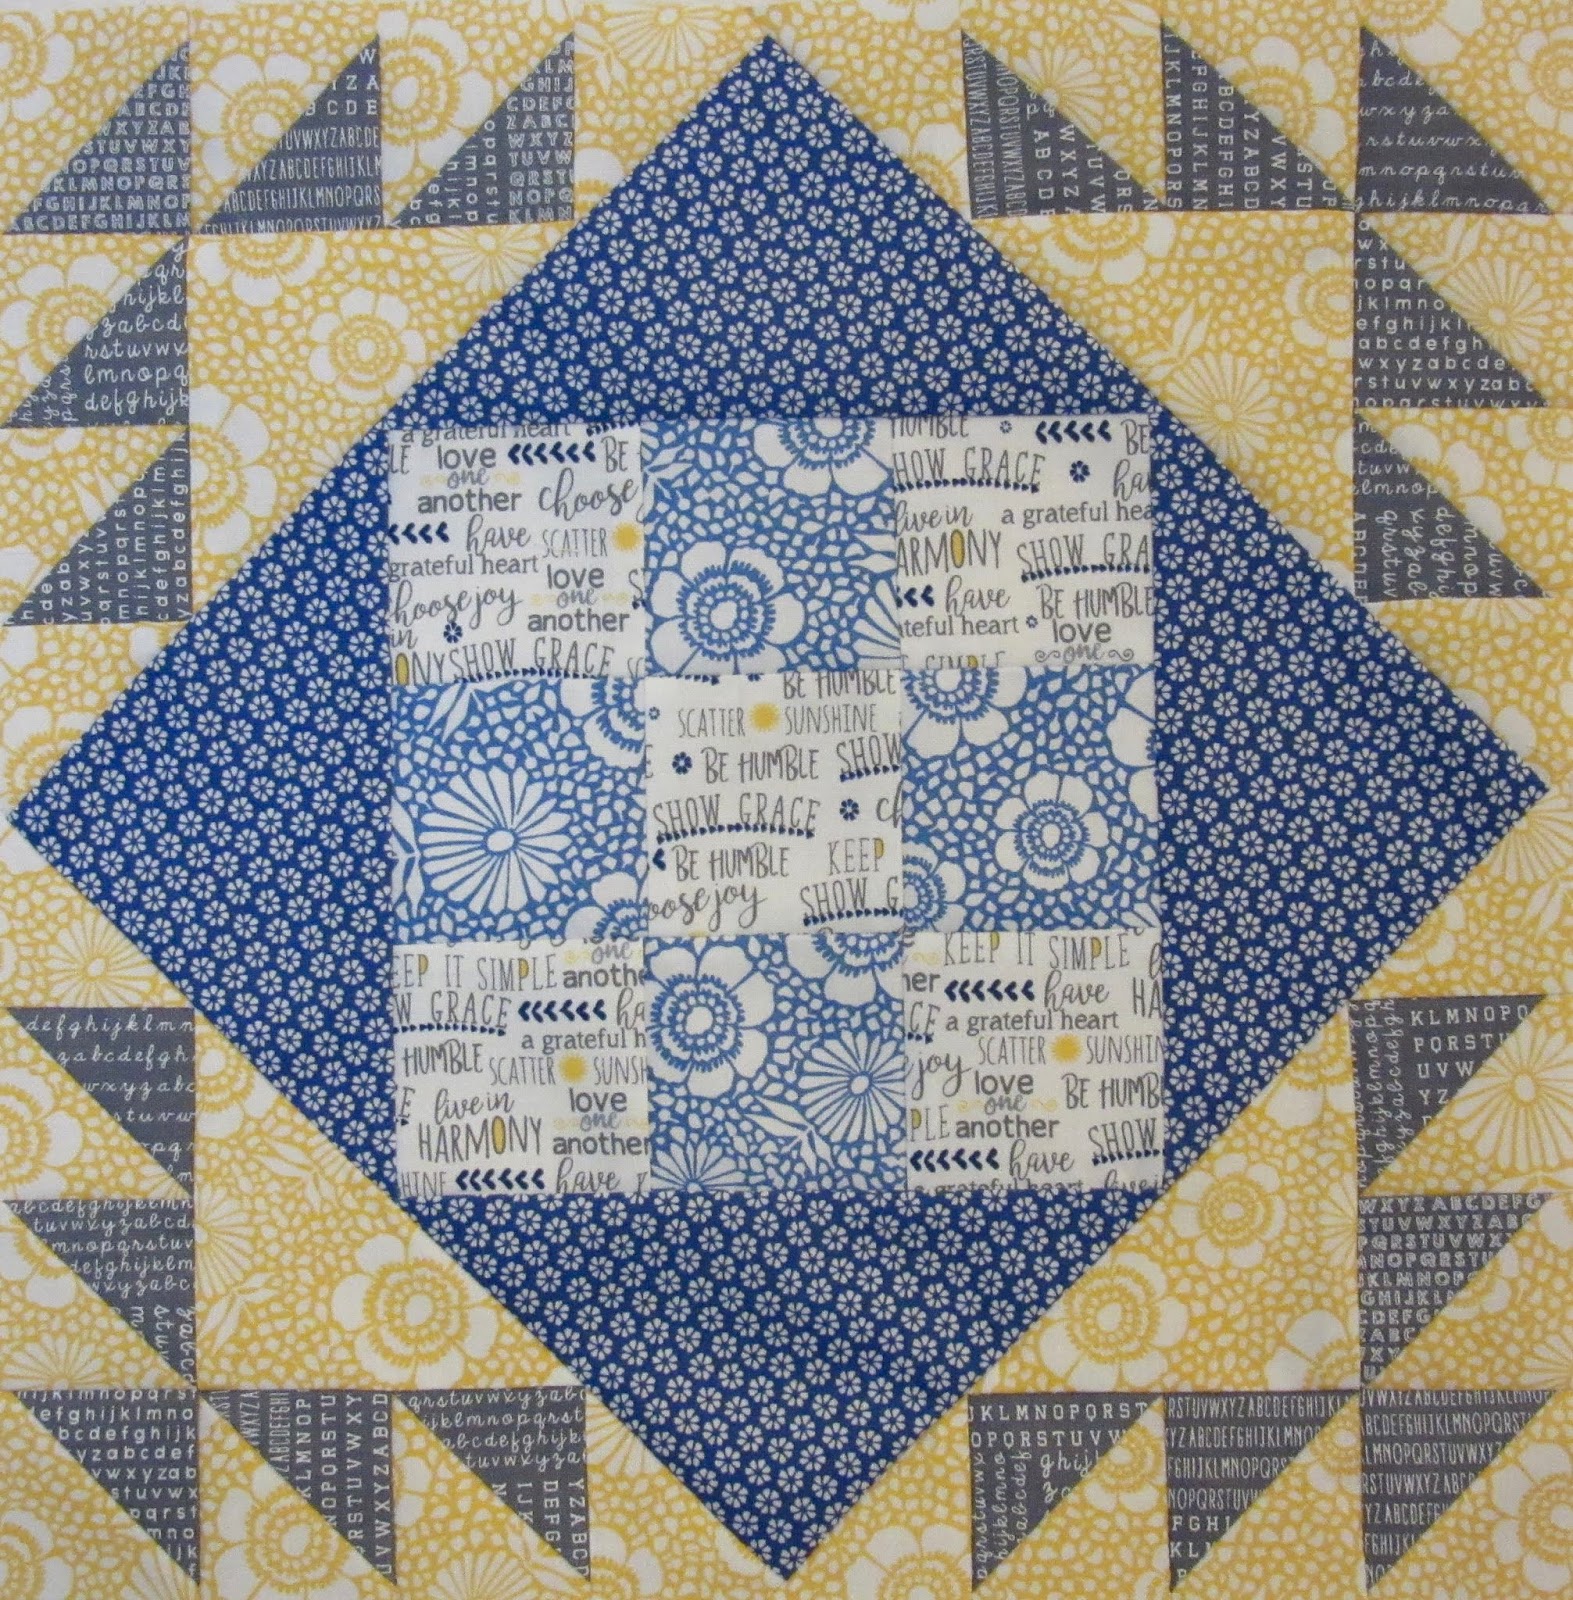
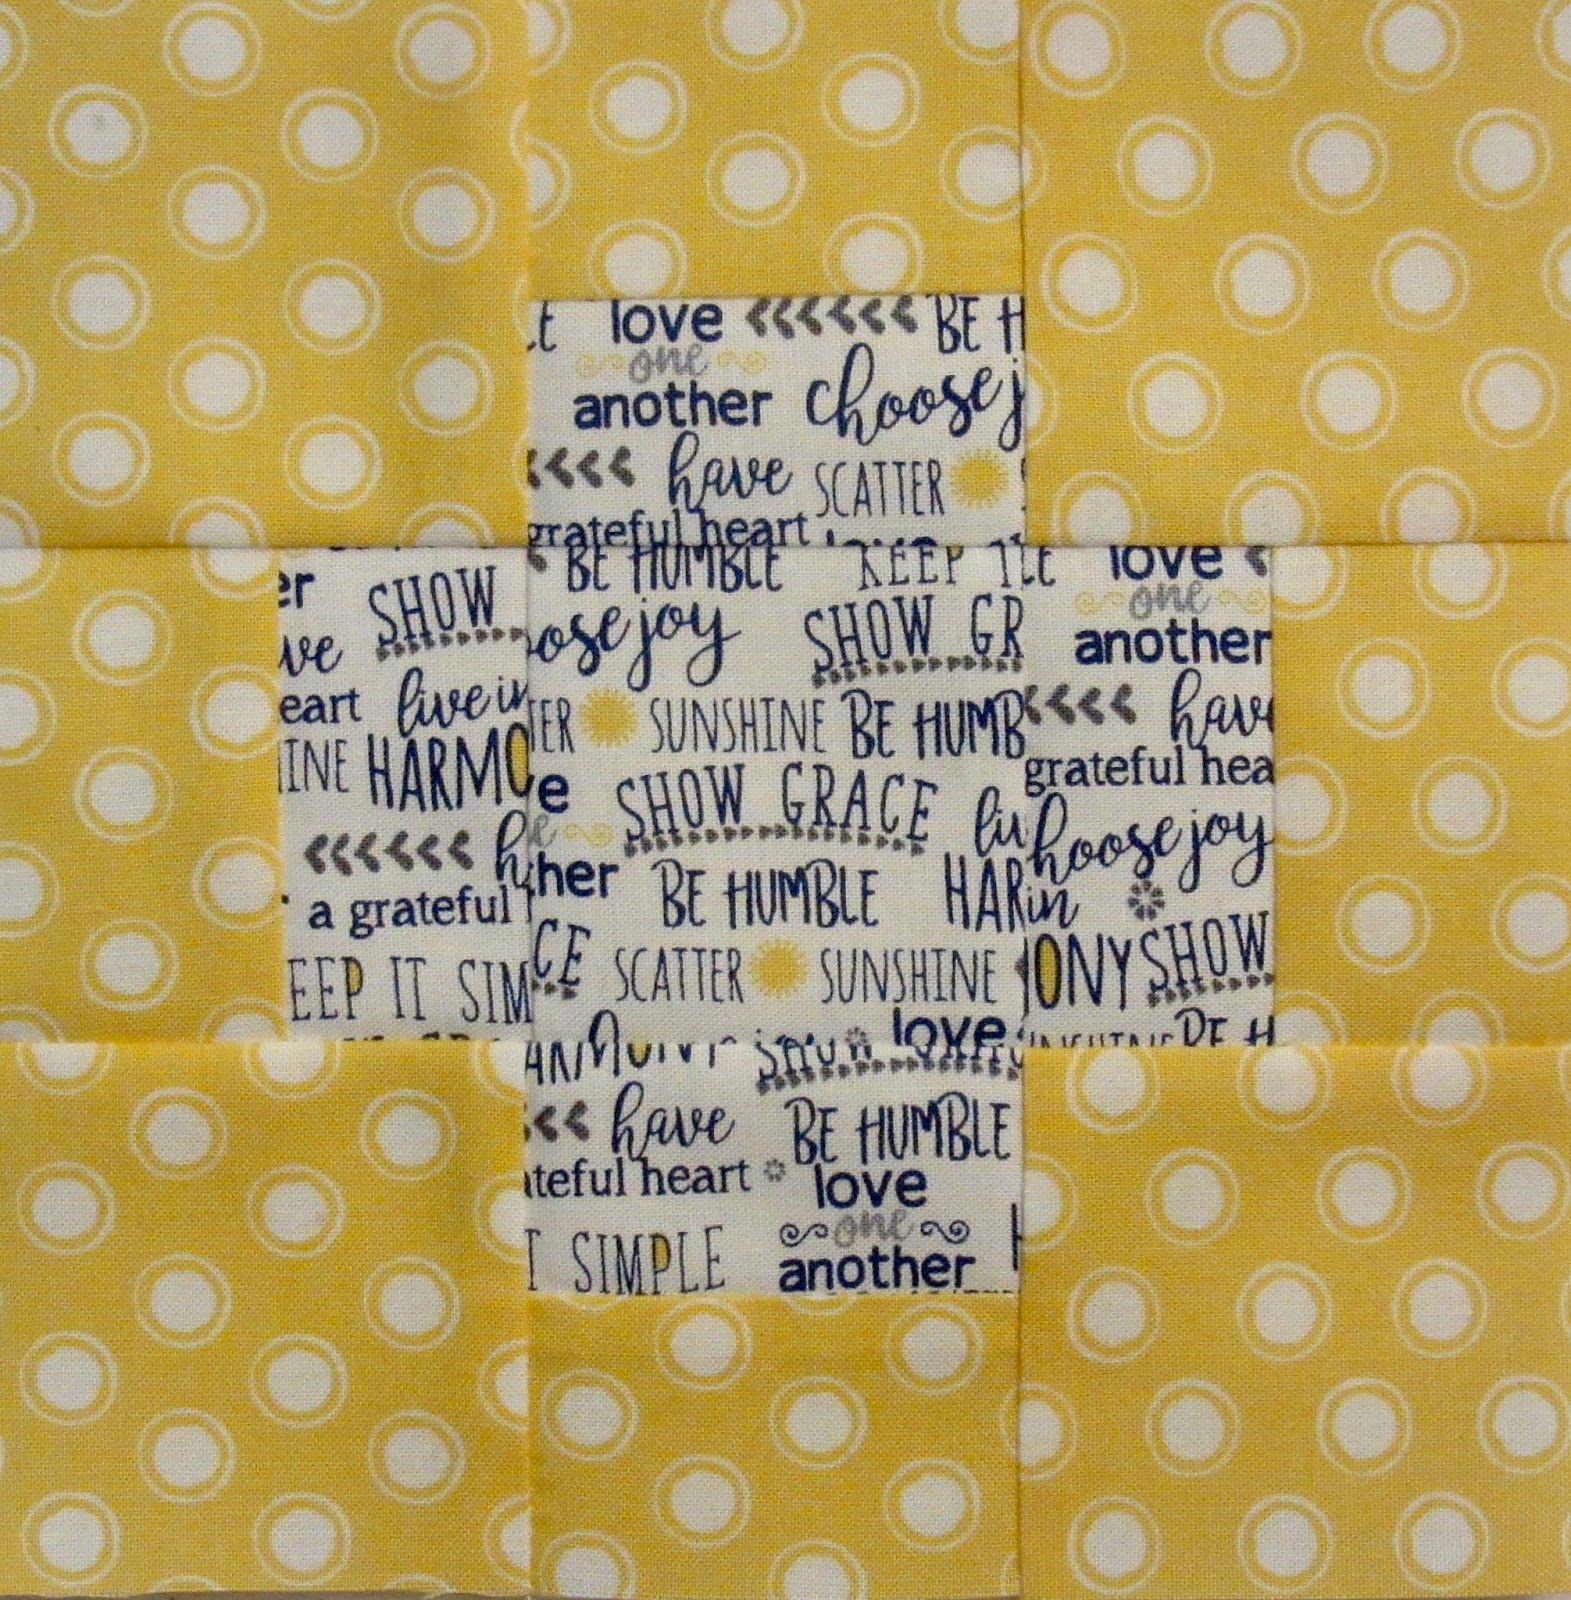
Save the Bees Blocks #1 and #2

Did you enter the draw on yesterday's blog post? Click here if you forgot. We are having so much fun with this project from Jacquelynne Steeves. If you haven't yet, you really must hop over to her site (click here) and watch the video of over 200 versions of Block #1... so amazing! Quilters are just so creative!
The next block pattern will come out at the beginning of October so you have a month to make your block and you can post your photo on the facebook group here.

Linking up to Design Wall Monday over at Small Quilts.

Monday, September 03, 2018

Save The Bees Block #2


The second block pattern for the Save the Bees BOM is being released today. Are you signed up to receive your free pattern? Hop over to Jacquelynne's blog post for all the details.

Here is my version of block #2. You can see I used more of my carefully gathered bee fabrics in this block. I love the cornerstone squares cut from a piece of fabric my friend Debby found. I pieced the border blocks by machine, but the applique was stitched by hand. 
My leaves are very "organic looking", although I think they are a little more uniform than my leaves in block #1
I knew from making block #1 that I like the bee's flight trail stitching, so I hand stitched that with black floss. I stitched it a little too close to the seam, but I'm so glad it didn't get cut off when I added the border blocks!


careful orientation to get the angle just right

When you are making your version of this block, make sure you notice the very important link on page 1 of the pattern to take you to the tutorial to make Half Rectangle Triangle units (or click here to read and learn). 
freezer paper templates to trim the block to the exact size


I have never sewn a block like this before so was very interested in Jacquelynne's technique. I carefully followed the directions and my blocks came out perfectly.

If you want to see more wonderful versions of the bee blocks, visit the Facebook group here. And add a photo of your block when it's finished... we love to see all the creative variations!


Be sure to visit the list of featured bloggers and enter the draws to win this month's prize. What can you win? Each blog has a draw to win a copy of the Carpenter's Apprentice pattern (courtesy of EvaPaige Quilt Designs) and the Clearly Perfect Slotted Trimmers (courtesy of New Leaf Stitches). 

Here's the list of featured bloggers:
To enter my draw just scroll to the end of this post, click where it says 'comments' and tell me how often you eat honey? Are you a daily user or an infrequent user? Do you put it in your tea? In your baking? On your yogourt, cereal or oatmeal?

There will be one prize per person per month, and the draw will close on September 9th. Congratulations to my draw winner last month who was Suzanne (commenter #19)! 
Good luck to everyone entering this month's draw!

Draw is now closed... the winner is commenter #98 ...congratulations to Anita!

Sunday, September 02, 2018

Slow Sunday Stitching - Photo Challenge


Welcome to the weekly party for hand stitching enthusiasts!

This past week I hand stitched 221" of quilt binding in order to finish my August UFO before the end of the month. You can see the finished quilt here.


Part of the hand stitching was done while sitting on this bench. It is one of my favourite places to sit and think and stitch. It's very quiet here, just the sound of the water, with occasional geese and birds flying by.  As summer comes to an end, and the temperatures drop making it more comfortable to be outside, I want to soak up as much outdoor time as possible. 
As you can see, Granddog Max stands guard to make sure that no one walks too close to the stitching.


This gave me an idea for another Slow Sunday Stitching Photo Challenge. We haven't had one for a while and I would love to see where you do your hand stitching when the weather is good.  It would be great if you could take a photo while stitching in your favourite place and put it on your blog post today. What is the view you enjoy in your corner of the world? 

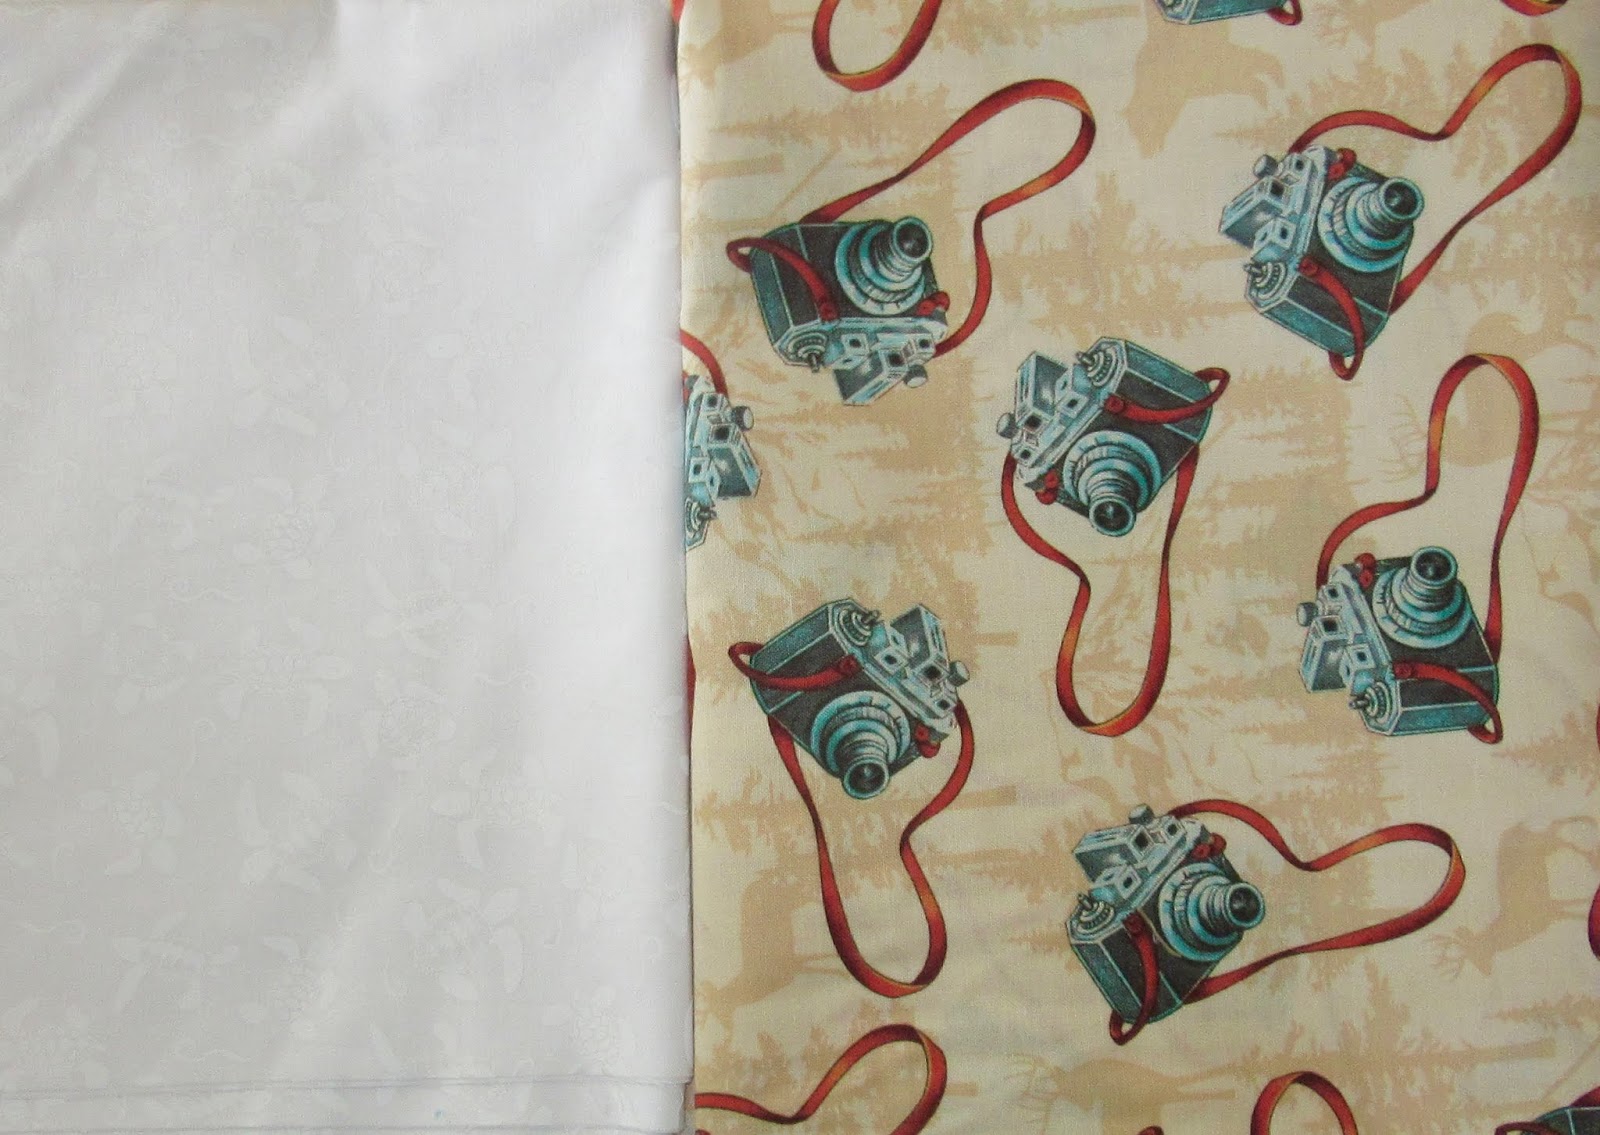
All blogs in the link up with a photo of their stitching place will be entered to win the draw for 2 fat quarters - one fabric is of old fashioned cameras (of course it is... it's a photography challenge!) and the other is a white on white fabric with turtles.

Wait, you can hardly see the turtles... let me try again. 
Can you see them now?
So cute!
Turtles honour the Slow Sunday Stitching motto of taking one step/stitch at a time, savouring any slow progress, and understanding the value of deliberately moving in the direction of your goals.


Link up your blog post below and share your hand stitching  progress with us. And I hope you'll stop by tomorrow to see my second block for the Save the Bees BOM. I'll be finishing the hand applique this afternoon.

   
    An InLinkz Link-up
   

Saturday, September 01, 2018

Scrappy Saturday


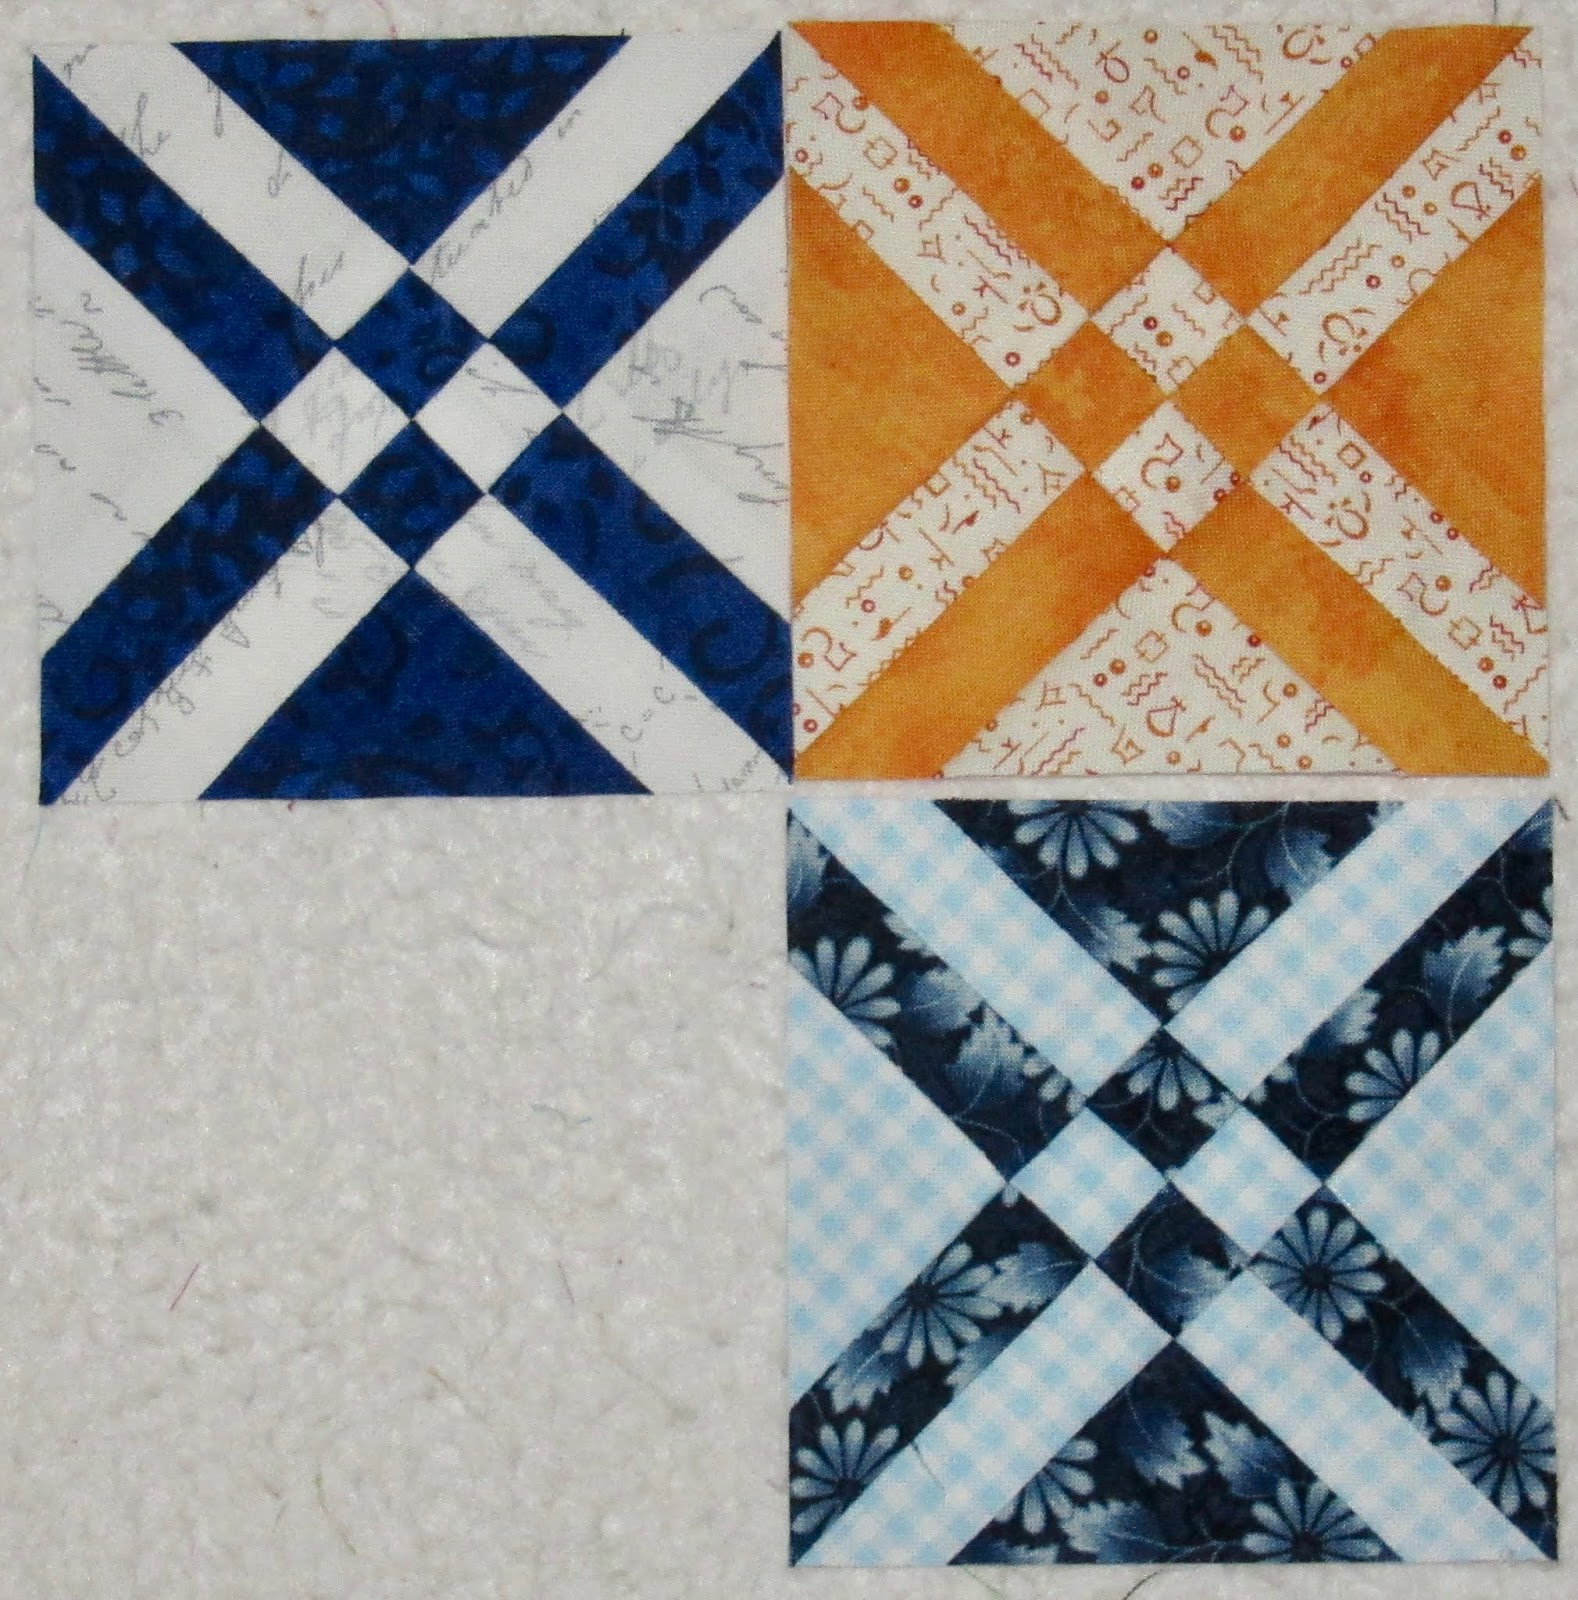
Just a quick post today for the Rainbow Scrap Challenge. It is colour change over day, and we are leaving behind our orange scraps and getting out the dark blue. I have made a couple of mini Arrowhead blocks (you can find the cutting sizes here). These measure 3.5" (finish at 3") and are so adorable I wish I could just keep making more of these. 


But alas, the big reveal for Block #2 for Save the Bees BOM happens on Monday so I need to put the finishing touches on  my block today!

Hop over to the weekly RSC linkup to see what the scrap quilters are sewing today.

Friday, August 31, 2018

Finished Quilt!


It's such a great feeling to finish a quilt!


This was a "pinch hitter" for my originally designated UFO of the month. I am delighted to have this one finished, although I am still looking for the original project of the month. 
This quilt was started at the 2017 Superbowl party, so that's about a year and a half from start to finish, which is a pretty quick turnaround time for me!


I used several different quilting designs on this quilt and you can read more about the machine quilting here. I'm happy that the curvy diagonal lines can be seen in this photo!


The quilt pattern is by Kris Driessen of QuiltBug and was for a square quilt. I added two more rows, and sashing to make it a lap quilt and the finished size is 47" x 63.5".
The border, binding and backing were all made from  this fabric. 
This quilt is being donated to Victoria's Quilts, a Canadian organization providing comfort quilts to cancer patients
This quilt isn't the right size for Victoria's Quilts, so it is being donated to the comfort quilt collection at my local guild.

Thursday, August 30, 2018

Gift Project

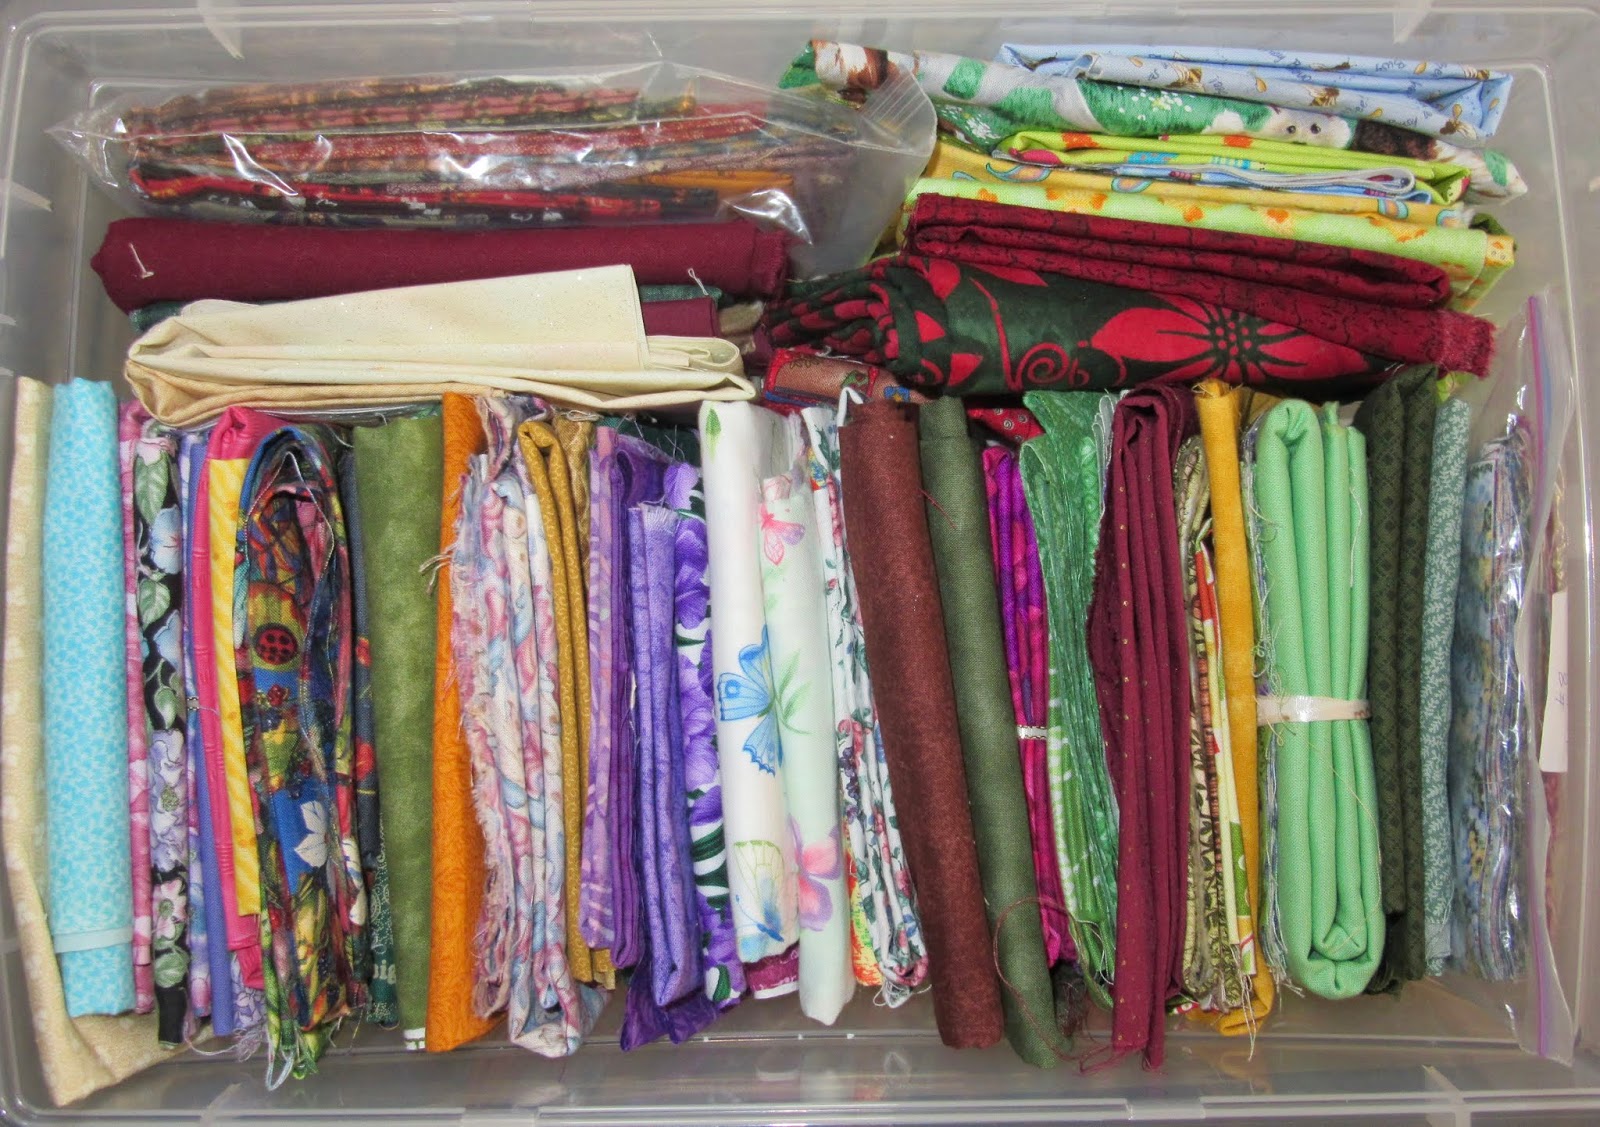
Last week I received an amazing box of fabric that was gifted to me by the family of one of my former quilting students. She recently passed away and her family thought I might like to have some of her fabric stash. This was such an unexpected surprise and I felt honoured to receive this gift.
Helen was such a lovely person and always a delight to have in my quilting classes. She had an infectious giggle and although she didn't say much in class, she always had a twinkle in her eye and a desire to learn new things. You can see her right in the middle of the group at a beginner's quilting class I taught in 2010 at the senior's centre. 


Here is the collection of fabric I received. It has been unpacked and resorted several times. A few pieces have been cut into and shared with friends for their special projects. That makes me so happy and would make Helen even happier!😊


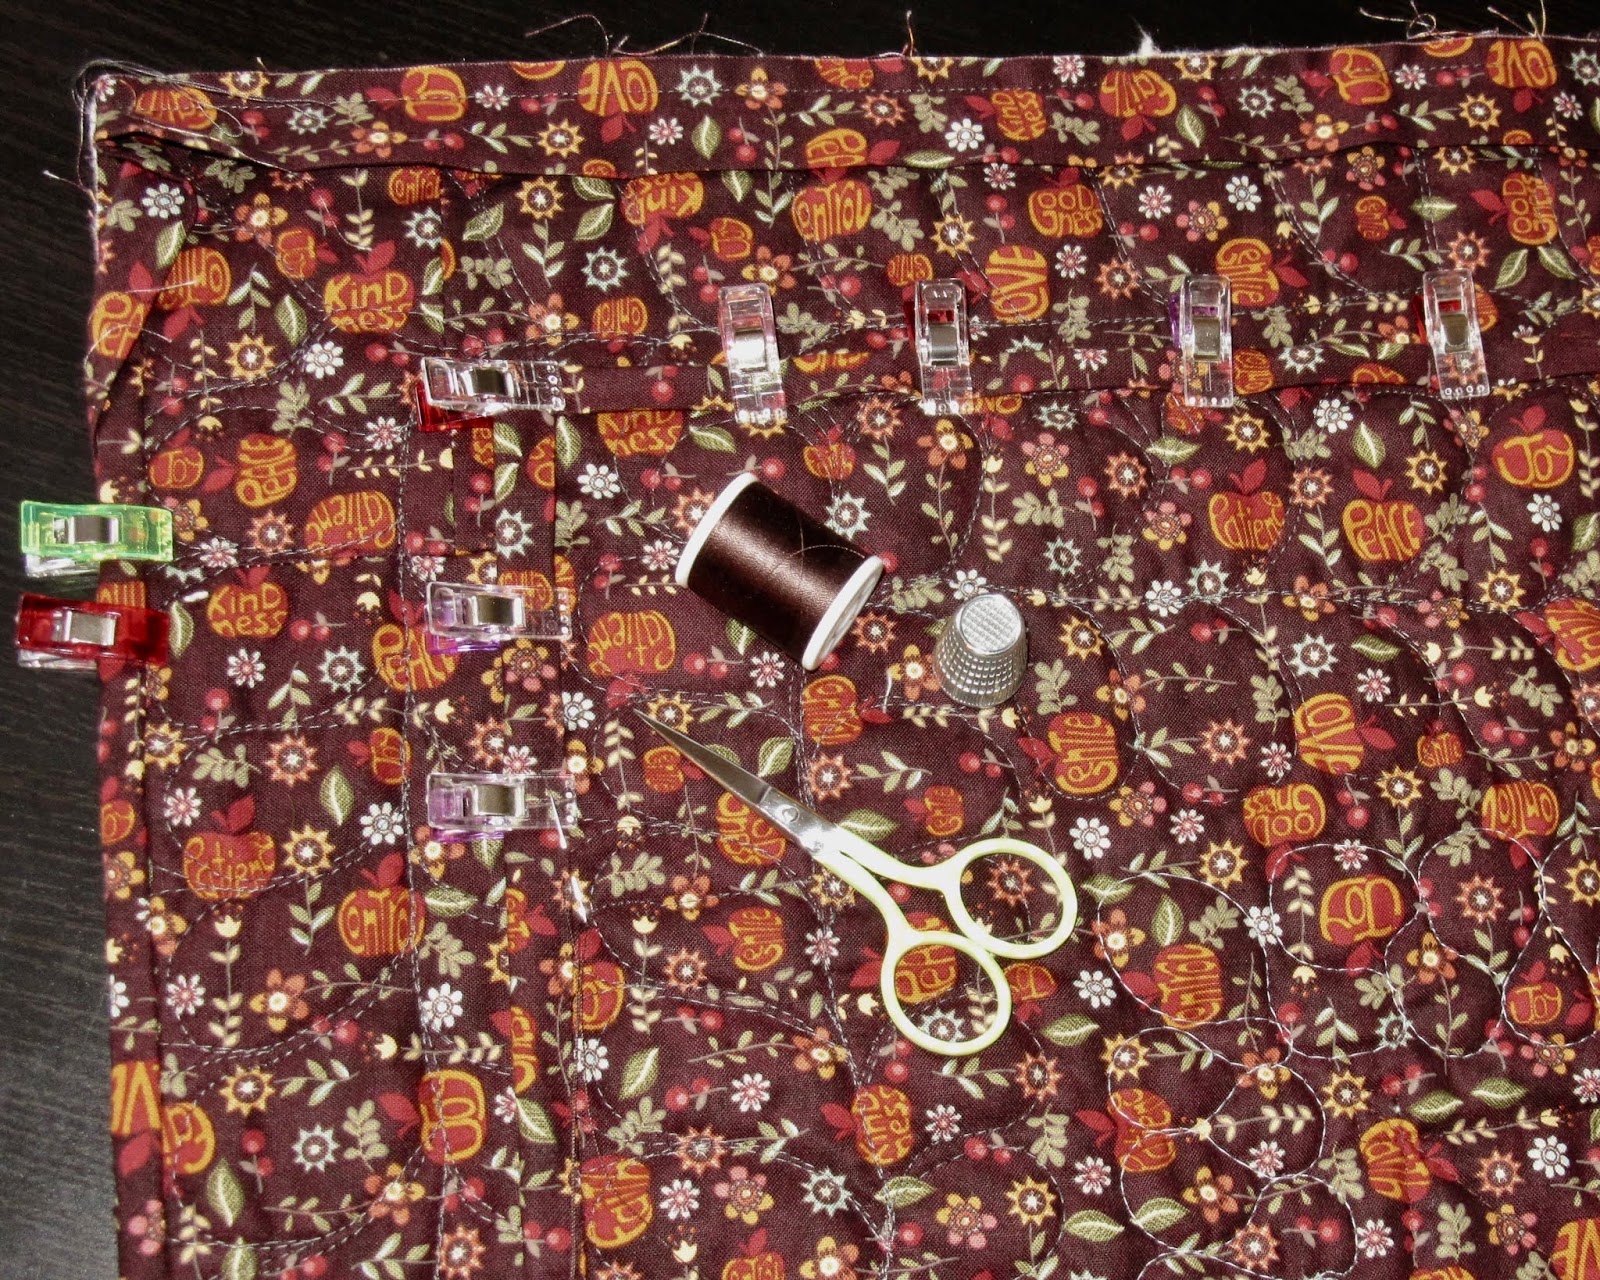
Also in the box was a tablerunner kit from a store in Erin that has been closed for several years. I just had to open the kit and start on it right away. All other projects got pushed aside while I sewed the 4 courthouse steps blocks, added borders and started pin basting the tablerunner.

I have been listening to this song while quilting this project and thinking about the ways in which a person's energy continues on after they die through all the things they leave behind ...  quilts, fabrics, children, memories, and wonderful stories.

Wednesday, August 29, 2018

Machine Quilting Feet

The machine quilting of my August UFO is coming along well. I have used 4 different feet on my sewing machine for various types of quilting on this project.

1) Walking foot: this is used for all boring straight line quilting. Mostly I use it at the beginning of quilting a project, and I stop using it when I am bored with straight lines. Usually quilters use it for "stitch-in-the-ditch" but interestingly I haven't done any ditch quilting on this project. I do try to avoid it if possible. Besides being boring, it's too hard to actually get the stitches in the ditch.
Don't look at how filthy my machinger gloves are!


2) Free motion darning foot: this foot is great for stitching wavy lines. This particular version is a really old type of quilting attachment, but I still use it regularly because it mashes the quilting area flat, reducing the likelihood of excess fabric bubbling up in front of the needle. This can be a problem especially as you approach lines that have already been quilted. If you are an avid machine quilter you have probably experienced that many times before. 

3) Convertible free motion open toe foot: this is a Janome attachment but it works perfectly on my Brother sewing machine. In the narrow border I quilted a ribbon candy design that I had seen on one of Angela Walters' videos. This design requires you to be able to see the needle so this is the best quilting foot for this type of design. 


I thought for quite a while about whether the loops should "kiss" each other or overlap. First I practiced on paper and on a quilt sandwich, and decided the kissing version might be easier to stitch. But just in case it didn't go well, I used a light grey thread so it would blend in with the fabric.
It took about an hour and a half to stitch the ribbon design. It ended up mostly looking terrific, so then I was disappointed that I hadn't used a contrasting thread colour so the ribbons could be more visible! I will definitely be using this design more in the future.


4) Convertible free motion 1/4" ruler foot: I decided to quilt feathers in the last border because I haven't quilted them in a long time and they are so much fun.
This photo shows how I quilted all the feathers on the left of the spine around the whole quilt, and then came back to the beginning to quilt the feathers on the right side of the spine. You can't really see the needle well using this foot, but that's okay because when you are quilting feathers, "close is good enough".

That's where things are at today. I just have to finish the feather quilting, and get the binding on before Friday. Barring any disasters between now and then, that is totally doable!


The ribbon and feather designs are quite thread intensive and I finished off the cone of brown thread that was used in the 3 bobbins. This is the jar where I store my empty Aurifil spools, and it's almost full which means I've been doing a lot of sewing! 
That's a good thing!

Tuesday, August 28, 2018

A New Log Cabin Project

A new little log cabin project has begun. It started with using up the sunflower strips which measure 1.25" and were found in a scrap bag. I just kept adding autumn  colours and now there are already 4 blocks sewn. This is my new "no brainer project" as it requires no pre-cutting, just sewing and chopping off pieces as desired. See the red around the block on the bottom right? There are 4 different red scraps in that round. The blocks are not coming out to exactly the same sizes and I'm okay with that!
Linking up with the other log cabin loonies over at Julie's!

Monday, August 27, 2018

Working with chocolate on the design wall


Work is continuing on the improv project made from leftover pieces of the Square Dance mystery. You can see the first block I made incorrectly here. And here are the correctly made blocks. There were enough scraps to make 9 chocolate windmill blocks, which wasn't quite enough to make a lap size quilt.

How about adding some sashing from the leftover 10" squares? I liked the idea, but not those butterscotch/caramel pieces which drew all the attention to themselves. I did not like the horizontal sashing at all and went with only vertical sashing.


I decided to use the dark chocolate fabrics and cut the sashing 3.25" wide (so I could get 3 pieces from each 10" layer cake square).
Then the border was made from the lighter fabrics cut to 5" (so I could get 2 pieces from each layer cake square).
This is how it looks on the design wall today. I'm thinking of adding another wide brown border to make it a slightly larger size to be a lap quilt. And wouldn't this be a great donation quilt for a fundraiser, with a big basket of chocolate... real chocolate, not fabric chocolate!
Hop over to Small Quilts to see more design wall postings.

Sunday, August 26, 2018

Slow Sunday Stitching


Hello stitcher! Welcome to the weekly hand stitching party where we hope you will get lots of inspiration and encouragement to help you on your stitching journey!

Progress is continuing on my Life Is Beautiful project. I am working my way through the stack of prepared blocks that I pin basted earlier in the summer. Here is the most recently finished block. I start in the centre and quilt the horizontal and vertical seams out to the edge of the block. Then I quilt around the appliqued circle, and lastly quilt around a traced circle. Also I decided to baste around the edge of each block which will make it easier when it's time to join the blocks together in the quilt-as-you-go style.

This block will now join the pile of the other quilted blocks in the freezer. That's quite a stack of finished blocks! 
Yes, I do store quilt blocks in the refrigerator (another photo here). It's the perfect quilting storage unit with lots of shelves and air movement to keep the fabric fresh, with no light to damage fabrics over time/years.
What do you use your refrigerator for?!?! LOL 
I just got an idea to have another photo challenge, so watch for that next week.

What are you working on today? Link up your blog post below and share your hand stitching projects with us.


    An InLinkz Link-up
   

Saturday, August 25, 2018

Scrappy Saturday


It's the last week for sewing orange scraps over at the Rainbow Scrap Challenge and a new colour will be announced this week. So I had to get my August Squared Away sampler blocks finished up. This block is a 1935 pattern called "State of Georgia" and the instructions can be found here.


I will add these four blocks to my other 28 blocks. Here they are on the design wall. 
Such a fun project!


And while I had the orange scraps out, I just had to try a mini version of Anita's Arrowhead pattern (see my post about the 9" blocks here). This is the 3.5" version... so darn cute! I think I just started a new RSC project that will take me another 10 years to finish! UGH and YAH!
To see more RSC projects, hop over to the weekly linkup.
Also linking up to Oh Scrap!

Thursday, August 23, 2018

Aurilfil DOM 2018


The August Aurifil DOM (designer of the month) is Rebecca Bryan. Her block is called "Rooftops of Amsterdam" and involved a lot of cutting and sewing of small pieces ... which is my favourite thing to do! 


There are 49 pieces to be exact!

Some of those black rectangles were pieced from scraps, and I was intent on using up my smallest bits!  😁


Here is my finished Amsterdam block. It was really fun to sew and no seam ripper was used in the construction process. It went together perfectly.


Here are all the Aurifil blocks on the design wall. I'm missing a few blocks in this year's series... one block I'm still working on, and two patterns I will replace when I find ones I like more. 

Wednesday, August 22, 2018

New Project


I attended another wonderful mystery class with Deb Beirnes. Remember I told you about her last month? Click here for the reminder.  Deb is a quilt teacher extraordinaire who plans a project, picks out and CUTS the fabric, teaches how to make the quilt, AND makes the students a lovely meal?!?  She fills up our tummies and our hearts! This is a cute photo of Deb before the big reveal of the project at our last class.


Here is the fabric pile that each student received at the beginning of the class.
Total deliciousness in blues.
The strip across the middle is for the binding. Yes... the binding is all ready and waiting to be applied, so get sewing!
In this class we learned how to make Anita's Arrowhead blocks. You can download the free pattern here if you want to give it a try. We used 8" squares, but you can also make it using 10.5" squares for a bigger block.

As the class went along I made a couple of major errors. I blame my fellow students for their hilarious chatter which was distracting me! This was a huge error and not even close to how it should be cut. At the time I was really frustrated with myself but the photo sure makes me smile!


This photo also makes me smile because unknowingly I wore a blouse that perfectly matched the mystery project! 
What are the chances of that?!?
Here I am sorting the squares and matching a light with a dark.


The sewing machine I took to the class was Lucy my 1953 long bed 301 Singer. She enjoyed the outing as much as I did and had a great workout, making a consistently perfect stitch all day even though she is 65 years old and is technically old enough to retire! 


first 4 blocks

I forgot to bring my camera to the class (serious blogger infraction) so the photos are courtesy of my friend Debby. Here are my first 4 blocks, which I couldn't wait to sew together. There are a few seams to match in joining the blocks, but they went together quite easily.
I love this project so much that I intend to increase the size of the quilt exponentially using blues from my stash. And I'm also thinking of how the math might work out to make miniature blocks...  so fun!

Thanks once again to Deb and my fellow students for a wonderful day!

***I found the link to directions for all block sizes! You just know that I'm going right to the sewing room to experiment!
https://makeitsimpler.blogspot.com/2013/07/anitas-arrowhead-quilt-block-in.html

Linking up to Sew Fresh Quilts!

Tuesday, August 21, 2018

UFO Problem of the month

Yes I know... I haven't posted anything about my UFO of the month. I usually do a mid month report, but I can't find it! Seriously. Stop laughing! I put it in a safe place. It's in a very safe and confidential location. 
I haven't finished a quilt all summer and have been feeling self imposed pressure to finish something. Anything. 
So I decided to do a last minute substitution, kind of like a pinch hitter in baseball. In the UFO closet I found a mystery quilt called "Ghosts and Mosts" from last year's Super Bowl mystery.
Basting was quick and easy with my favourite Kwik Klip tool which lifts and holds the pins steady in order to easily close them.

The free motion foot is on my sewing machine and (as usual) I started by quilting horizontal and vertical stabilizing lines through the sashings. Then I started stitching diagonal lines. 
So far so good.
There are almost 2 weeks left in August so there might be a finished quilt this summer after all!

Monday, August 20, 2018

Blockheads II

Block #10 Ducks and Ducklings


I am finally (momentarily) caught up with this BOW. This is block #10 by Jo Morton called "Ducks and Ducklings". The 12" pattern had a blank 6" square in the middle, so I put a 9 patch block in there.
This block has a lot of bias edges and triangle points to strive to keep with accurate piecing, so I'm very happy with how it turned out.


Block #11 Direction


Then I sewed 2 of the 6" blocks.

First was this little block by Sherri McConnell called Direction. It was fun to sew and has a partial seam. 


Block #9 With A Plus


And lastly I sewed the With A Plus block by Laurie Simpson. I used 2 of my favourite fabrics from the Harmony fabric collection. I could see a whole quilt made from this block... uh oh... Squirrel!


And here are all 11 blocks on the design wall... it really feels like a great accomplishment to be keeping up with this project!

To see more design wall postings, hop over to the link up at Small Quilts.

Sunday, August 19, 2018

Slow Sunday Stitching

Welcome to the weekly hand stitching celebration! If you enjoy creating hand made projects with needles and threads, you have come to the right place!


Last week I visited a cottage with some friends and enjoyed one of those perfect summer days. It was not too hot or humid, with a clear blue sky and a soft breeze... perfect slow stitching weather! This is the chair I was sitting in, enjoying the beautiful summer day, chatting with friends, and hand quilting another Life is Beautiful block. Isn't it fun how the red in the quilt block matched the chair and the flowers!?! It was such a great weekend... except for the terrible case of poison ivy I came down with the next day. I have no explanation for how that happened!


tabletopper made of 100 yoyos

In the middle of the kitchen table at the cottage, was a beautiful scrappy yoyo tabletopper.
I tried to conjure up ideas of who this hand stitcher might have been, who was it that cut these circles from lovely fabrics and made them into this sweet project. The fabrics  seem to be from the 1930's and 1940's, but are they reproductions or originals? I wondered which scraps were her favourites?  And I wondered why did she add the organized 2 colour solid yoyos around the outside edge when the inside was random scrappy? So much to ponder! 

Of course I had to turn it over and look at the back to see how it was made. Look at the size of the joining stitches! And the thread that was used was very thick with lots of big knots. 
There were a couple of places where the threads joining the yoyos had let go. I wondered whether I should go ahead and repair it, since I had the thread, the tools and the interest? 
But it wasn't mine to alter, so in the end I decided to leave it as it was, and hope it will still last for years to come. 


I went back to my own stitching project, enjoying my random thoughts about the maker and the project. Later I said to my friends "Isn't that tabletopper on kitchen table so lovely"?  They responded with variations of "What tabletopper?" and "I didn't notice anything on the table." 
These people are not my stitching tribe!
YOU are my tribe! 

What are you hand stitching today? Please share your creative projects with us and add your blog post or instagram photo link below. 


    An InLinkz Link-up