Showing posts with label Classes. Show all posts

Monday, August 21, 2023

Design Wall Monday

Last week I treated myself to a little getaway with my sister. We took a class at Cherished Pieces to make bargello table runners. 

I took Elsie to the class and even though she is now 72 years old she did a great job sewing all the strips and seams. I put a piece of masking tape to the right of the needle to help with the 1/4" seam accuracy and it worked perfectly. I did notice that her wiring is a little crumbly and needs replacing, so I will look into that some day.

I bought a Christmas kit and enjoyed just showing up to the class with everything precut for me! Here are my labelled columns.


Here is my sister working on her project. She brought strips from home in blues and browns to match her home decor. I think it's looking great!


Here is my pieced runner on the design wall beside the Evergreen mystery that I posted about last week. 


You'd think it's Christmas time around here with all these festive projects on the go. But nothing is actually finished, so I must get motivated to do some quilting and finishing.


On the way home from the class, we saw a gorgeous field of sunflowers and I couldn't resist stopping for a photo. This whole day  made me ridiculously happy - sister time, a quilting class, and sunflowers - what could be better?!?

Linking up to Design Wall Monday over at Judy's

Monday, May 01, 2023

Krista's Diamond Ruler Class

On Saturday I attended a virtual workshop on the design possibilities of a 60 degree ruler with Krista Moser. It was fantastic! 

I hadn't taken a quilting class for about a year and I forgot how much I enjoy being able to stay at home to learn (no commute), wearing my pyjamas, having all my supplies and equipment around me, and seeing everything perfectly. Krista was an excellent teacher, so I learned some teaching tips from her as well as her many quilting tips.


I was "in the zone" as they say! Cutting fabric and sewing and being constantly amazed at how everything lined up perfectly! I can't say enough good things about her specialty ruler. It was pricey and I'm not one to have all the gadgets and rulers, but this one is well worth the investment and I am sure I will get a lot of use out of it.


We made many different complex blocks with lots of bias seams, and Krista shared her tips about how to handle and sew pieces to reduce bias issues. You have to take a class with her to decode why I took this photo to remind me of a few of her tips.


I am telling you, I barely had to use pins and my blocks were practically perfect most of the time! I can't even believe it! I felt like something magical was going on!


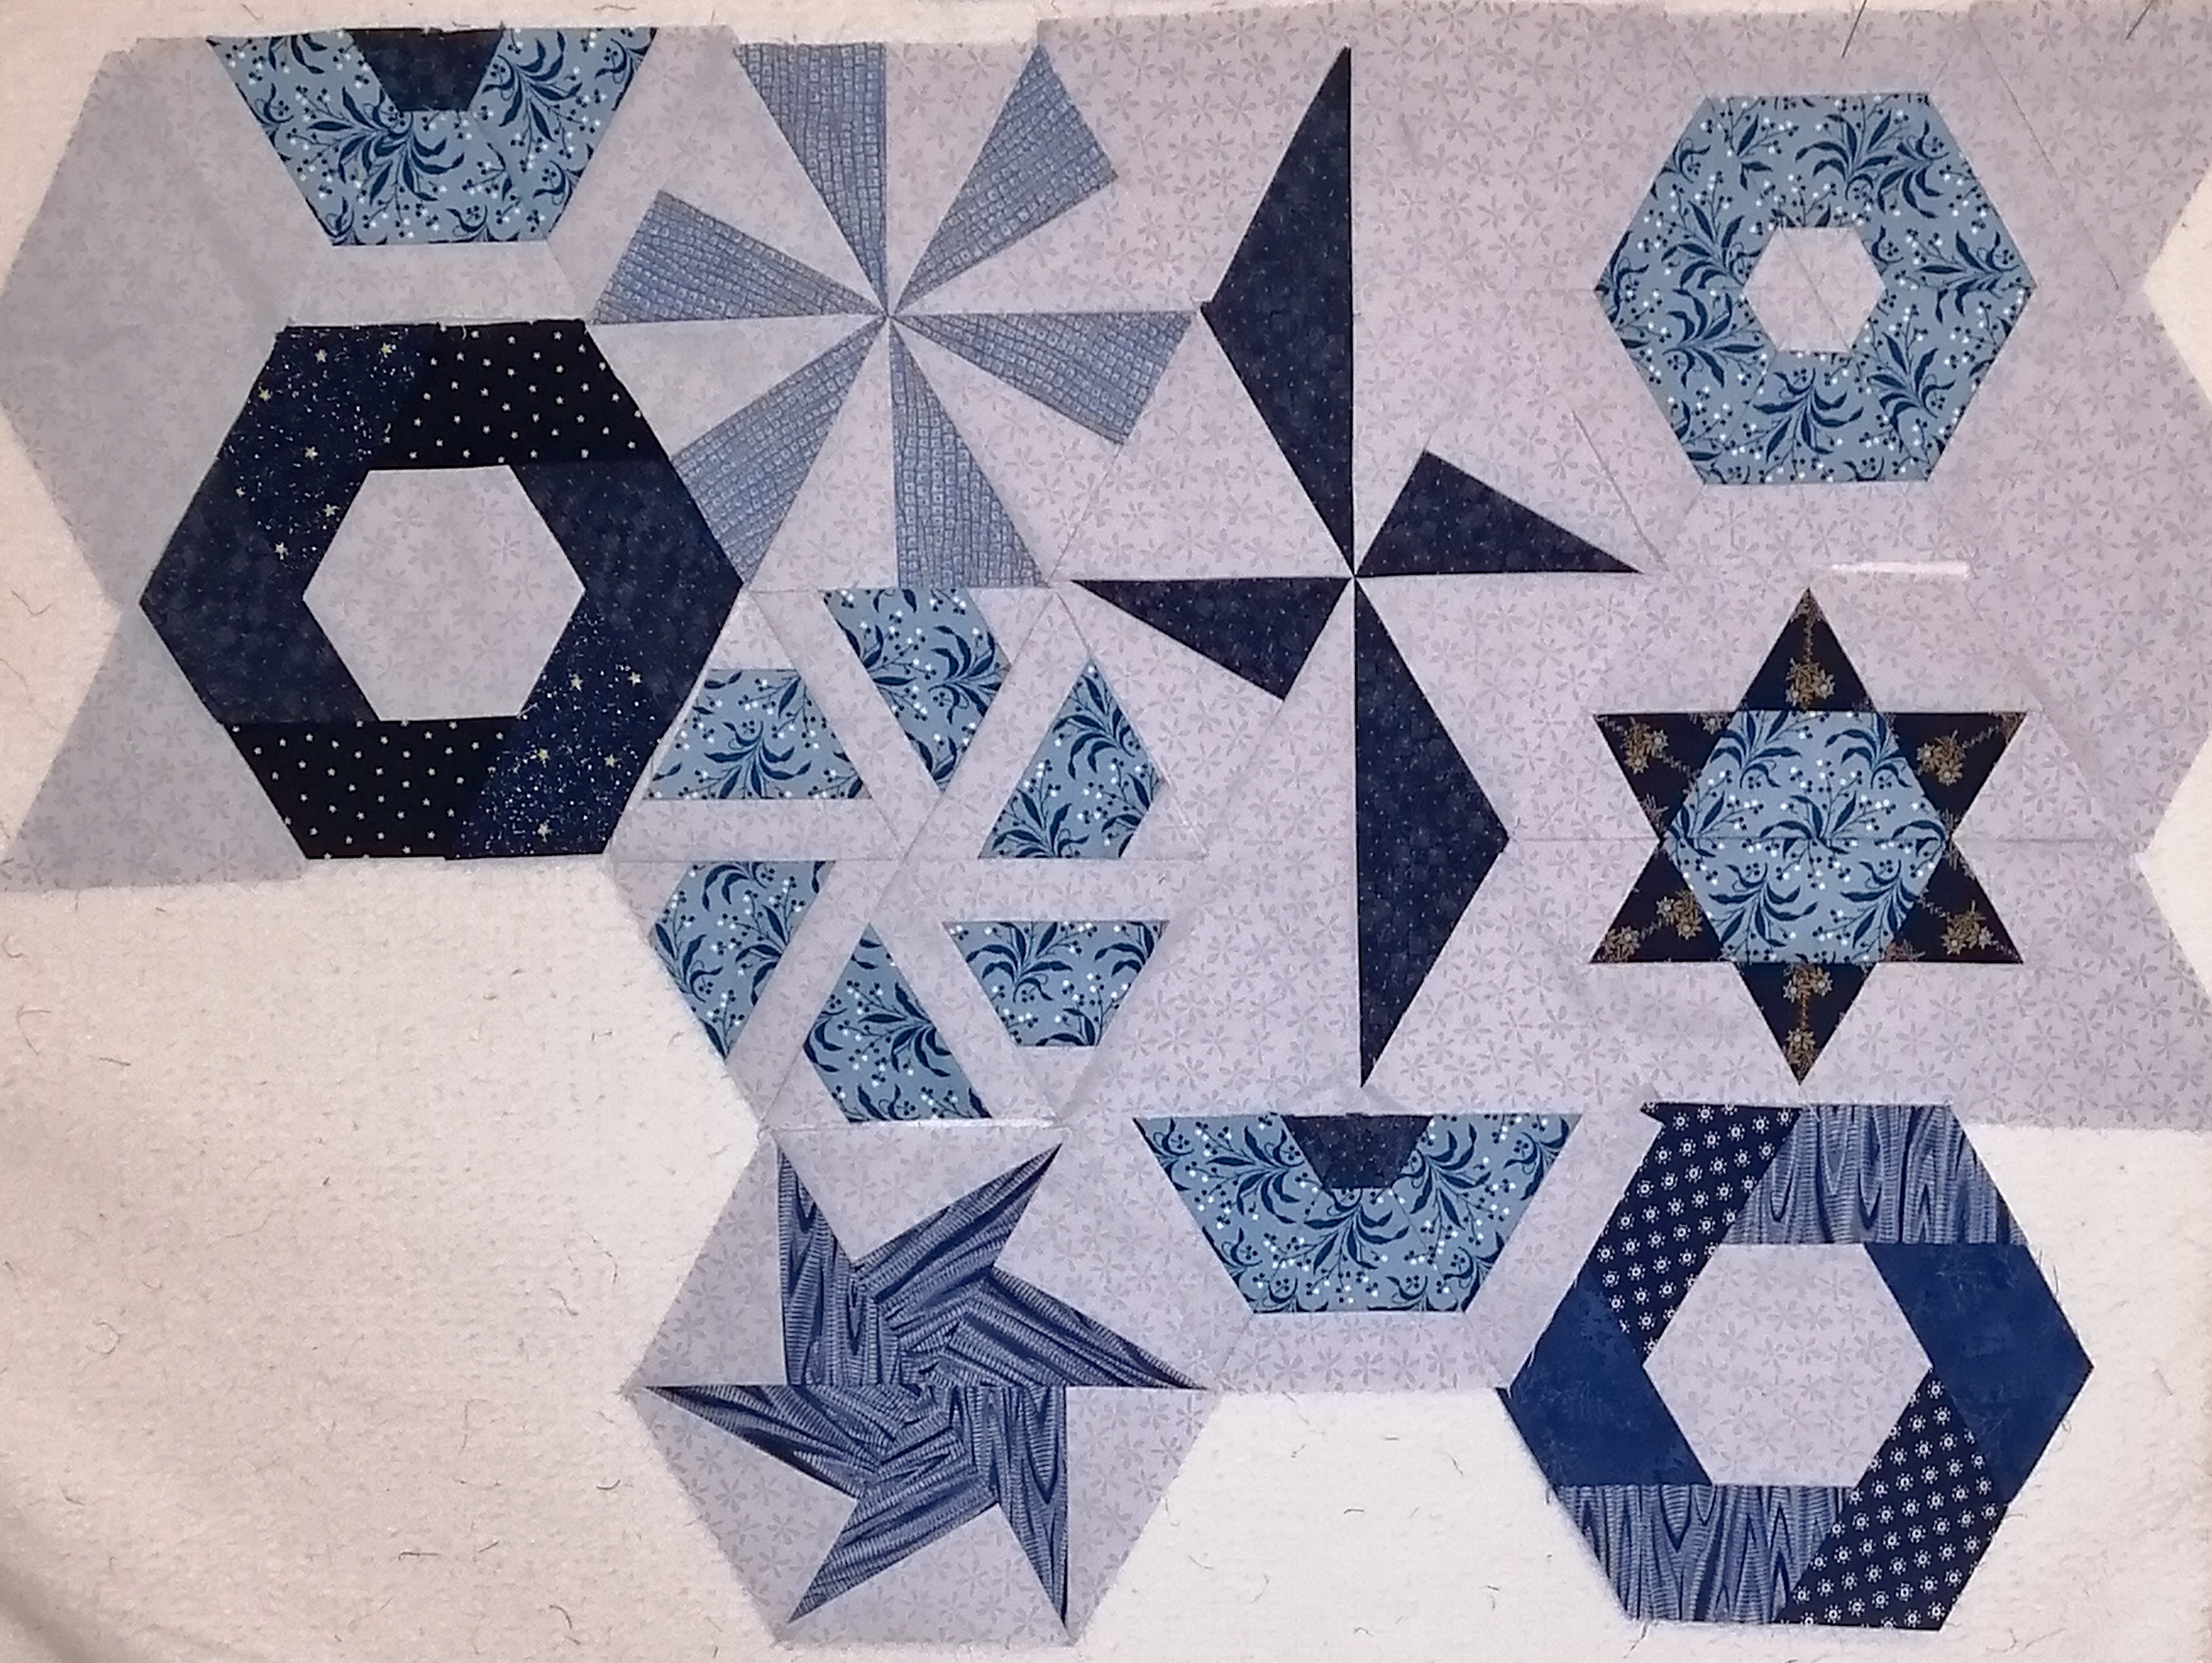
And just look at all the various block patterns she taught us in one day! Here is my day's accomplishment on the design wall.


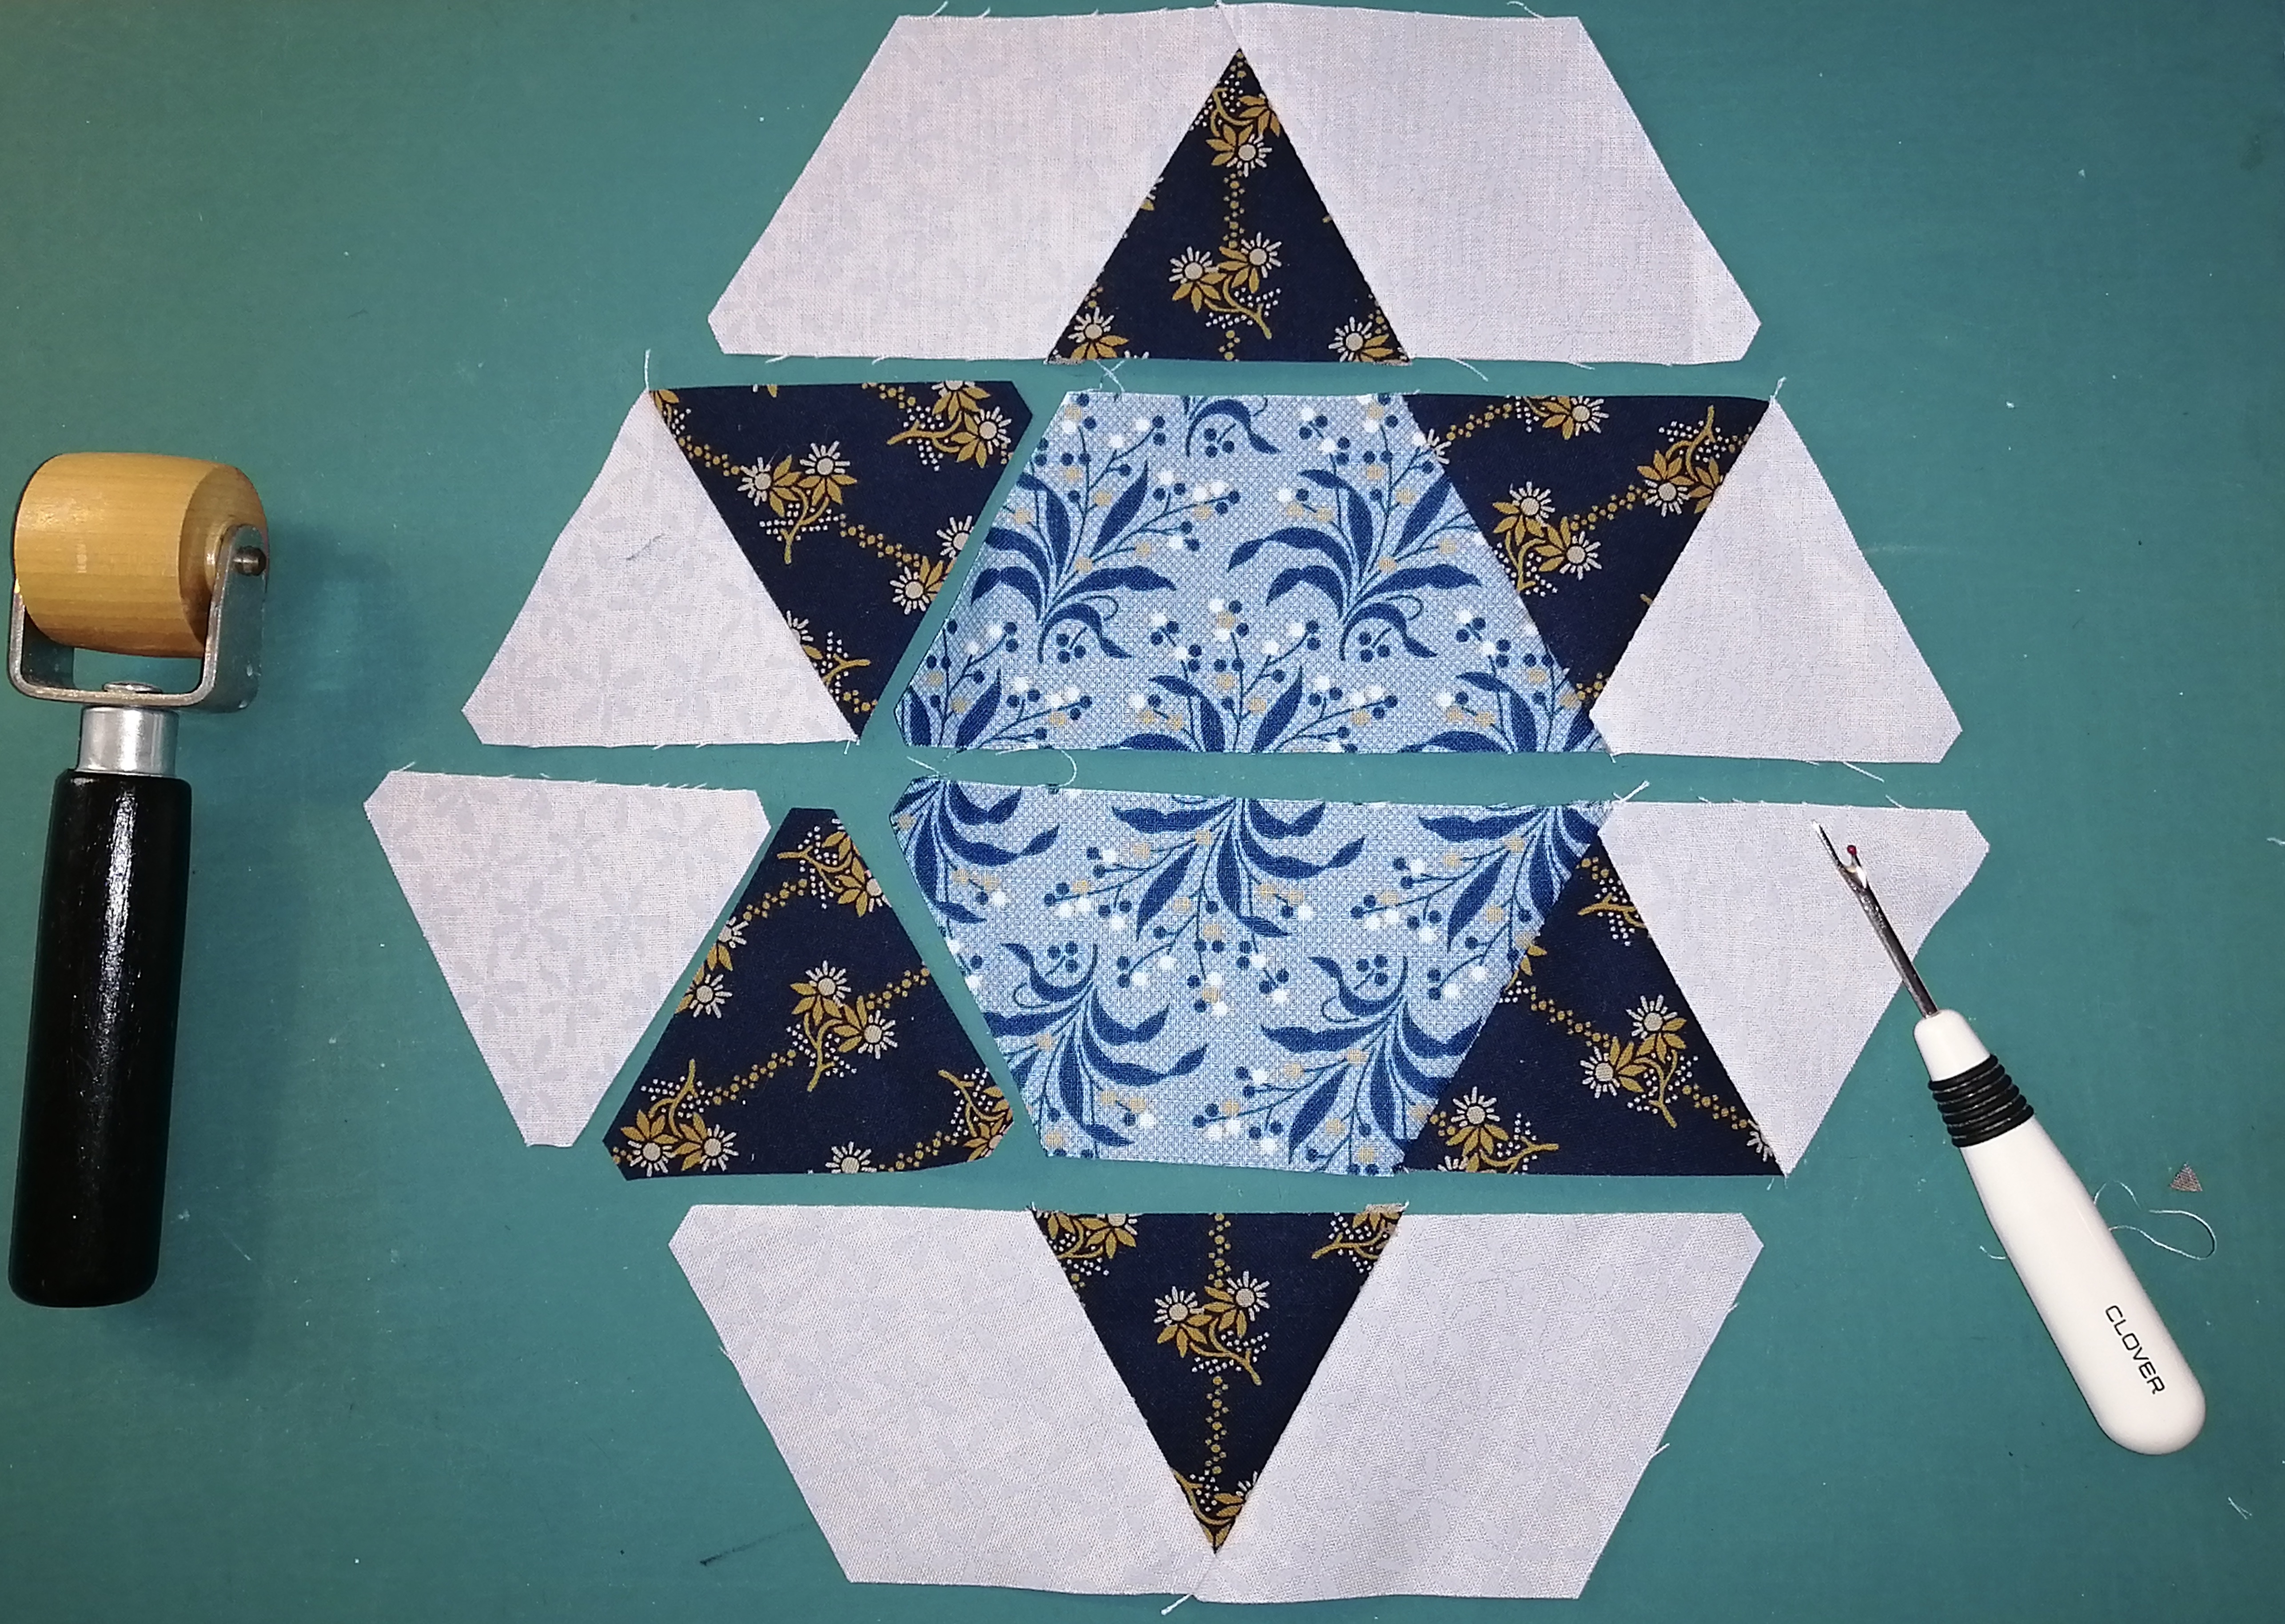
Pinwheel diamond, rainbow hexie, wreath hexie, star block and pinwheel hexie were some of the patterns we learned how to make. I hope to sew these into an equilateral triangle sampler. 

I keep looking at my design wall in amazement today! My grade 10 math teacher would roll over in his grave if only he knew I could accomplish this! LOL
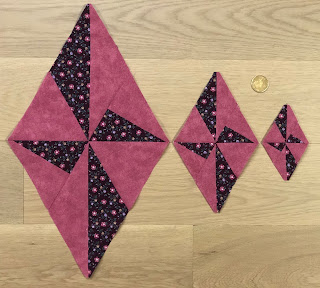
Lynn's mini blocks

But just look at this... our co-student Becky  challenged us to make the blocks smaller, and Lynn actually did! Look at how small her blocks became (loonie on the table gives the size perspective). Now I have to try to meet this challenge too!

Linking up with Judy's design wall postings

Friday, September 16, 2022

Featherweight Maintenance Class

Before Covid started I used to enjoy attending Treadle On meetings in the US to learn from the antique sewing machine gurus how to maintain my herd of machines. But since Covid took over life as we knew it, and the Canada/US border was closed, I was unable to attend any events/classes. 

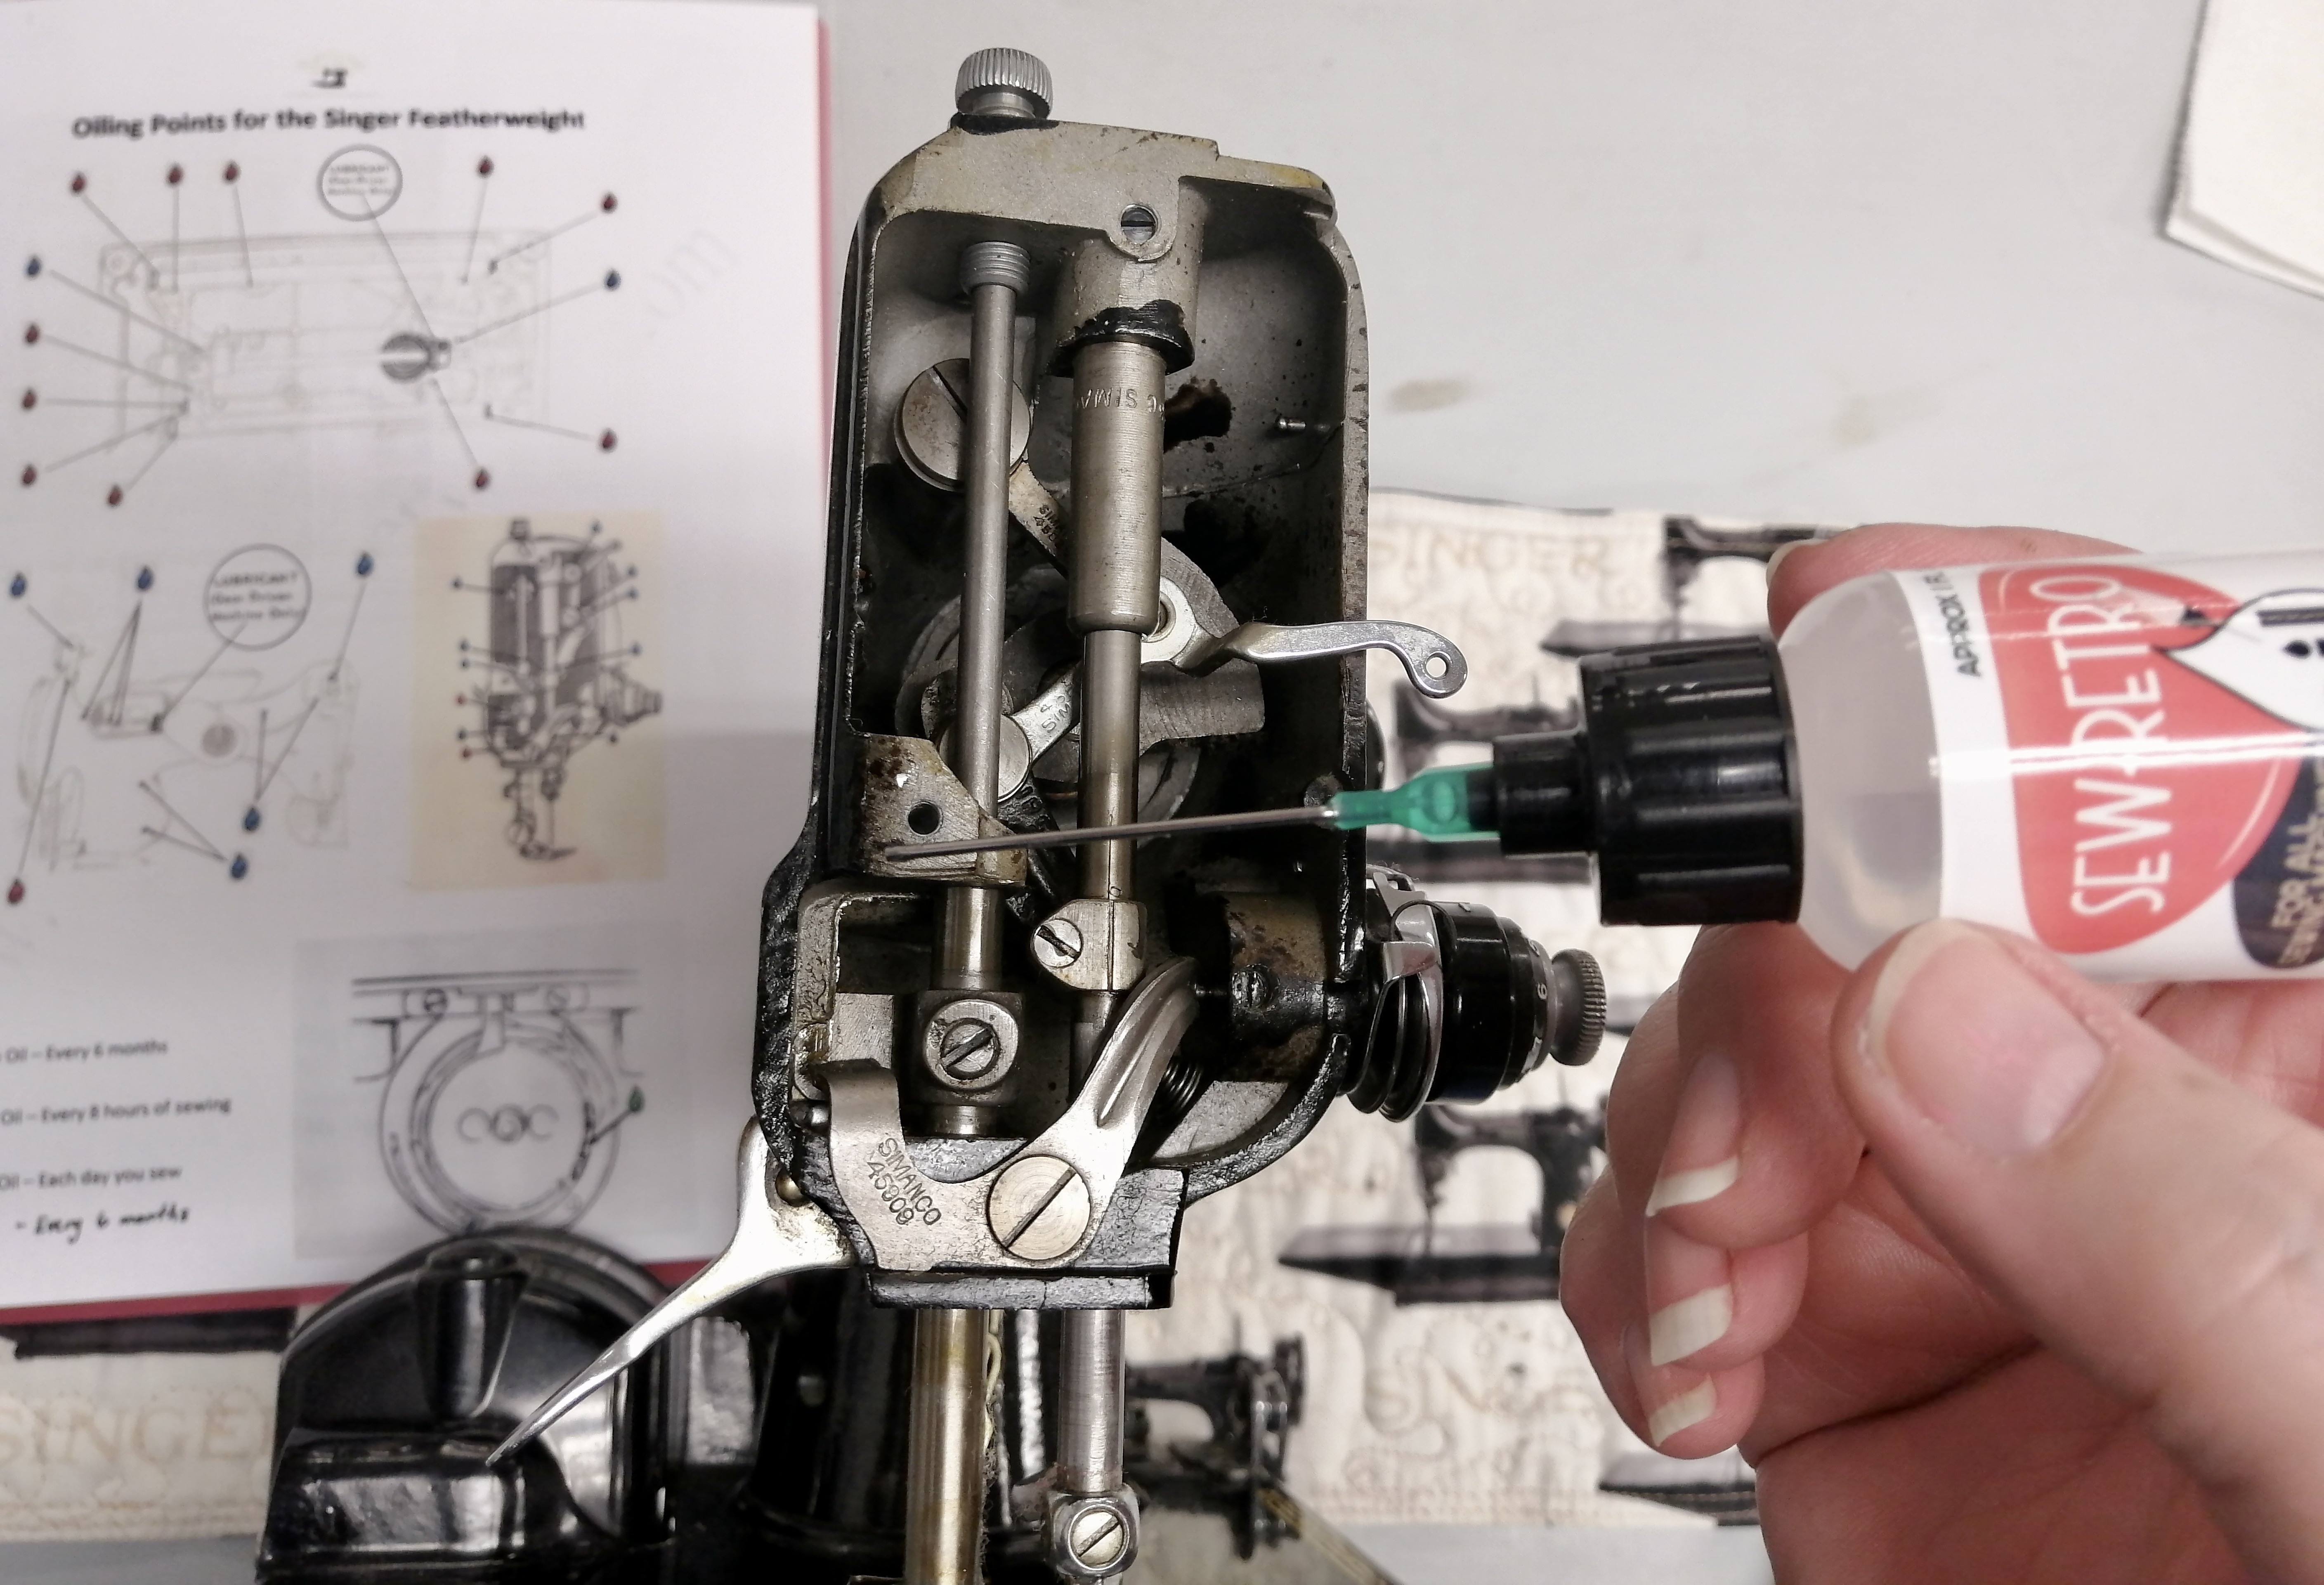
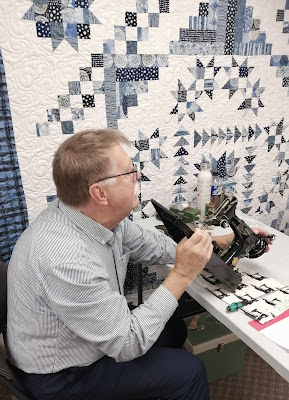
But last week I was excited to attend my first in-person class with Ian Plumb at the Cherished Pieces quilt shop to learn once again. I took my 1952 Featherweight machine for a spa day and here is a photo of her guts spread out on the table!


I finally located her  problem deep inside ...see the old thread wound up in there? That is why the stitching wasn't even.


We learned all the oiling points (chart can be found here) and how often each place should be freshly oiled. That was fun, and I learned that I have under-oiled my vintage machines. And I haven't ever greased them, so that was also interesting.


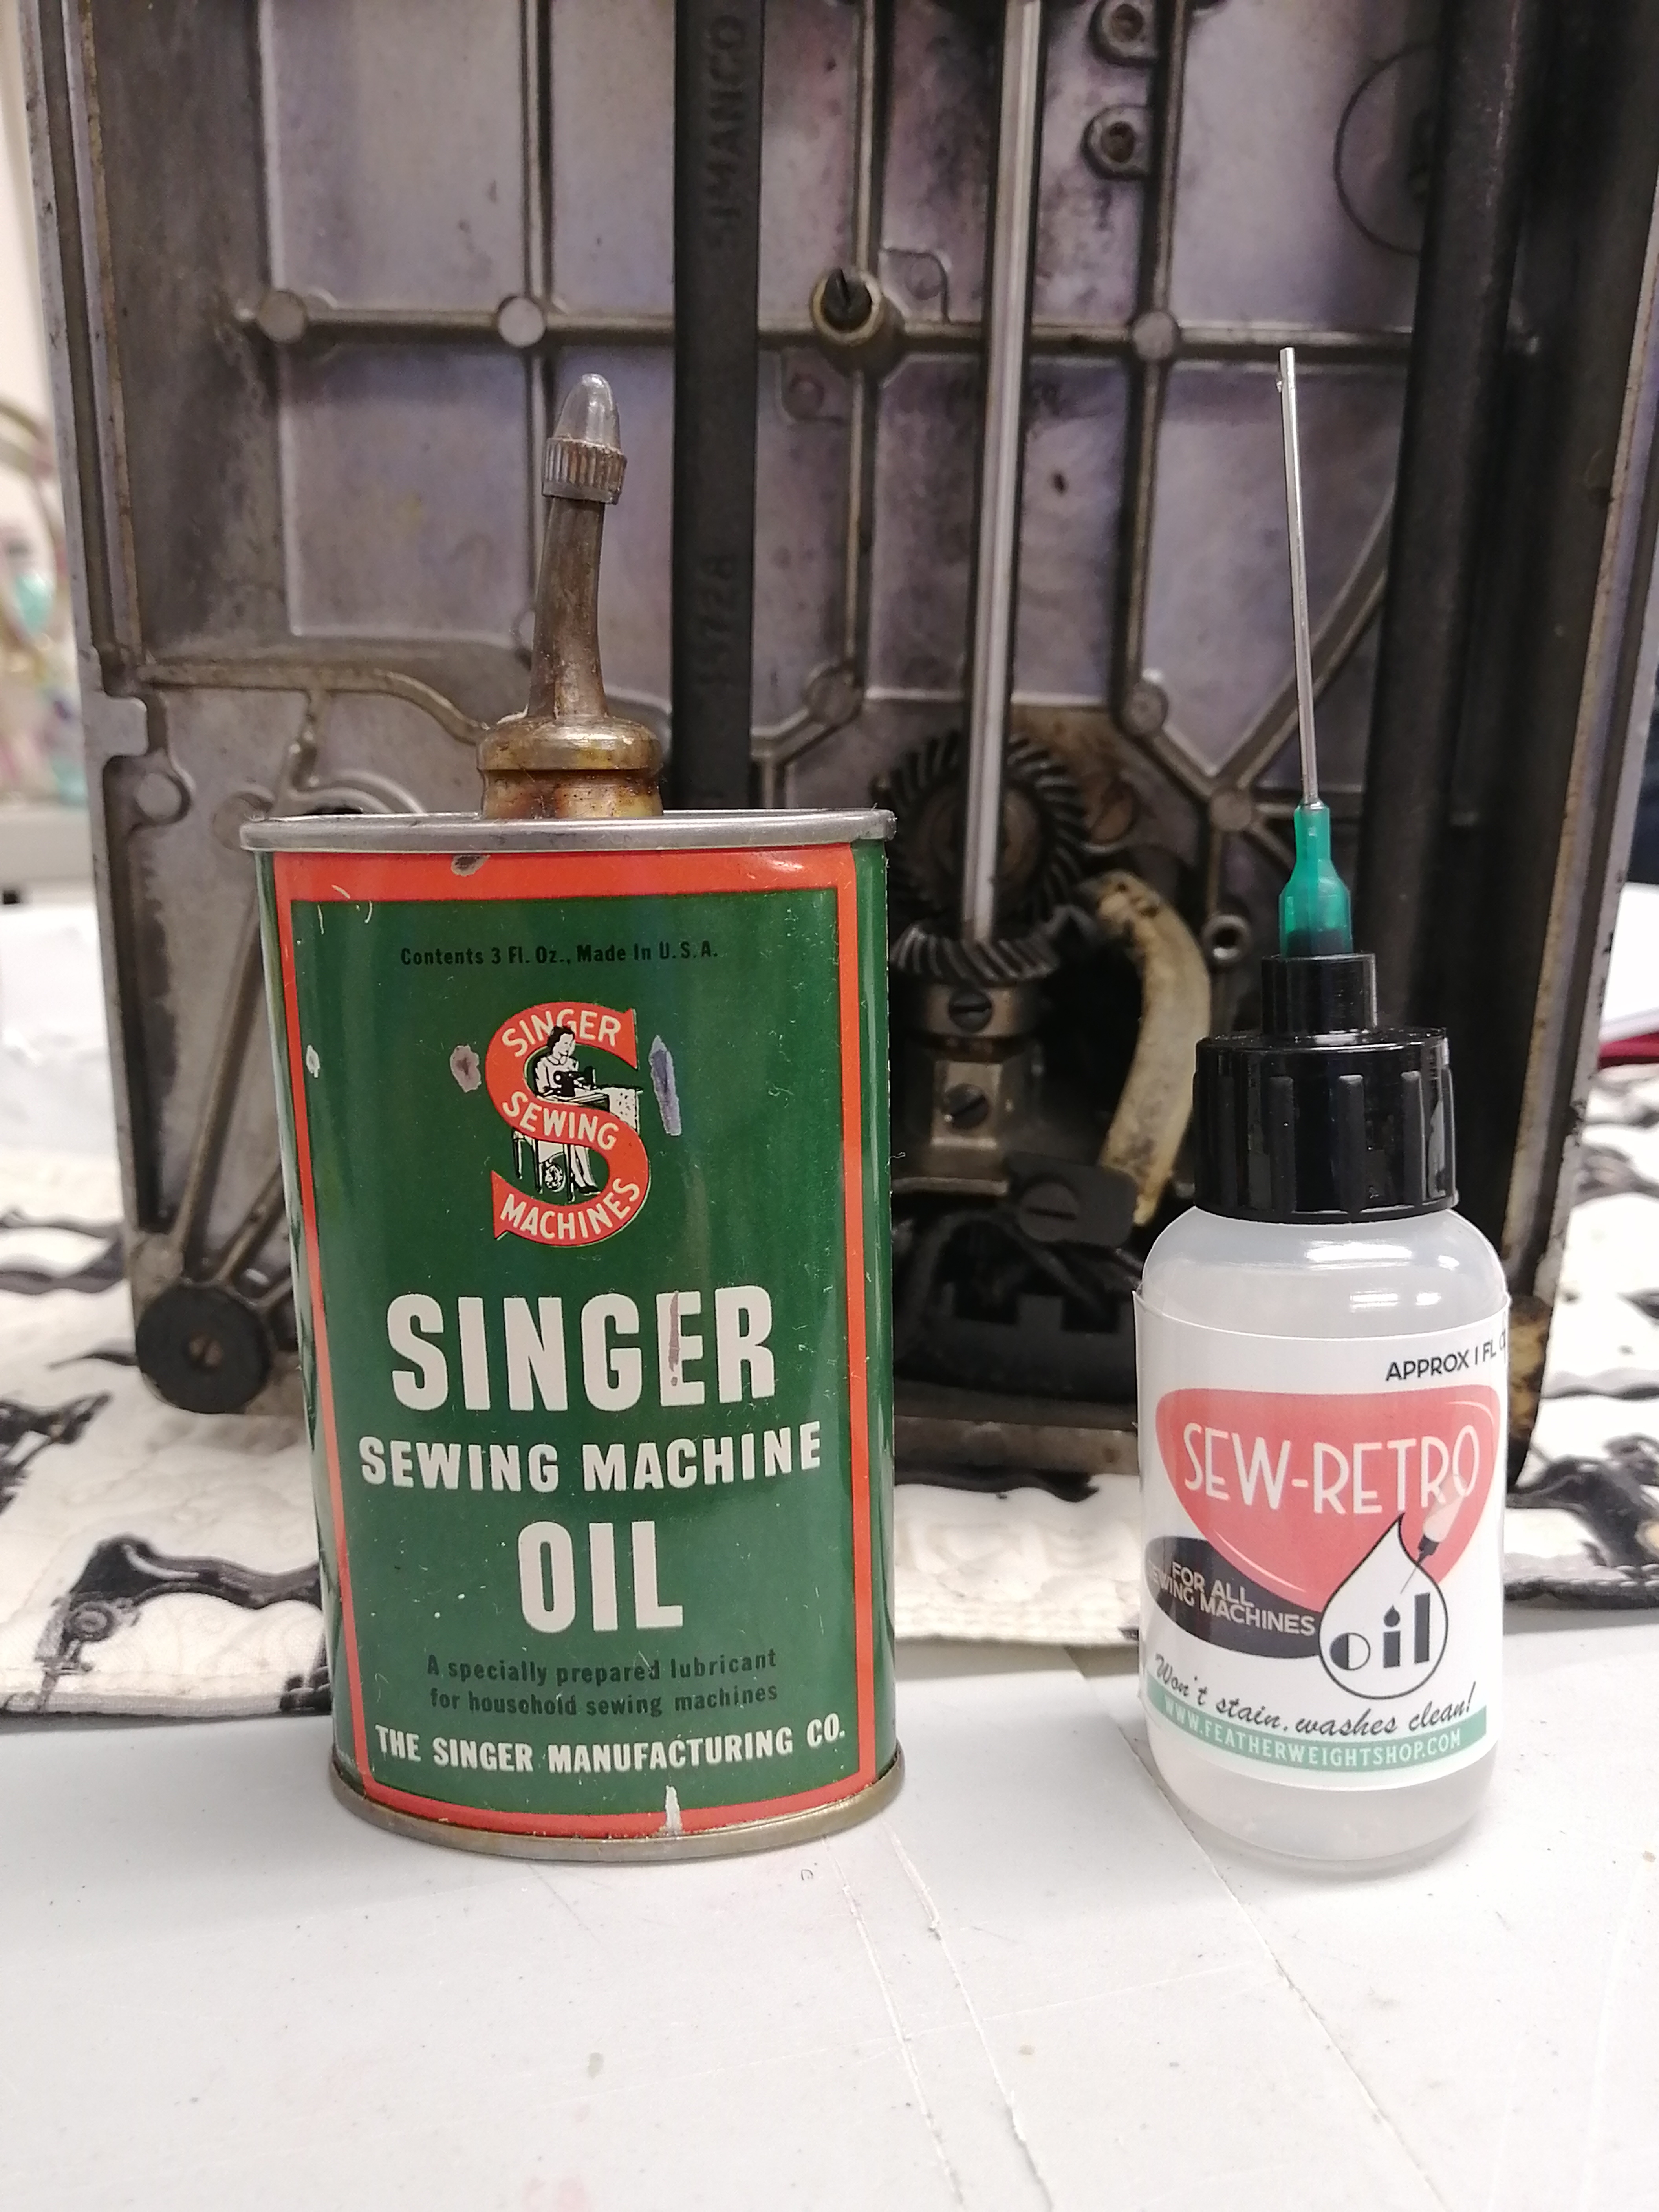
Ian recommended not using the old oil from the can that came with the machine, and to use new oil instead. He added that we should definitely keep the original oil cans with the machine as they can be valuable, just don't use it!


This class renewed my interest in vintage machine maintenance and repair. But there were a few tense moments at my table when I couldn't get the machine running properly! Here is Ian trying to fix my featherweight that I disassembled and then reassembled incorrectly! Oops! He quickly fixed it and all is well, and my machine is refreshed and ready to sew once again!

Friday, April 23, 2021

Online Class

I attended my second online quilting class this week.

The class was called "Traditional Variations" taught be Cheryl Arkinson. It was a wonderful day exploring creative ways to make traditional blocks. I played with friendship star variations and these are the blocks I sewed during the class.

Cheryl gave us so many ideas to run with and it was a day of cutting and sewing and trying new things. For example these are friendship stars made with curves instead of HST blocks. 
I'm going to make a few more blocks and turn this collection into a backing for my 21 Stars quilt.

What I discovered when playing was that one idea sparks another idea (and more scraps) and it was so FUN! Remember when we used to play as children just for the sake of having fun? As adults we think everything has to be purposeful and goal focused. Especially during covid there have been so few opportunities to play and have fun with our  friends. This class was a great reminder to enjoy the benefits of play - it's good for your health and we all need to be as healthy as we can during this pandemic. Hence... we need to play more!! I'm so grateful for this reminder!
You can read more about Cheryl and the workshops she offers here and can read her blog here.

Monday, June 24, 2019

Quilt Canada Class with Tamara Kate

Tamara Kate with the sample quilt

One more Quilt Canada post....
I have made a few quilts with improv letters, and one with pieced letters, so I was intrigued to take a class about paper piecing the modern alphabet. This class was taught by Canadian designer Tamara Kate and this is a photo of her holding the sample quilt. Isn't it fun how the word "HI" stands out with the red letters? 

Here is a photo of Kate teaching some of the students. I think one of the hardest parts of paper piecing is dealing with the unusual angles and making sure that you have a big enough piece of fabric to cover the next section. She had some great tips for that.

This is how my work station was looking. 


You can see the Janome sewing machine M100 QDC that the students were using in this class. It was a machine that was easy to learn and enjoyable to sew on. I was able to sew about half of the letters in the class, so I had a lot of work to do when I got home.

Here are the blocks on the design wall. I couldn't decide what colours to make the letters H and I, as I  wanted it to be a gender neutral baby quilt and it's hard for me to stay away from the pink/coral to go with grey.
There is still lots of sewing to do to finish all the letters, so I have lots of time to figure out H and I!
Hop over to Small Quilts for the Monday Design Wall link up.

Friday, June 21, 2019

Quilt Canada Class with Libs Elliott

It's time to post more info about my adventure at Quilt Canada last week. I was able to get into 2 classes. The first class I took at Quilt Canada was with Libs Elliott to make an EPP (English Paper Piecing) project called Heartburst.


Libs taught us how to prep all the pieces that make up the design. It was a bit overwhelming at first since I have only ever used the EPP technique to make little hexies, and had joined the pieces with a whip stitch. Libs showed us how to use the flat back stitch, which was new to me.


Here is my work table with all the supplies I needed. I tried Aurifil 80 weight thread for the first time and really liked it for hand stitching.
I started working with the centre shapes in this pattern, but wow they were hard. I don't know why. Maybe because it was my first time with a complex EPP pattern? Or because they were long and skinny? 
Or maybe it was because I was tired from staying up too late the night before to watch the Raptors championship basketball game?!? Yah, that's probably it!

But guess what? 
My friend Christine, who I met at Quilt Canada a few years ago was there to help me out. It's uncanny how we randomly sign up for at least one class together at each Quilt Canada we attend. Here she is standing to the left of Libs. She's an expert in EPP, so when I was a little panicky about pieces not coming together and things not looking right, she was reassuring me and making gentle suggestions for improvement.


EPP pieces for Heartburst
I have no idea how these colours are going to come together. I couldn't visualize the design at all. I decided to use all Libs Elliott fabrics in this project, because it's a memory project of Quilt Canada. I really enjoyed  learning the technique once I got going.  I like making these shapes a lot more than the centre pieces. And I love my idea of fussy cutting the lips for the top of the heart. 
Love. Love. 
Watch for more progress on this in my Slow Sunday Stitching posts this summer. It will make a great take along project!

Wednesday, August 22, 2018

New Project


I attended another wonderful mystery class with Deb Beirnes. Remember I told you about her last month? Click here for the reminder.  Deb is a quilt teacher extraordinaire who plans a project, picks out and CUTS the fabric, teaches how to make the quilt, AND makes the students a lovely meal?!?  She fills up our tummies and our hearts! This is a cute photo of Deb before the big reveal of the project at our last class.


Here is the fabric pile that each student received at the beginning of the class.
Total deliciousness in blues.
The strip across the middle is for the binding. Yes... the binding is all ready and waiting to be applied, so get sewing!
In this class we learned how to make Anita's Arrowhead blocks. You can download the free pattern here if you want to give it a try. We used 8" squares, but you can also make it using 10.5" squares for a bigger block.

As the class went along I made a couple of major errors. I blame my fellow students for their hilarious chatter which was distracting me! This was a huge error and not even close to how it should be cut. At the time I was really frustrated with myself but the photo sure makes me smile!


This photo also makes me smile because unknowingly I wore a blouse that perfectly matched the mystery project! 
What are the chances of that?!?
Here I am sorting the squares and matching a light with a dark.


The sewing machine I took to the class was Lucy my 1953 long bed 301 Singer. She enjoyed the outing as much as I did and had a great workout, making a consistently perfect stitch all day even though she is 65 years old and is technically old enough to retire! 


first 4 blocks

I forgot to bring my camera to the class (serious blogger infraction) so the photos are courtesy of my friend Debby. Here are my first 4 blocks, which I couldn't wait to sew together. There are a few seams to match in joining the blocks, but they went together quite easily.
I love this project so much that I intend to increase the size of the quilt exponentially using blues from my stash. And I'm also thinking of how the math might work out to make miniature blocks...  so fun!

Thanks once again to Deb and my fellow students for a wonderful day!

***I found the link to directions for all block sizes! You just know that I'm going right to the sewing room to experiment!
https://makeitsimpler.blogspot.com/2013/07/anitas-arrowhead-quilt-block-in.html

Linking up to Sew Fresh Quilts!

Thursday, August 02, 2018

New Mystery Quilt

My motto is - "there is no such thing as starting too many quilting projects"!
There I said it.
Yes I have many many quilt projects on the go, and some really old UFOs, and some very large closets for WIPs. 
That is all true and still... I start more!
Last week I attended a mystery quilt class with Deb Beirnes. My local blog readers know that she used to teach the "Ladies of the Evening" mystery class at Reichards (20072008, 200920102011).  We used to show up at the quilt store after work on a Friday, and Deb had a fantasy quilt land set up for us ... a delicious homemade supper (she shared the recipes too), a new project to sew with a sample quilt she created for inspiration, and all the fabrics pre-chosen, and organized for us. All we had to do was relax and sew something awesome!
Well, fast forward to this summer when my friend Debby convinced our teacher Deb to do this for us again for old time's sake. We were invited to sew at Deb's personal studio for the day. Just look at this package that Deb made for each of the students... everything pre-chosen, organized and pre-cut for us! 


Me with our teacher Deb

All we had to do was just sit and sew, and enjoy the day with friends. 
I brought along Lucy my 1953 long bed Singer 301 and she was a trooper. There was a little bit of a pressure foot tension issue making my seams wobbly at the beginning, but I was able to adjust the pressure and she sewed like a dream.

But wait, there's more...
Deb also made us a delicious home cooked meal, roast beef, mashed potatoes and gravy, with fresh corn and salad ... oh my it was amazing! AND her husband cleared up and wash dishes! For someone like me who is always the one doing these chores, to have someone else do them for you is just heavenly beyond words. 


Here is Deb on the left and her 5 happy students with finished quilt tops. Not only do we have a great project, we also have wonderful memories of a special day spent with quilting friends!

Wednesday, November 02, 2016

Sew Fresh Quilts Class

On Saturday my local quilt guild hosted a class with Lorna of Sew Fresh Quilts and I was lucky enough to get in the class!
It was sooo fun and the classroom was filled with lots of laughter as we all tried to make various creatures from her patterns.
I chose to make Lorna's Elephant Parade quilt and took my white featherweight to class to use for the day. But the tension was way off and I didn't want to spend my class time working on machine adjustments. 
Luckily I had taken Lucy as a back up machine. Lucy is a long bed 301 Singer built in 1953 and she worked perfectly sewing these elephant blocks all day long. 


However, the sewing machine operator was not working perfectly! 
There were a few elephants requiring surgical repair! This repair required one consultant (Lorna), one sewist/surgeon (me), one component extraction, one 90 degree part rotation, and one re-insertion. No problem!

Here are the elephants that I finished so far. See the surgical patient elephant - top left block? He recovered nicely from surgery and you never would have known there was a problem!
I have the 5 large elephants done and 3 of the 14 small elephants.

Here are all the students in the class holding up our blocks. Lorna is one of the monkey holders in the front row! I am in the back row on the left laughing at the monkey in front of me! 
Do you see all the creatures we made? 
Birds, elephants, some cross-eyed cats, dogs of all shapes and sizes, chickens... it was a total zoo with all these animals and quilters in one room!
A huge thank you to Lorna for such a fun day and for being such a brilliant pattern designer! I'm linking up to the Sew Fresh Quilts party and then I'm back to sewing more elephant blocks!

Saturday, June 18, 2016

Quilt Canada Class #2

My second Quilt Canada class was called "Modern Quilting With Feed Dogs Up" and the teacher was Melissa Marginet from Manitoba. Just look at all the designs on this sample quilt!
This class was a whole other ballgame from yesterday's class. It used a completely different part of my brain but thankfully I discovered that this part still works well enough to learn these techniques.


Many of these designs involved measuring and some minimal marking, and were fun to sew. It really was quite a different process than free motion quilting.

These are the machines we were using, which were even more computerized versions of the ones we used in class #1. This one had some nice features, such as the automatic foot lift and pivot function that engaged whenever you stopped sewing. 
However some of the students had a lot of challenges with their machines and made good use of the technician who spent most of the day in our classroom. The needle threaders were consistently problematic, and I just didn't even bother to use mine at all.

Here is one of the quilting designs we learned, but just look at the mess on the back of my block! Can you say tension issues?!? I tried to fix the problem and was periodically successful. 


Here are some of the sample sandwiches from the students.
This class gave me lots of great ideas for designs, and my mind was spinning with plans for quilting the various UFO's that are currently in the finishing queue.
I will write more about this project on Monday when I gather up all the samples and put them on the design wall.
And tomorrow I will share some wonderful hand stitching highlights from Quilt Canada.
Thanks for reading!

Quilt Canada Class #1

My first Quilt Canada class was on improvisational strip piecing and the teacher was Cinzia Alloca from Montreal. I must like improv piecing because last Quilt Canada, I took an improv class too (read about 2014's class here). Here is Cinzia showing some pieces that she is going to combine for a quilt she is working on. This is the first time I have ever worked with strip sets, and it's a whole other process than making improv quilt blocks. It's something I have never tried before.


For this class I started with the quarter log cabin blocks I made in a class I took with Bethany Garner last month. I wanted to combine these blocks with the strip sets from this improv class. I had to whip up another 2 blocks to make an even 12 blocks.

First we cut and strip pieced some sets of fabric to work with and started to play with possible layouts. It was so relaxing to piece these blocks and I loved the look of of the fabric piling up behind the needle. Don't you think it looks like ribbon candy?!? 

This is the beginning of adding strip sets to the sides, and we were encouraged to think about direction of the strips, and the widths. 


Here I am with Cinzia at my sewing machine. When she was making the rounds in the classroom and helping each student, I got a quick photo with her. 
I should also mention that even though I was worried about working with a sewing machine I didn't "know", I didn't have a single problem with this learning this Janome machine. It sewed really well for me all day and I ran it hard!

The next step was adding in the accent fabric, which for my project was lime green. But where should it go, and how much of it do you like, and do you want a strip or a small square?

So many decisions to make and it's all up to you!
I thought my project was looking way too pink, so the next strip sets I made with wider white strips and narrower pink ones.


Here is Cinzia helping me with the layout and making suggestions for improvements and additions. It was fascinating to hear her ideas and to learn how to "see" the process of building a quilt in a different way. 


Here are some of the other projects in development. It was challenging to work on layouts on the floor and I realize that a design wall is really essential when working on a quilt layout. There were some really amazing quilts being created here!