One of my life pleasures is to work on a quilt that someone will receive with appreciation. So much of our efforts (especially as women) go unnoticed and our hard work is even criticized by others. And so it is in the quilting world sometimes unfortunately.
But to put effort into creating a quilt for someone who needs it and will appreciate the effort and the gift, is an entirely unique and inspiring experience.
My guild is partnering with several other community organizations to create stable and safe homes (Home for Good) for 80 homeless people in our city. This program uses an innovative client centred model, and I'm very excited to be contributing in a small way to it's creation by donating money (here) and also by making quilts to bring comfort and beauty to those who will finally have a home.
Last week I had the privilege of working together with other guild members on donation quilts at a sew in day and I brought home a gorgeous scrap quilt to finish up. The quilt top was made by Becky, the machine quilting was done by Roxanne, and I had the privilege of finishing this quilt by attaching the label and hand stitching the binding.
As I stitched, I admired the precise piecing, the use of such a wide variety of scraps, and the beautiful quilting crafted by talented women who are donating their time and talents to this worthy cause and I felt so proud to be a small part of this effort.
And here is the finished quilt!
This gorgeous quilt will soon be covering someone who has had a very challenging life. I hope it brings beauty to their life and a little bit of quilty comfort.
Everyone is someone's child/sibling/loved one!
Lyrics from the song "Somebody's Someone" by Daphne Willis:
You're somebody's someone We're all still missin you Back where you came from Wherever you go we hope you know You're somebody's someone
I am delighted to share that my April UFO Morewood Mystery quilt is finished!
This was an easy mystery quilt to pick fabrics for... we chose 4 colours and a background. My choices really cheered me up over the long covid winter of 2020/21.
The 3 thread colours I picked for the quilting were green, salmon, and yellow.
The quilting is all straight line on the diagonal using the walking foot.
I really liked the text fabric in the centre of all the orange blocks and in many of the other blocks. It's one of my favourite things about this quilt. I'm so glad I found a special quilt to use it in.
Another thing that made me happy as I was working on this quilt is that I did a good job on the pin binding.
You can assess your pin basting success by looking at how the the quilt top looks around the pins as you are quilting. If the quilt lays flat as you are quilting, and there are no little hills that develop between the needle and the basting pins as you approach them, you are doing a good job! If you get little hills or mountains around the pins, the quilt top was not taut enough during the basting process.
The backing is a bright green butterfly fabric. The binding is a combination of the bright pink fabric and a little bit of orange on the 2 sides. I'm so pleased with all the scraps that were used up in this special quilt.
I enjoy the manageable pace of the mysteries at Meadow Mist Designs - making one step for the quilt each month. This is my 3rd mystery quilt with Cheryl (previous mysteries are Mosaic Mystery, and Magnolia Mystery). Thank you to Cheryl for another fun quilty adventure! This quilt will be donated to my guild's comfort quilt collection. Finished size: 60" x 71"
Linking up to the Morewood linky party (where there are 300 versions of this pattern posted and I am number 301!)
My UFO project for March (and for February but we won't talk about that!) was to finish the guild mystery quilt that was started last summer. Nothing new was purchased to make this quilt and so many old scraps were used up. Being unable to shop during the pandemic has really helped me to be innovative in using up what I have accumulated over the years and I feel quite proud of that.
The quilting is all free motion done on my domestic sewing machine, with each round of the quilt having a different design. I did not agonize over how to quilt this project like I sometimes do. I just made a decision as I came to each border and ended up with a variety of designs including arcs, swirls, waves and a few semi straight lines.
I really love the outside border for 2 reasons:
1) there are 13 pieces of black fabric scraps in the border and this really makes me so happy!
2) I love how the double swirl design turned out using 2 different colours of threads. It was so fun to stitch that I contemplated adding another layer of stitching with a 3rd thread colour, but decided that I should focus instead on finishing the quilt instead.
The free pattern is by Robert Kaufmann and is called Gazebo Medallion. My version is much smaller and measures 54" x 64.5".
This quilt will join my guild's comfort quilt collection which is donated to victims of sexual assault that are treated at our local hospital. I love that this funky scrappy quilt will be given to a young person in need of some comfort.
I always use Warm and Natural batting for machine quilting and one tip I'd like to remember (so I am writing it here) is how to decide which side of Warm and Natural batting should be facing the quilt top. There are many different and opposite opinions on the internet (as there is with everything these days!) so I only trust the website belonging to the maker of the Warm and Natural batting. They say:
"When quilting Warm & Natural or Warm & White, it is usually easier to do so in the same direction it was needle-punched – the cotton side facing towards your quilt top and the scrim side facing toward your quilt backing. With Warm & Natural the cotton side is distinguished by its leaf & stem remnants (face to quilt top)."
That is very helpful and I will remember that from now on as it helps with reducing thread breakage. The scrim side is smooth and it should face the backing.
I'm so excited that I met my UFO goal this month! It was really busy and that I managed to complete a quilt feels terrific!
This quilt top was made in a mystery quilt class with Deb Beirnes 2 years ago. I sewed the top on my 1953 Singer 301 which still sews like a dream.
I machine quilted this project on my 1995 Brother 1500 which also still sews like a dream. You can read more about the "loose feathers" quilting design I tried in Friday's post.
Here is the finished quilt measuring 50" square. The original pattern is by Larisa Key.
I put a little panel of the Eiffel tower on the back just for fun, with a Riley Blake black and white print and a strip of tan Kim Diehl fabric.
I was disappointed that the feather/hearts quilting design is sideways to the Paris panel on the back. I didn't realize I did that until I took the photo of the backing just now. Oh well, that's the way things go sometimes.
I just finished hand stitching the binding on my version of Carole's mystery pattern called "The Twist". I am very happy to have a finish this month already!
It was a delight to create this quilt with the easy to sew but interesting blocks in the design, using pastel colours that I don't usually work with, and finding those sweet fussy cut centre blocks to use up. See how the Mama is taking away a spool of thread from the kitten? So sweet! I used warm and natural batting, which is my favourite for machine quilting. It is needle punched so it doesn't have scrim or glue, and it can be quilted with lines up to 10" apart. I just love it!
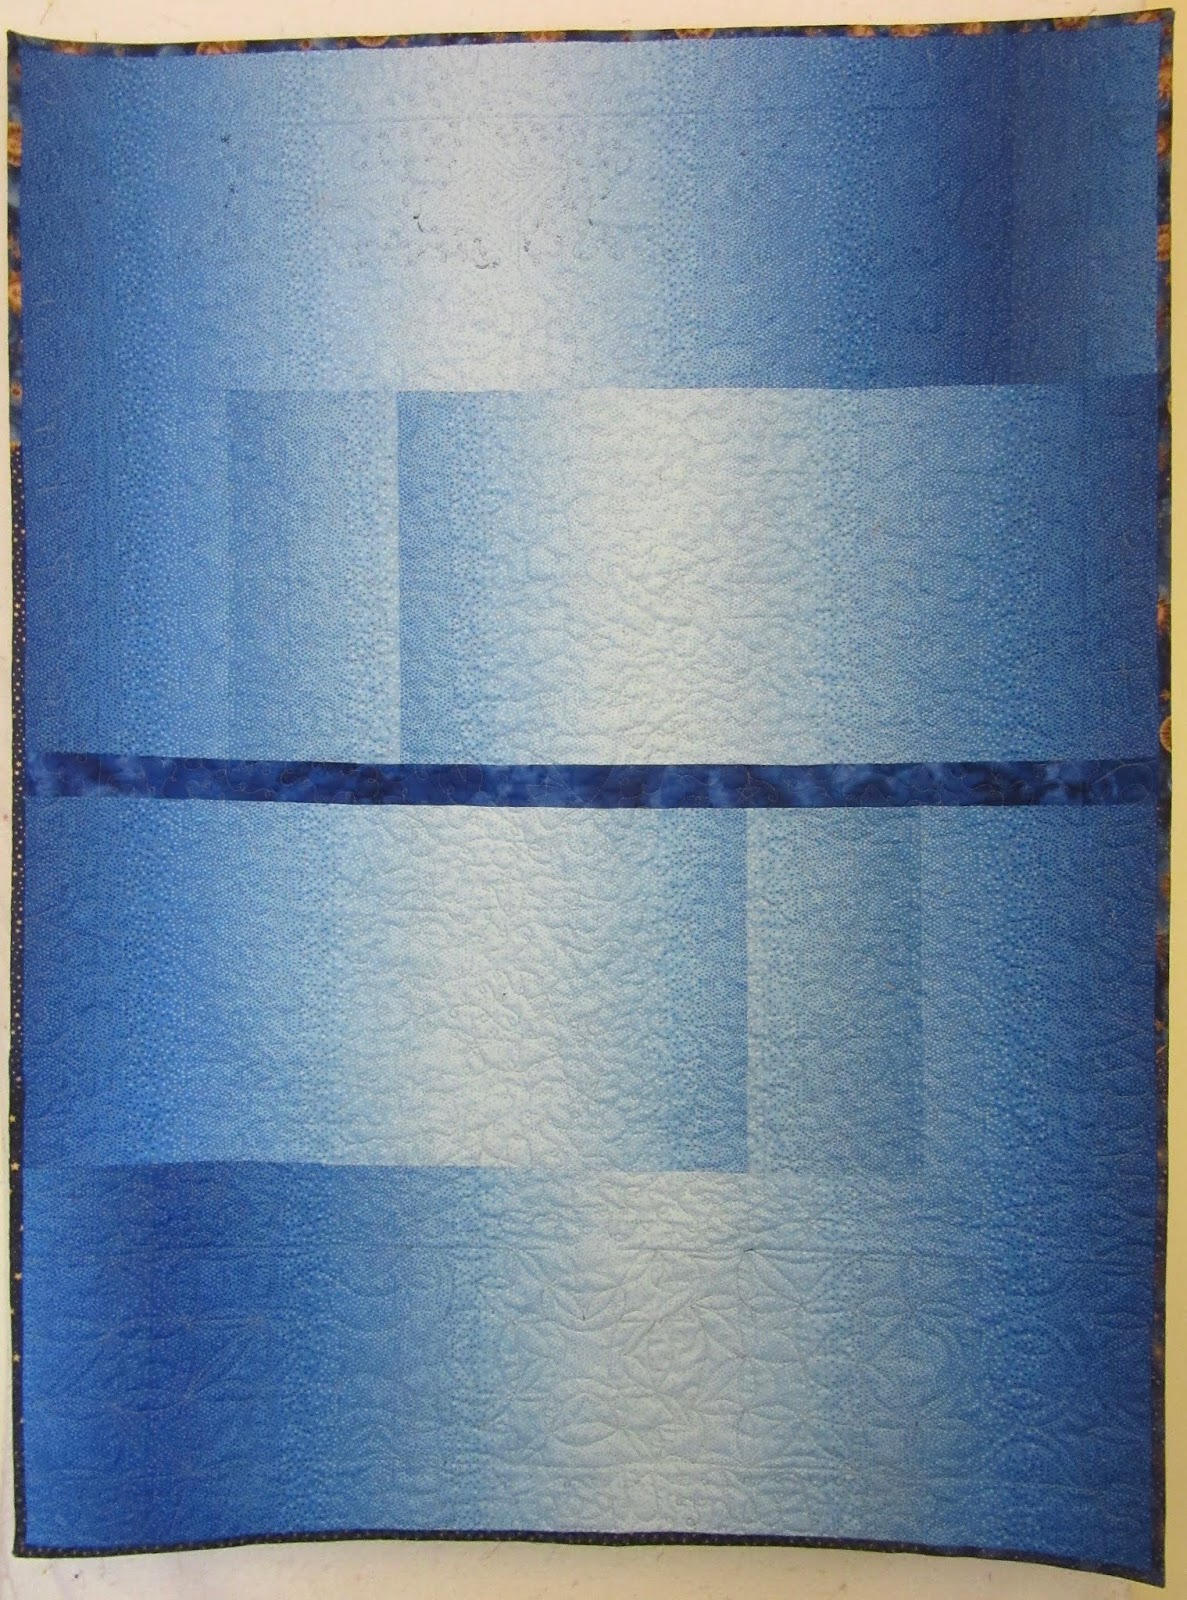
This is the back of the quilt. I had the yellow yardage and extended it with a strip of blue print inserted vertically and horizontally at the midpoint. Everything used in making this quilt was from the stash... total win! This quilt is being donated to my guild comfort quilt collection. We all know that violence and sexual abuse did not take a holiday during COVID, and my local guild donates quilts to the pediatric sexual assault treatment team at our local hospital.
Unfortunately is a very busy service all the time and the staff are grateful to have a quilt to wrap around a victim of abuse when they come into hospital. This is going to bring someone a big quilty hug and hopefully provide lots of comfort. Finished size: 48" x 60" Linking to Finished (or not) Friday
March's UFO goal has been met and the finished quilt is on the design wall today! Woohoo!
Thanks to COVID19 restrictions and not leaving the house, I have had a bit more time to quilt.This quilt started at a quilt guild class in 2014 when we were supposed to be learning how to make a wonky greek cross block but I became preoccupied with the asterisk block instead.
asterisk block
They are just so fun to make and I have used them in many quilts over the years. After working on this quilt, I am now eager to start another asterisks quilt. This was not at all a planned project and it just evolved over time. I had grabbed some scraps to sew blocks at the class, and then added in fabrics as I worked on it over time. Who knew those green background fabrics would be impossible to match?
"comfortably quirky" finished quilt
Audrey used a term in one of her blog posts to describe the quilt she was making ... "comfortably quirky". I love that! I'm using it as a descriptor for this quilt. And although I hated it 2 years ago, today I think it's "comfortably quirky" and it's a happy looking quilt. I took the quilt to the park for a photo shoot but there was a brisk cold wind, so the photos aren't good. You can see that everything is mostly brown in our neck of the woods still.... spring has not really arrived yet. I did want to post this photo to remember what was happening in the world when this quilt was finished. Everything is closed including playgrounds.
Asteriskos: Little Star
Finished size: 43.5" x 57.5" The word asterisk derives from the greek word 'asteriskos' which means little star and so it is the name of the quilt! Linking up to Small Quilts, One Monthly Goal and Favorite Finish.
This quilt project started in January when I adopted a bag of 128 HST blocks that were abandoned in the scrap bin at guild meeting. The little HSTs were perfectly made and I had a lot of fun making the blocks and creating the quilt layout. Once the quilt top was together I couldn't wait to get quilting! Using the walking foot I quilted straight linesin the middle of the quilt. Then I switched to the free motion foot and made some squiggly lines in those long white spaces.
I quilted free motion swirls in the borders. This photo shows the quilting design which is much easier to see on the back of the quilt. I hand stitched the binding which is my most favourite part of quiltmaking. I love these Black Gold Clover applique needles that are so sharp and thin that I can easily push the needle through many layers of fabric to attach binding without using a thimble. Although these needles are pricey compared to others (here in Canada I paid $9 plus tax for 6 needles) they are totally worth it!
This quilt finishes at 24" square and will be donated to the memory quilt collection at my quilt guild. These small quilts are given to our local hospital for distribution to families experiencing the loss of a baby.
Remember back in January when I had a tiny distraction? It's a little blurry in my memory as to how the bag of tiny HST blocks got into my hands at a guild meeting, but somehow they came home with me. And they called to me until I made them into a quilt top that you can see here.
The original anonymous maker (let's call her "Rose") of the repurposed HSTs heard that I had adopted them and gave me extra fabric she had leftover from her project. It was exactly enough to add borders to bring the quilt top up to the size needed for the memory quilts my guild collects - 24" square. See how I put a bit of sashing around 2 cornerstones? That's because there was just barely enough fabric to finish those borders! Can't wait to get going on the machine quilting! Hop over to Small Quilts to see more design wall posts.
Welcome to the "Dust off a Quilt book" blog hop hosted by Bea! I learned to love books early in my life because my Mom was a teacher librarian. We have always been surrounded by books and conversation about books.
Liberated String Quilts by Gwen Marston
Although many types of digital options are now available for reading, I still prefer a real paperbook.
Most quilters I know have amassed an extensive collection of inspirational books. Some books are purchased to sew a specific quilt pattern from the book, some are to enjoy the "eye candy', some are purchased to support a beloved writer/designer/quilter, and some are purchased to learn new creative ways of thinking or stitching. When Bea created the "Dust off a quilt book" blog hop, I started looking at some of my old favourites and was drawn to my Gwen Marston books, especially her Liberated String Quilts book.
String piecing on batting
There is so much going on right now in quilt land about string piecing, and I have an "embarrassment of riches" in the string department. I started my quilt on the Moda String Along day and made some progress. I am using up the long pieces of batting trimmed from the sides of a finished quilt. You know when your quilt is 80" and the batting is 90", so you have a 10" strip of batting that you cut off? What do you do with that strip? I thought these long batting strips would be a perfect foundation for a string quilt. Here are some of my first strips under the needle, putting through one after the other leader-ender style.
Although Gwen's book talks about "foundation free methods", I decided to make a quilt-as-you-go style string quilt for the blog hop. I pieced the strings onto a batting that has a solid colour backing fabric underneath. Once the strings are all pieced, the quilting is done and you just have to join the sections together for a finished quilt. Well, you also have to put on a binding too, but you know how much I love doing that! Here are the first two strips sewn, with a sashing strip being auditioned on the right. Such a wide variety of scraps in these pieces! I tried to use each fabric only once, but apparently there are a few repeats. And what are the chances of randomly piecing two sections of strings and having the exact same pink fabric meet in the middle?!?
I had to separate these two strips and put one on the left of the quilt and one on the right.
Here is the photo of sewing the sections together. The dark brown sashing will be on the front of the quilt and the gold sashing will be on the back of the quilt.
Once the sashing is attached to the front and back of the pieced units, I sew the sections together. This is how it looks joining the sashing to the next section... it's tricky!
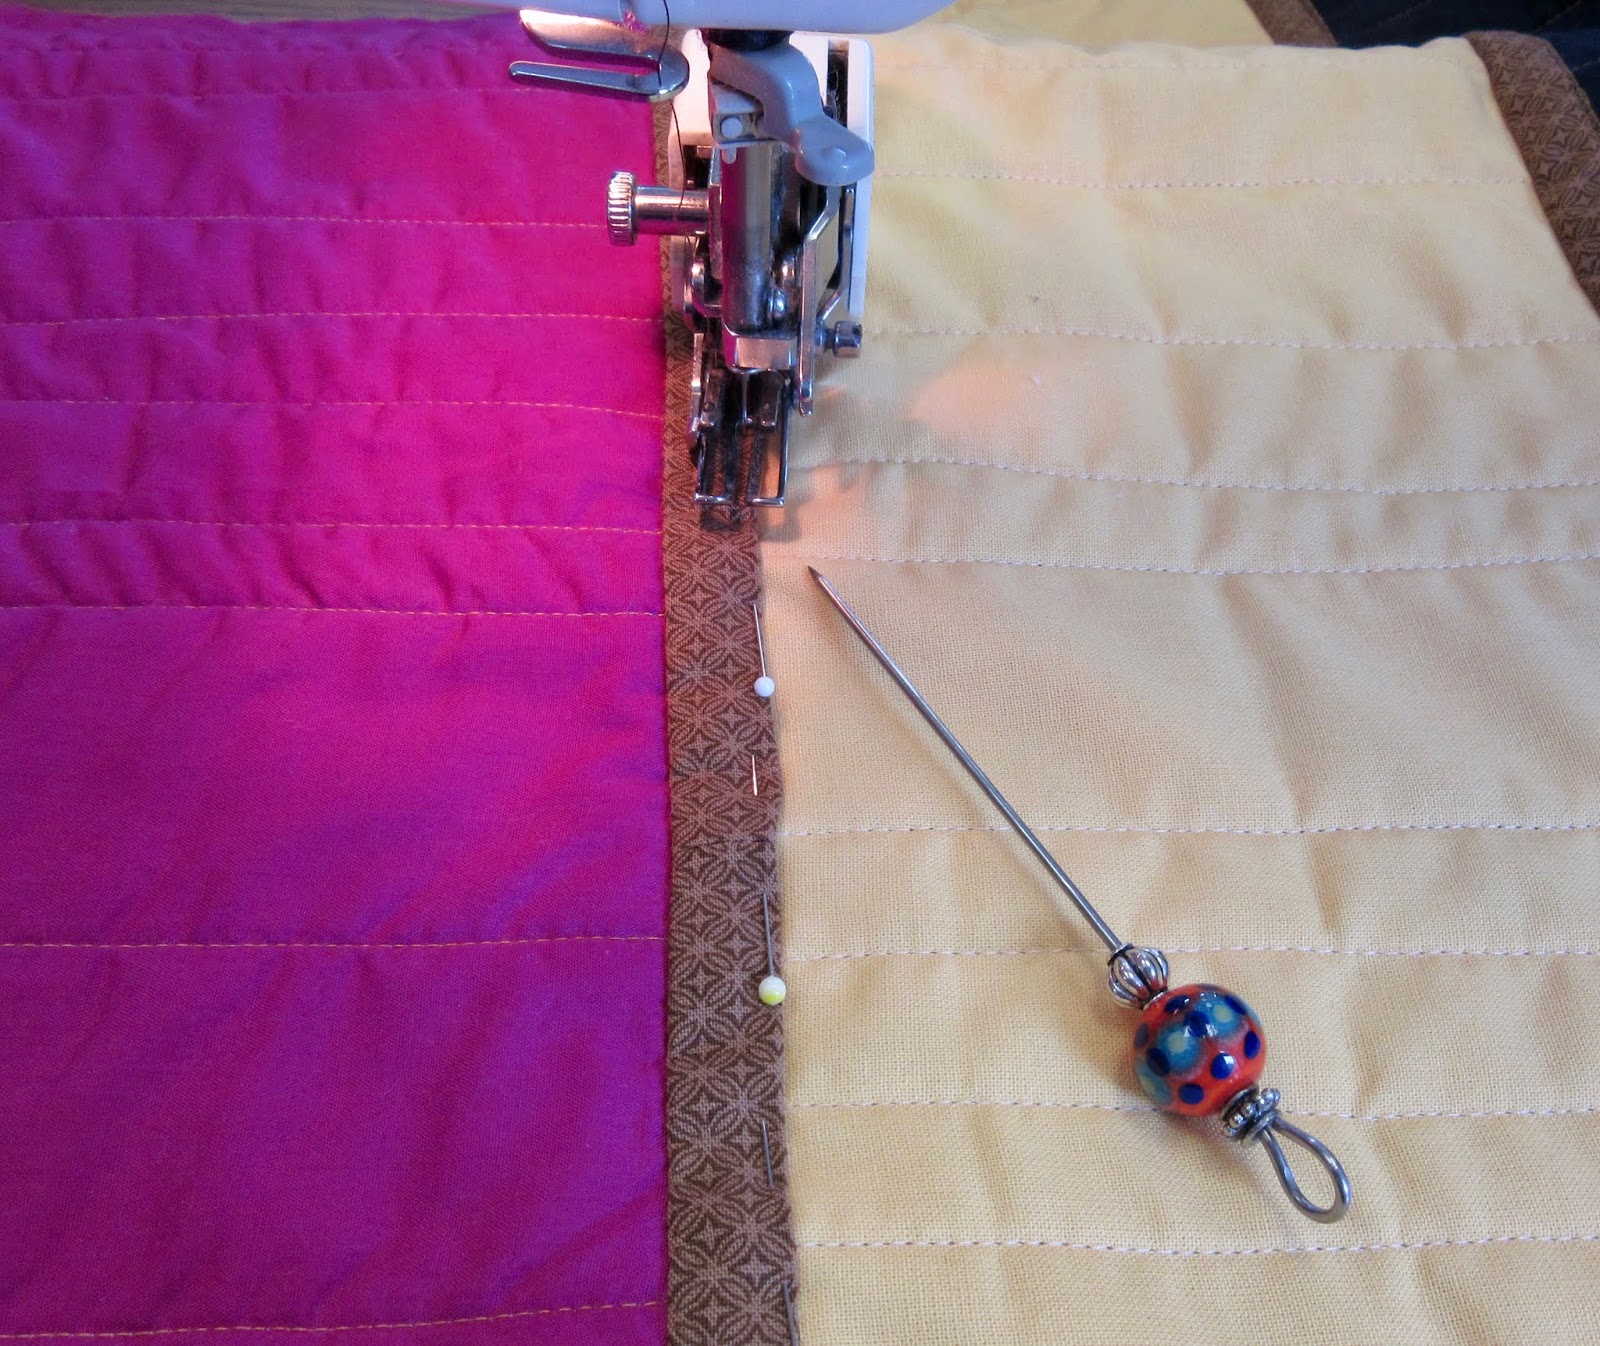
And this is how it looks when I am machine stitching down the final line of stitching on the edge of the sashing. Usually I do this with hand stitching, but I didn't have time to do that if I wanted to be able to finish this quilt in time for the blog hop! This beaded awl with a wicked point was the perfect tool for holding the edge in place while sewing.
Here is the finished quilt placed sideways on the design wall. The finished measurement is 40" x 60".
There are so many wonderful bits and pieces of fabric in this quilt. I love that each string is leftover from another project, and found a new life in this quilt. And I love that each section is a different width depending on the piece of batting that I was using up. I plan to donate this quilt to the comfort quilt collection at my local quilt guild. This is how the quilt looks from the back. I used up a collection of solid fabrics that were given to me. I don't enjoy sewing with solids but they make a great looking quilt backing.
I encourage you to visit the other blogs in the blog hop and here's the list for today... ENJOY!
It's my day to post my star quilt for the blog hop. Thank you for dropping by! My project is made of orphan blocks from 3 different block swaps from many years ago. The blocks were sitting in a project box in the UFO closet until Carol suggested making something with a star on it. Hey... I have some stars in the closet!
"Make a Wish"
The top star blocks are 6", the middle nine blocks are 12" and the bottom stars are 9". It was a challenge to figure out how to combine 3 different block sizes, and along the way there were a few creative possibilities using layouts that made the quilt way too big. I wanted to make a donation sized quilt, so this layout came out to the right size at 45" x 60".
quilting on a 12" star block
All the free motion quilting was done on my Brother 1500 domestic sewing machine. The quilting design is mostly loops and stars, with some curved arcs in some of the star blocks.
Pinocchio inspiration
Around the outside border I quilted the lyrics from the song "When you wish upon a star" (which won the 1940 Academy Award for best original song) from the Disney movie called Pinocchio. "When you wish upon a star Makes no difference who you are Anything your heart desires Will come to you"
Beginning border quilting
This song just makes me feel happy, and I played it on Spotify repeat until the border quilting was done! I even found the kids' old Pinocchio video to take a photo of with the finished quilt!
quilt back
I'm so happy that these blocks have finally become a finished quilt. Not a single fabric was purchased for the quilt top and the binding strips were leftover pieces in the navy scrap box. Here is a photo of the back of the quilt. It used up 5 pieces of fabric that were in a bundle on sale for $10 at Creative Sisters. That's a great deal for a backing! Hopefully you had some time to visit the other blogs on the hop and enjoy the wonderful star quilts that have been created (complete list here). Here are the other blogs to visit today:
Every year my local quilt guild donates many quilts to worthy causes in our community. Just as with all acts of kindness, we never really know how sending symbols of love into the universe will evolve and unfold. My daughter emailed me a copy of this facebook note regarding the gift of a quilt that was received by a brave soul, who was willing to publicly thank the anonymous quilt maker from our community. This is her post with the identifiers removed. This is precisely the reason why we make these quilts. It's why we invest our own money and time to create symbols of comfort and safety... because it helps to heal the wounds of others. This reminder motivated me to get working on some quilt blocks for the guild collection. We have a very hard working committee that takes fabric donations and organizes them into block kits for guild members to sew. I picked up 4 packages this month and each baggie has a pattern and all the fabric needed to sew the block.
This block pattern had a lot of HST blocks but it went together well and will make a great quilt. If you are looking for a place where you can a donate quilt or quilt blocks, hop over to Sarah's Hands2Help Charity Quilt Challenge for ideas and inspiration.