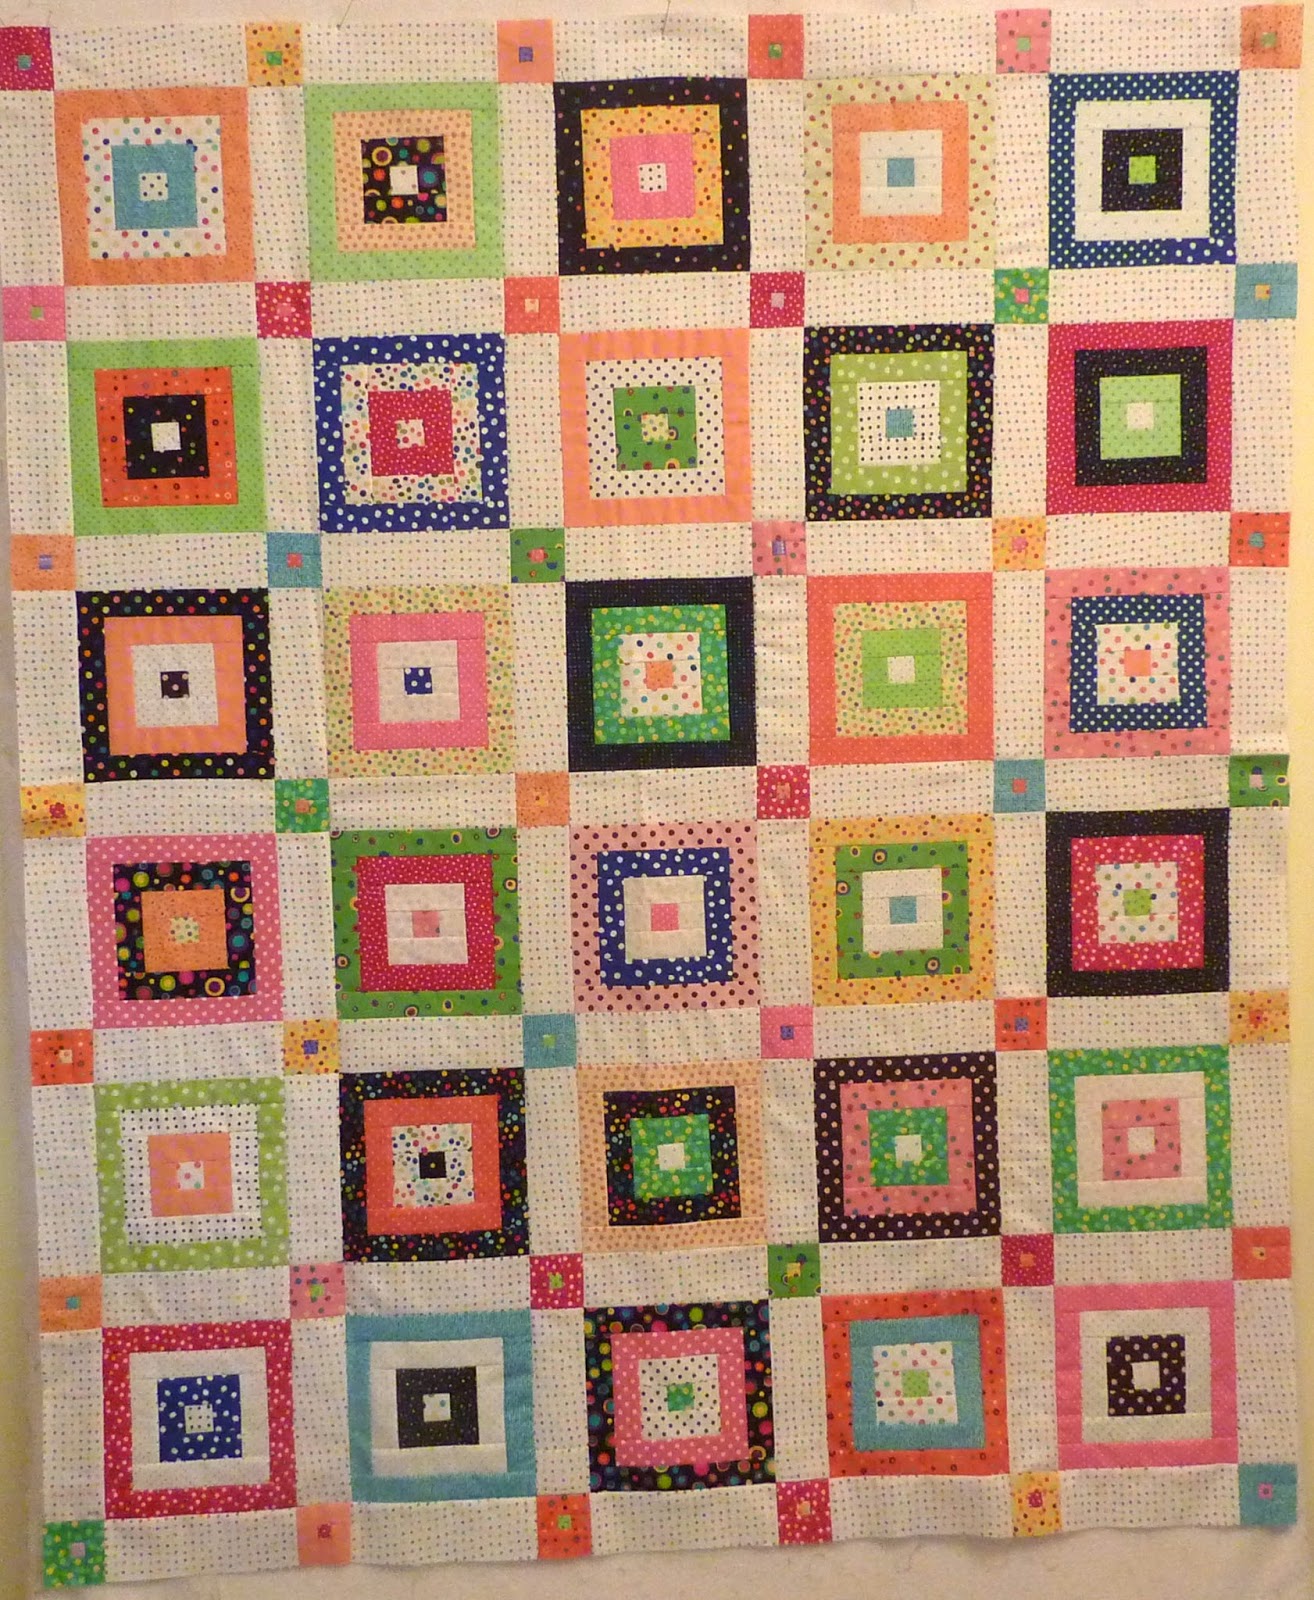
I am visiting an old project this weekend... my Alamo Stars.
They are so cute and will finish at 2.25" when sewn in the quilt.
The most tedious part is cutting out the 17 little pieces for one star block.
I have cut enough pieces for several star blocks and I clip all the pieces together for each block so they don't get lost.
I am combining January's blues and February's pinks.
Aren't they cute?!?
I will set these aside to use as leader/enders while sewing this week.
To see what other scrap quilters are sewing today, hop over to SoScrappy.
Saturday, January 31, 2015
Friday, January 30, 2015
January Binding Blitz
This was a great month for binding quilts here at Kathy's Quilts. 2015 is starting off with three finished quilts!
First there was the New Years Day mystery tabletopper from Quilbug. It finished at 28" square for a total of 112"...just a small bit of binding, but enjoyable all the same.
Then I finished a hand quilted 56" x 71" sampler quilt.
This was my first "big stitched" quilt and I really enjoyed it.
It was a very happy finish for me and adds 254" of binding to my total!
Yesterday I finished a machine quilted project called "One Stick at a Time". It measures 53" x 57", and adds 220" to the binding numbers.
So that was three finished quilts, for a grand total of 586" of binding stitched in January!
Julie is hosting a 2015 Binding Blitz to encourage us to complete those almost finished projects and I will link up when the linky party starts.
Thursday, January 29, 2015
The Fob is Dead
Over the holidays, "someone" (who shall remain nameless) borrowed my fabric scissors to wrap a Christmas gift.
Now, everyone in a quilter's family knows that quilting scissors are for one thing, and one thing only - quilting.
The answer to the question "Mom, can I borrow your scissors?" is unequivocally NO.
Now, everyone in a quilter's family knows that quilting scissors are for one thing, and one thing only - quilting.
The answer to the question "Mom, can I borrow your scissors?" is unequivocally NO.
From: Right Sides Together |
So in the course of using my favorite quilting scissors for cutting paper (*shriek*) this unnamed child CUT through the beautiful beaded fob that was attached to my scissors. Did I mention that this fob was a special birthday gift to me from my friend Barb, and was specially made by our friend Jackie?!?! UGH!
And here are the remains of my beaded scissor fob.
So, my quilting friends, what would you do?!?!
Tuesday, January 27, 2015
Machine Quilting
The machine quilting is progressing well on my QPOM. I am amazed at how quickly this has come together!
I am showing the back of the quilt and although it's a terrible photo, I hope you can see the rail fence kind of design that I quilted. It was a continuous zigzag kind of line stitched from the top left to the bottom right. Then I'd start again back at the top.
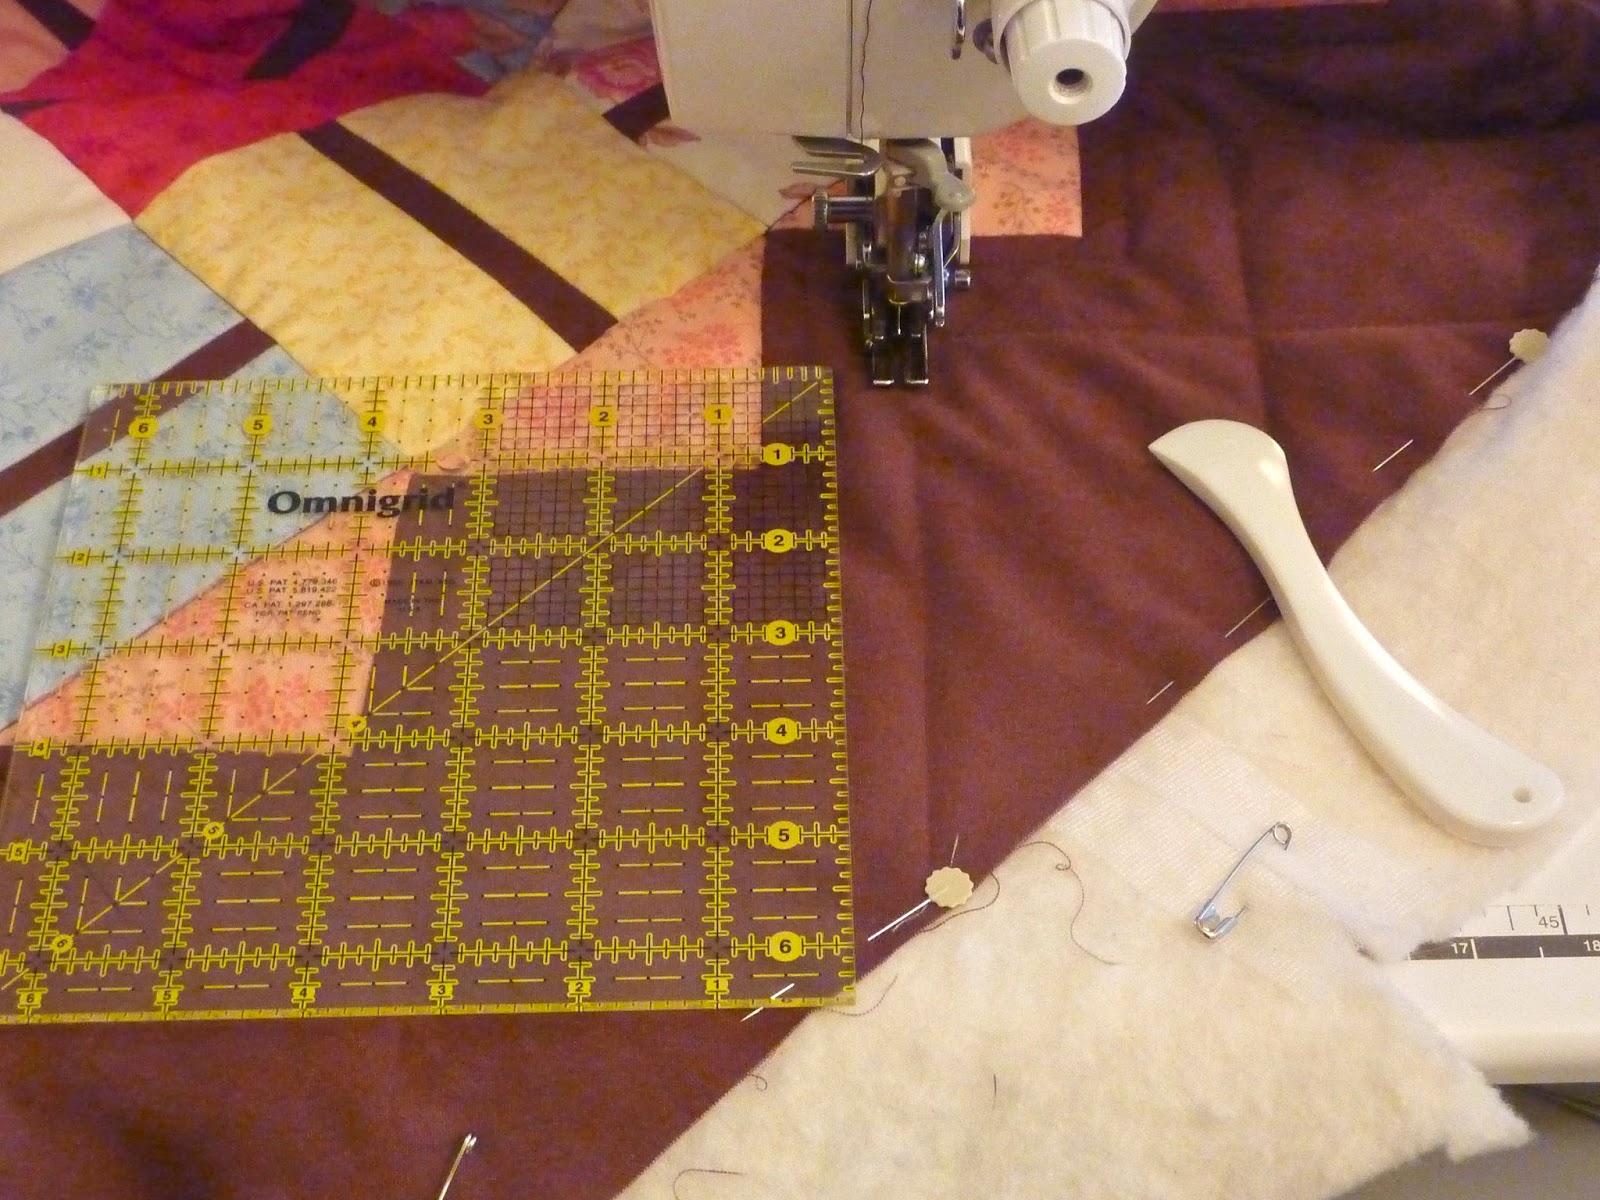
Once I finished quilting a line 1/4" beside the flying geese border, I made more straight lines in the brown border. I used my hera marker to make the guidelines. What a great tool this is! It doesn't leave any chalk or marker on the fabric, just an indentation to follow. You just need to have really good lighting when you quilt to enjoy using the hera marker. I marked the lines as I went along, and it turned out okay. Onto the binding...
Monday, January 26, 2015
Design Wall Monday - Grand Illusion
The Grand Illusion blocks are back up on the design wall and moving closer to being a finished quilt top!
I think I've decided on a light floral inner border, followed by the pieced border, and then the blue floral border. I'm not sure about the corner units yet, but am moving closer to a finished quilt top :)
To see more design walls, hop over to Patchwork Times.
Sunday, January 25, 2015
Slow Sunday Stitching
I just love Sunday mornings at Slow Sunday Stitching. Last week's link up was so wonderful. I enjoyed seeing many of the posts that included a photo of your hand, and I know just how challenging it is to taking a selfie while stitching. I saw a great variety of projects, thimbles, techniques, and colours. And I was inspired by many of your comments.
Carla reminded us that we have to take care of our hands, and be careful not to overdo because they are our most important tool... YES!
Maureen said "The hardest part is getting started". That is so true with many things in life, eh? Once we get going, and it doesn't seem as difficult as we had thought, we gain confidence with practice, and actually enjoy it!
Your slow stitchers rock!
So, on to announcing the winner (of the stitching tools giveaway) from last week's link up of hand photos. There were 37 amazing link ups last week, and the lucky winner is... #20 which is Debra from Quilting Artist. Congrats to Debra! Hop over to her blog and check out the very cool thimble she used in her hand stitching photo.
My slow stitching project is a block sampler that I started in June 2013, and have been hand quilting since September 2014. All the hand quilting is finished now and I must admit to feeling a little bit sad as I attach the binding. I always feel this way at the end of making a quilt that I have really enjoyed making and have an attachment to. I have begun to ponder which project I will hand quilt next. I sure wouldn't want to get the DTs (a delirium caused from withdrawal from an addiction, like hand quilting!) Maybe I will finish up the wallhanging that was cast aside when I became obsessed with this quilt? Or maybe I will begin quilting another UFO?
But for today, I will enjoy every stitch as I hand sew this binding down. What are you hand stitching today? I hope you link up your project below and share the progress (or maybe the lack thereof) that you have made this week.
Saturday, January 24, 2015
Rainbow Scrap Challenge - Crumbs
I put the pedal to the metal this week and sewed together my rainbow crumb blocks. I had to make a few more blocks for a layout of 7 blocks across by 10 blocks down. That's a total of 70 blocks measuring 6" finished, so right now the quilt top is 42" x 60". The orange is a bit out of control, but that's okay :)
It was a riot of colour in my sewing room joining these crumb blocks together. Just look at all those tiny bits that are finally being used up in a quilt.
I'm not sure if this quilt is done or if I might add a border, but for now it is making me happy just to look at it as it is :)
To see more rainbow scrap challenge projects, hop over to SoScrappy.
Friday, January 23, 2015
Grand Illusion Decisions
My design wall is a bit of a hot mess right now. I am trying to figure out how to put together my Grand Illusion mystery blocks. I sewed together the 12 inside blocks and have been trying to make border decisions this week.
The two major problems are:
1. My green fabric was just not making me happy. It seems just too dull (maybe it's a winter related dislike?!)
And also I didn't like how the sashing looked butted up against the block. So I decided to remove those sashing strips all together. They will make an appearance in the backing!
Bye green!
2. Next, I couldn't decide what to use for sashing and which way to sew on the next border. Also I wanted the next border to be more centered with the blocks, so I tried out an extra border unit with a white square and two floral corners, which you can see on the left side of these photos.
Here are the narrowed down choices...
Cathy reminded me to chill out. She said:
"Agonizing decisions are for paying jobs, not playing jobs". So true! So I am not agonizing over these decisions, and telling myself that there is no wrong decisions, only decisions that help make me like this quilt more.. or less.
Do you have any feedback or ideas to help move in the right direction?
1. My green fabric was just not making me happy. It seems just too dull (maybe it's a winter related dislike?!)
And also I didn't like how the sashing looked butted up against the block. So I decided to remove those sashing strips all together. They will make an appearance in the backing!
Bye green!
2. Next, I couldn't decide what to use for sashing and which way to sew on the next border. Also I wanted the next border to be more centered with the blocks, so I tried out an extra border unit with a white square and two floral corners, which you can see on the left side of these photos.
Here are the narrowed down choices...
Floral, blue or black sashing? |
Border blocks facing in or out? |
"Agonizing decisions are for paying jobs, not playing jobs". So true! So I am not agonizing over these decisions, and telling myself that there is no wrong decisions, only decisions that help make me like this quilt more.. or less.
Do you have any feedback or ideas to help move in the right direction?
Thursday, January 22, 2015
Pin Basting
With one January finish under my belt (that's a strange saying!) I am eager to get started on another one. I should be working on my UFO of the month, but it is stalled at the moment pending some fabric decisions.
So I decided to go ahead and prepare my January QPOM quilt top for quilting. It jumped to the head of the queue because I had a quilting idea, and had two pieces of batting that, once joined together with Heat Press fusible tape, made a perfect size for this quilt.
Here is the quilt sandwich all ready for pin basting. The backing is clamped and taped to the table (pulled taut but not stretched), the batting is smoothed out on top of the backing, and the quilt top is carefully smoothed out on top of the batting. I am using the Kwik Klip, which is my favorite tool to help with pin basting. I can't say enough wonderful things about it. I have two in my quilt studio just in case one goes missing! It will be ready to quilt in a jiffy!
So I decided to go ahead and prepare my January QPOM quilt top for quilting. It jumped to the head of the queue because I had a quilting idea, and had two pieces of batting that, once joined together with Heat Press fusible tape, made a perfect size for this quilt.
From Quiltmaker |
Wednesday, January 21, 2015
First Finish of 2015
It's a small quilt, but it's a finished quilt! The photo is a little off kilter, but so am I!
This is the Quiltbug New Year's Day mystery called "A New Beginning". You can see more photos of this pattern here.
I used up three small pieces of batting for this quilt, which were joined together with the Heat Press tape. So quick and easy.
This project was a fun way to start off the year and get back into some machine quilting. I used my free motion foot and quilted some arc shapes, making as few stop/starts as possible.
Quiltbug is offering a Super Bowl Sunday mystery too. It is called Neighbourhood Garden Mystery and the link to the fabric requirements are here.
Are you in?!?!
Tuesday, January 20, 2015
Annual Reorganization
One of the things I dislike about January is all of the stuff that has to be put away. New gifts entered the house at Christmas and we need to find a place for them. But there are no empty places, so we have to create somewhere by moving things around or getting rid of some things.
Have you seen Jerry Seinfeld's routine about garbage? The first minute of the video is unrelated, but after that it is soooo exactly the January challenge. As Jerry says, my home is a "garbage processing center"!
No one knows what to do with their new items, so they stay piled around the Christmas tree while we contemplate what to do. But once the tree has been put away for another year, the stuff has to go somewhere.
This is an interesting article about what to toss - "10 Items to Jumpstart Decluttering".
I am busy decluttering everywhere, except the sewing room... I NEED all that stuff!
As I've been tidying up, I remembered that I didn't post the Downton Abby Christmas special videos. If you enjoy Downton and haven't seen these, you really must watch them...they are hilarious!
Monday, January 19, 2015
Design Wall Monday - Sweet Treats
The month is more than half over and I haven't made much progress on my UFO of the month. This was a quilt along at Patchwork Times and is called Sweet Treats. It was started in the spring of 2012, so it has fermented enough and it is time to finish it up. It is up on the design wall and some blocks have been started for the next border.
I'm definitely going to have to pick up the pace and stop working on other projects if this one is going to make the deadline this month!
To see more design wall postings, hop over to Patchwork Times.
I'm definitely going to have to pick up the pace and stop working on other projects if this one is going to make the deadline this month!
To see more design wall postings, hop over to Patchwork Times.
Sunday, January 18, 2015
Slow Sunday Stitching
Last week I attended a work related conference and of course I took along my hand quilting. I set my tools on a chair for easy access, and then was captured by how pretty everything looked on the yellow chair. It doesn't take much to amuse me, especially at a very challenging conference.
This week I am inviting you to take a photo of your hand while you are stitching, and put it in your blog post today. Here is my hand stitching photo - some relaxing quilting in the morning sun which is the best light to stitch with. I am half way around the outside border now and the anticipation of a finished quilt is building. I plan to prepare the binding just in case I finish it soon!!
SO slow stitchers... link up your blog post below and be sure to include a photo of your stitching hand, and your name will go in the draw to win this box of treats, which includes some of my favorite stitching tools and some chocolate of course!
Saturday, January 17, 2015
Scrappy Saturday - Blue
This week I have been working on the pumpkin seed quilt. I had many aqua blocks, but no blue ones. So I have been rectifying that and completed two blue blocks - one light and one dark, plus have stitched seeds for three more blocks.
The selection of which blue thread to use for each block was fun.
Note to self: I have a nice variety of blue threads and should not buy any more! LOL
To see more rainbow challenge posts, hop over to SoScrappy.
Friday, January 16, 2015
Book Winner
Remember my blog post about the book "Imagine the life you'd like to live, then live it"?
Well, Max and I are finished reading the book, so we did a draw to pick the next reader. The random number generator picked commenter #25, so the winner is Chantal! I hope you enjoy reading this book as much as I did.
Max's creativity has improved as a result of reading this book. He found a new quilt to chew a hole in....right in the middle of the quilt this time! Unbelievable but true.
Of course it was another one of my most favorite quilts -a 9 patch exchange quilt. Can you see the hole in the green block?
I will show you the repair when it's finished.
No more quilt snuggles for Max!
Batting Ideas
One of the things that all quilters have kicking around in the sewing room is leftover batting pieces that are trimmed from the edges of finished quilts. What do we do with all that batting?
Don't throw it out! There are so many ways to use this pile of wonderfulness!
I did a demo at my guild meeting this week to share these ideas of how to use up batting scraps:
"With a little help from my friends" 5" x 6" |
* use small pieces as batting for miniature quilts (my favorite way to use up batting)
Baby Max on his dog mat |
* use scraps to dust your
sewing machine or house (with or without your swiffer)
* use small bits for pillow stuffing (with crushed walnut shells or on it's own)
One tip for using old battings scraps is to toss them in the dryer before using them. Use a low heat setting to get the dust out if they have been sitting around for a while (years!) Otherwise you might start sneezing :)
And if you don't want to do any of these things, take your batting scraps to a guild meeting and give them to someone who will use them.
Have a happy Friday!
Thursday, January 15, 2015
Machine Quilting Day
Today I am enjoying some machine quilting on my New Years Mystery top. I didn't really start out with a quilting plan, but I knew for sure I didn't want to do stitch-in-the-ditch. Instead I wanted to do something "free motiony" (I made up that word - feel free to use it!)
I put one of my favorite Janome feet on my Brother sewing machine and I'm just making arcs here and there. I am reminding myself that I'm not "creating a masterpiece", and I am just "finishing a quilt" - no pressure! Just breathe and go....
Are you sewing today?
I put one of my favorite Janome feet on my Brother sewing machine and I'm just making arcs here and there. I am reminding myself that I'm not "creating a masterpiece", and I am just "finishing a quilt" - no pressure! Just breathe and go....
Quiltville |
Are you sewing today?
Wednesday, January 14, 2015
Finished Quilt Top
"One Stick At A Time" is a quilt top! This was a fun and easy pattern to sew (by Jackie Syer of FRJ Designs).
I used two charm packs plus the brown fabric and the flying geese pink fabric. That pink fabric was leftover from the backing of a twister quilt. It's not from the same fabric line, but it fits in okay. Thanks to blog reader Cindy in NC for offering to send me some Lario fabric if needed... quilters are the nicest people!
The quilt top is 53.5" x 57.5", which is a perfect size for me to be able to quilt it on my sewing machine.
Tuesday, January 13, 2015
The Herd
It's time to fess up. I have developed a slight problem with collecting sewing machines. It's an odd thing to collect, since a quilter really only "needs" one good machine. So what's the deal on the "herd" (that is what quilters call a group of machines)?
It's like any other addiction I suppose. It started with just one sewing machine ... a basic Janome with no frills, purchased in 1990 for $300. I took my first quilting classes with that machine and sewed the guts right out of it. It is still kicking around here somewhere, but it has been retired.
Then I realized that I really liked quilting and I needed a real work horse for machine quilting. So I bought machine #2 - a Brother 1500 that supposedly sews 1,500 stitches per minute. It has been such a fantastic machine and I love it. If it ever dies, I will immediately replace it with one that is exactly the same.
One Christmas Santa brought me machine #3 - a lightweight portable machine called a Janome Jem Platinum, which is a great machine to take to classes. It is also the only machine I own that does a zigzag stitch, so I use this one for sewing batting scraps together, and anything else requiring a zigzag (like making fabric bowls).
Then I started to covet a "people powered" treadle machine and purchased machine #4 - an amazing 1901 Singer. I love this machine and it is set up in my dining room. I have a scrappy project that I only work on with this machine whenever I get the urge to treadle.
Just after I bought the treadle machine, a wonderful friend surprised me with machine #5 - a beautiful collector's white featherweight machine, which I love but don't want to sew on it too much for fear of wearing it out! It is so cute and makes a perfect stitch even though it turned 50 years old last year!
Then I met a lovely blue machine while I was taking care of my brother when he was sick. After my brother's death I bought machine #6 - that pretty "blue White" machine. This machine is a very heavy industrial machine and I can barely lift it - it's 100% metal parts (nothing plastic in this baby!). But it purrs like a kitten when it sews and makes a perfect stitch.
Then an old singer found it's way to me... I've never mentioned it before on my blog because I was embarrassed that I adopted machine #7! This really is a beauty, but I haven't had much time to get it working well yet. In addition to being a pretty machine, it's a lovely piece of furniture (being modeled by my Granddog Max).
Last year I was given two 301 Singers (I call them Lucy and Ethel) by a generous blog reader. She wasn't sure they were working machines, but I have spent some time cleaning and adjusting them, and they are now sewing perfectly. Machines # 8 and #9.
And so you see how a herd appears. I have also become somewhat of an expert at restoring old machines and am amazed by the variety of machines. And here's an interesting fact - not one of my machines uses the same bobbin! Here is a photo of 4 different bobbins.
I do take full responsibility for myaddiction collection and enjoy using each machine for various tasks. But I must admit that storage is becoming an issue.
My next machine purchase will be a hand crank machine, but working ones are in short supply. It's like searching for a needle in a haystack, but I'm fine with that. But that machine will be my last one for sure! *snort*
It's like any other addiction I suppose. It started with just one sewing machine ... a basic Janome with no frills, purchased in 1990 for $300. I took my first quilting classes with that machine and sewed the guts right out of it. It is still kicking around here somewhere, but it has been retired.
Ny nephew helping me to clean my Brother 1500 |
Then I realized that I really liked quilting and I needed a real work horse for machine quilting. So I bought machine #2 - a Brother 1500 that supposedly sews 1,500 stitches per minute. It has been such a fantastic machine and I love it. If it ever dies, I will immediately replace it with one that is exactly the same.
Janome Jem Platinum |
One Christmas Santa brought me machine #3 - a lightweight portable machine called a Janome Jem Platinum, which is a great machine to take to classes. It is also the only machine I own that does a zigzag stitch, so I use this one for sewing batting scraps together, and anything else requiring a zigzag (like making fabric bowls).
1901 Singer Treadle |
Then I started to covet a "people powered" treadle machine and purchased machine #4 - an amazing 1901 Singer. I love this machine and it is set up in my dining room. I have a scrappy project that I only work on with this machine whenever I get the urge to treadle.
Just after I bought the treadle machine, a wonderful friend surprised me with machine #5 - a beautiful collector's white featherweight machine, which I love but don't want to sew on it too much for fear of wearing it out! It is so cute and makes a perfect stitch even though it turned 50 years old last year!
Blue White |
Then I met a lovely blue machine while I was taking care of my brother when he was sick. After my brother's death I bought machine #6 - that pretty "blue White" machine. This machine is a very heavy industrial machine and I can barely lift it - it's 100% metal parts (nothing plastic in this baby!). But it purrs like a kitten when it sews and makes a perfect stitch.
Then an old singer found it's way to me... I've never mentioned it before on my blog because I was embarrassed that I adopted machine #7! This really is a beauty, but I haven't had much time to get it working well yet. In addition to being a pretty machine, it's a lovely piece of furniture (being modeled by my Granddog Max).
Twin 301 Singers |
Last year I was given two 301 Singers (I call them Lucy and Ethel) by a generous blog reader. She wasn't sure they were working machines, but I have spent some time cleaning and adjusting them, and they are now sewing perfectly. Machines # 8 and #9.
And so you see how a herd appears. I have also become somewhat of an expert at restoring old machines and am amazed by the variety of machines. And here's an interesting fact - not one of my machines uses the same bobbin! Here is a photo of 4 different bobbins.
I do take full responsibility for my
My next machine purchase will be a hand crank machine, but working ones are in short supply. It's like searching for a needle in a haystack, but I'm fine with that. But that machine will be my last one for sure! *snort*
Monday, January 12, 2015
Design Wall Monday - Grand Illusion Blocks
Grand Illusion blocks are on the design wall! There is one test block on the wall that has a green centre which I plan to change so it matches all the other blocks.I made half of the blocks for this mystery quilt. Although I also made half of the suggested number of sashing blocks, I decided I don't like the sashing in between. So I'm just going to go ahead and sew these together.
The sashing blocks will then either become one of the borders, or they might become part of the backing.
To see more design wall postings, hop over to Patchwork Times.
The sashing blocks will then either become one of the borders, or they might become part of the backing.
To see more design wall postings, hop over to Patchwork Times.
Subscribe to:
Posts (Atom)