Saturday, June 30, 2018

Scrappy Saturday

It's scrappy Saturday at the Rainbow Scrap Challenge. June's colour was aqua and July's colour is red, so I got to work making four more Maverick Star blocks from the pile of scraps on the cutting table. The red star was made from the mitered ends of the binding strips of Red Repro Broken Dishes, pieced on a 2.5" strip left over from the Square Dance blocks
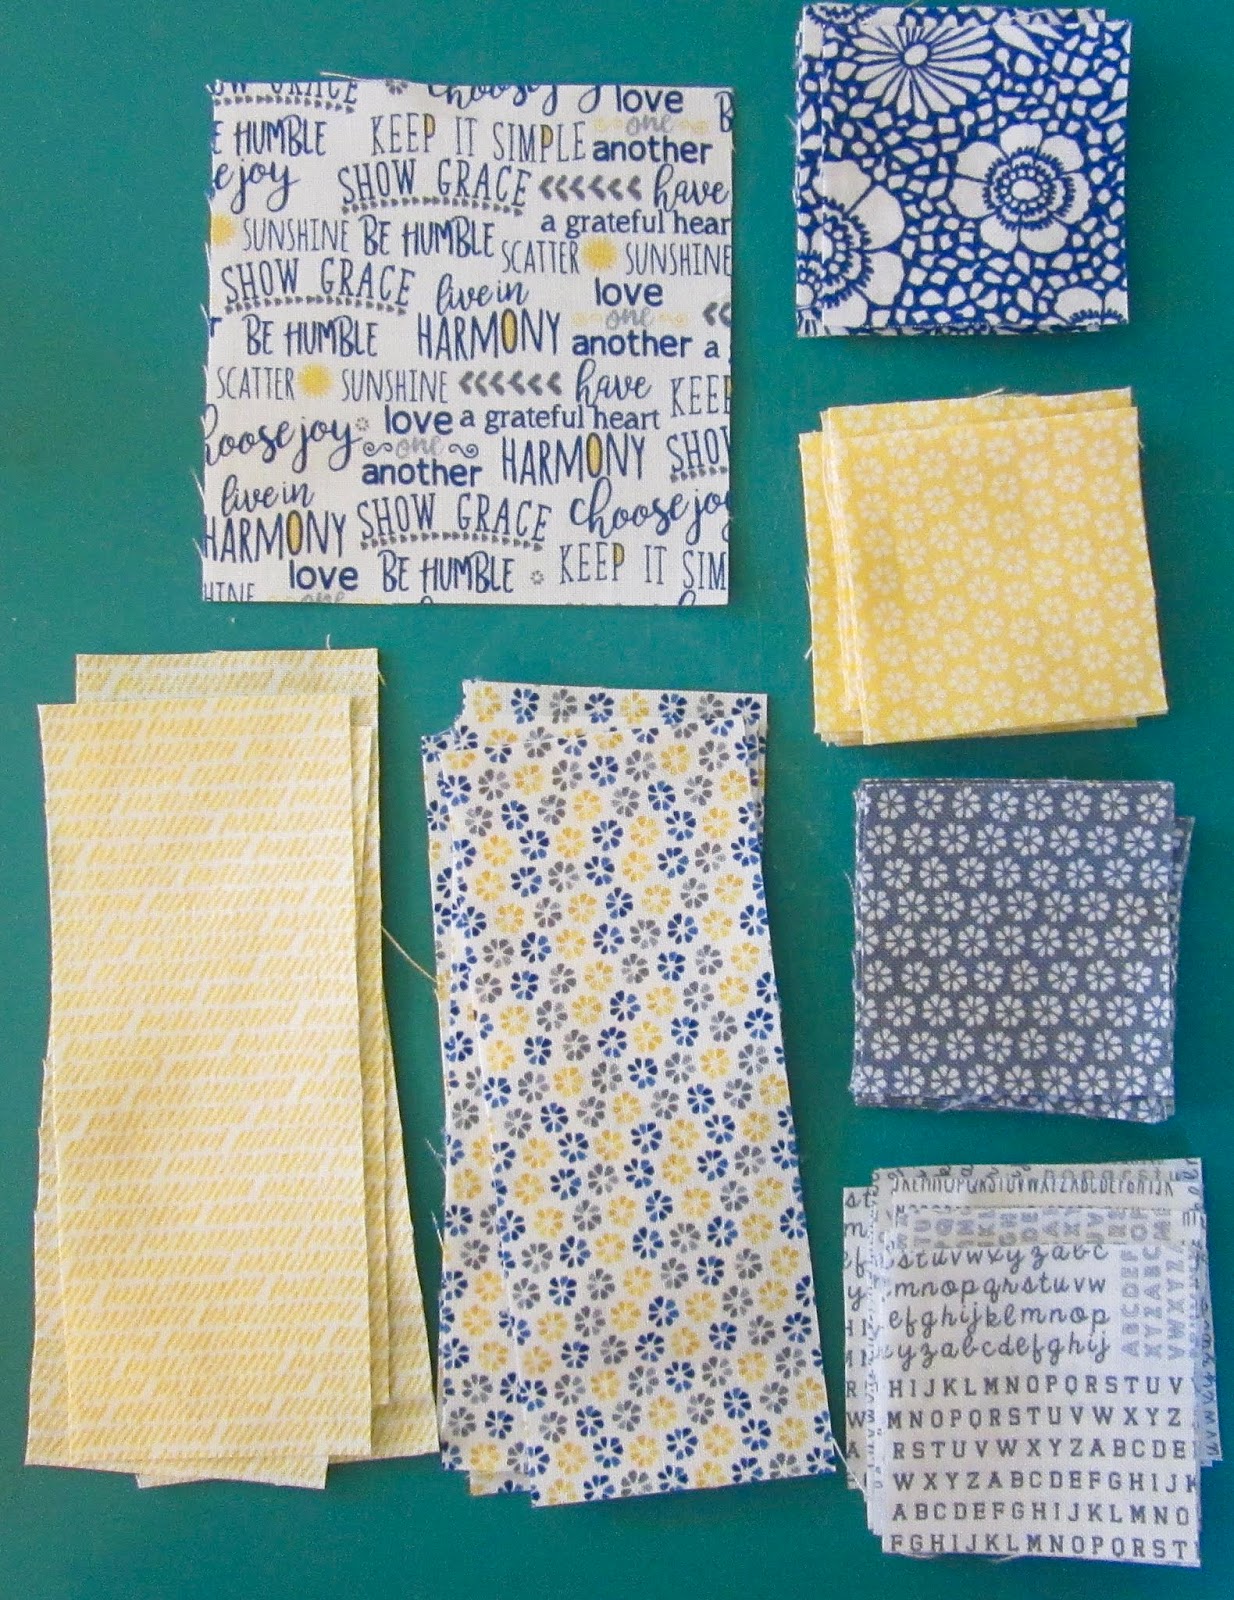
The teal scraps are from the scrappy improv quilt I'm working on. It's so rewarding to clean the scraps off the cutting table by turning them into useable blocks. They will join the star block collection that were seen on the design wall last month - click here.
To see more aqua projects, hop over to the Rainbow Scrap Challenge linkup.

Another finish!

attaching binding strips
It's always exciting to announce a finished quilt, but when it's the second finish in a week, AND when the finish actually meets the goal you set for yourself, well that's just a great day! My UFO for the month of June was my Broken Dishes quilt, made from red reproduction blocks received almost 2 years ago in one of Barb Vedder's block swaps

back of quilt showing quilting design


The blocks were sewn into a quilt top at winter retreat last year using a layout from Hyacinth Quilt Designs
The quilt was machine quilted over the past month using a combination of free motion curves and straight lines. More info can be seen here and hereThe binding took 4 evenings to stitch down and the quilt was finished on the very last day of June. Finished size is 48" square.


Here is the clothesline shot of "Red Repro Broken Dishes"...

To see more UFO finishes this month, hop over to the link up at One Monthly Goal.

Thursday, June 28, 2018

Mini Quilt Finish

Part #1 was posted yesterday describing how I took some quilt block trimmings/garbage and turned them into little "tent" units.  
This is part #2 of the finishing of the mini quilt.


The scrappy diamond blocks were sewn together randomly and because it's a mini quilt the quilting was really quick and easy...7 lines of "stitch-in-the-ditch (vertically and horizontally).


I cut the 1.5" binding strips from a 10" square of a chocolate bar print fabric and needed 5 strips to go around the quilt. The label is a 4" square folded in half and tucked into the bottom corner on the back of the quilt. I hand stitch the diagonal edge of the label and then sew the binding down on top of the sides of the label.


The finished size of "Diamonds in the Rough" is 9.75" x 10.75" (about the size of a wine glass) .

And now for the photo shoot...


Diamonds in the flower garden


Diamonds by Trout Creek

(it was windy so it could have been "Diamonds up the Creek" at any minute!


Diamonds in the field of wild lupins

(no snakes or other wild creatures were encountered during walk into field)

Isn't it interesting how the pink background fabric looks slightly different in each photo depending on the lighting and the colours around it!?!
So there you have it... a little improv quilt made from scraps.

Wednesday, June 27, 2018

Mini Quilt Start

One of the problems with being a creative person is overstimulation. I get too many ideas to work on in this lifetime. When I'm working on a quilt I am often distracted by the pieces that get trimmed off (that normal people would put into the garbage).
I start getting ideas of what I could do with those scraps and before you know it, I'm designing another quilt in my mind while I'm still trying to focus on finishing the one I'm actually supposed to be sewing. 
This happened with the Square Dance mystery. In trimming the Allemande Left blocks there were several cute little bits cut off.
Here they are. So cute!
They can't possibly be tossed in the garbage. 


And so, two new quilts were started from the scraps!

The larger pieces on the bottom of the above photo were put into a scrap box and you'll see what they become next month. But the top tiny bits became a mini quilt this week.
They were sewn together and then background fabrics were auditioned. The neutrals were too boring and the raspberry was pretty but a bit too dark. The pinks seemed to be best, and I went with the patterned pink on the left which wasn't as "flat" as the solid pink.


I strip pieced the pink background to the sides of the units on my Lucy my 1953 Singer 301. Even though she is 65 years old, she still sews like a dream and I love how her "long bed" has an indentation for your wine glass (well what else would it be for?) These units looked like little tents and I had lots of ideas for layouts with that shape, but decided to go ahead with the diamond shape. 


Because they were cut off scraps, all the units were slightly different sizes and a lot of trimming went on. The diamonds were 2" by 4" unfinished.
Drop by tomorrow to see the finished quilt!

PS If you've missed having the blog comments sent to your email, Carol posted a possible fix (click here) that I am trying. It seems to be working today! Thanks Carol!

Tuesday, June 26, 2018

UFO Progress

 cause of lack of progress/mistakes

I'm just back from visiting my quilty friend Deanna and will be posting this week about all the projects that I finished over the weekend. 
Just kidding.... only one mini quilt got finished! 

You can see some crazy pictures she posted on her blog here and notice that I am quilting with my finger, which is not going to accomplish anything!
But some progress was made on a few projects and I'll post more about that as the week goes on after I catch up on my sleep.


I am determined to finish my Broken Dishes quilt by the end of the month, and that goal is still possible. 
I switched back and forth between free motion and straight line quilting. I used my Hera marker to make the straight lines to follow so there will be no marks to remove from the muslin. I'm not sure if the machine quilting is "enough" and may add in more curved lines in some of the larger open areas.


All was going along fairly well until I was ready to trim the quilt to sew on the binding, and I noticed this. UGH! The backing folded over at the corner and I stitched right over top of a pile of bunched up fabric underneath the quilt and didn't even notice it. The seam ripper was called into action, stitches removed and the area re-quilted. 

Two steps forward, one step back. 

There are 4 more days in June to reach my UFO goal this month.  If only I didn't have to work or sleep...

Sunday, June 24, 2018

Slow Sunday Stitching

Welcome to the weekly hand stitching party!

We are in full summer mode here, with long sultry evenings and lots of time for stitching in full light.
My friend Barb and I took a road trip to Trout Creek to visit our friend Deanna and Barb's sister Louise. Slow stitching will be on the agenda today for sure. Here is a photo of Deanna last evening working on some hand stitched hexies.

These are Barb's hands trying to figure out how to use this cute little bird shaped needle threader. She seemed to like it and got it working well.

I was finishing up a mini quilt that I just started yesterday. I was supposed to be working on my Scrap Dance quilt but got distracted by the scraps and found myself making a mini quilt (more about that later in the week).

Here's a typical label that I make, just a square folded in half, tucked in the bottom corner on the back of the quilt, stitched across the diagonal edge and then the binding is stitched down on top of the label. 
Today we will be in Deanna's gazebo working on our hand stitching projects and I'll finish up this miniature quilt. I'll show more about our Slow Sunday Stitching next Sunday. 

What are you stitching today? Link up your blog post below and share your progress with us.


    An InLinkz Link-up
   

Thursday, June 21, 2018

Dog Days of Summer

Happy Summer Solstice! It's a time "to slow down and appreciate the arrival of summer" during the longest day of the year.

I just finished making 4 more dog beds for the Humane Society. 

You would be surprised at how heavy this pile is! They are made from old pillowcases and stuffed with scraps of fabric and batting strips that are trimmed from the edges of a quilt just before the binding goes on. 

Remember that only scraps that are less than 1" go in the dog beds. 1" pieces are useable for things like the Omigosh project. Of course larger than 1" pieces go into regular scrap bins. Making dog beds is a great way to deal with the really small stuff and give it one more use before going to the landfill. 

If you want to make your own Missouri Star Company has a video posted with ideas and tips - dog bed tutorial.

Wednesday, June 20, 2018

Design Wall Wednesday - Square Dance


On the design wall today are the blocks for the Square Dance mystery quilt. The final step was posted last week over at From My Carolina Home


The first task was to sew the 9 patch blocks to the "Allemande left" units. And then sew two of these pairs together into a block.
Easy peasy and quick!

And as Carole says, when you put these blocks together "this is where the magic happens". 


Yep... there you have it! It's magical! I'm not sure how big my quilt will become, and I still have many 9 patches but not many of the other blocks. I think what I did was use my magical math skills to sew enough 9 patches for the twin size and then made enough alternate blocks for the lap size. 😖
Linking up to Sew Fresh Quilts.

Monday, June 18, 2018

Lovin Improv!

It's very freeing to make quilts using improv methods. No pattern. No end product in mind. You have no idea where the journey is going to take you. Art imitating life.
pile of leftover blocks and scraps
You look at your supplies and ask yourself what do I like about this collection? You just start taking action and see what happens.
You have to park your fears at the door of the quilt studio. You cannot entertain thoughts like "what if it's a total disaster"? You have to give up all your expectations of creating something wonderful. It might be terrible and you might have to do a "walk by drop off" at the guild meeting to dump the whole mess in the scrap bank!


first collection of strips and squares
All your worries about "wasting fabric" have to be put aside so you just focus on the next step of creating and enjoy the process!
Hmmmm...what would I like to sew more of? There has been some deconstruction of leftover blocks and lots of putting things on the design wall and asking myself "what do I like about this" and "how can I fix/change what I don't like". 


10" sections interspersed with Kate Spain squares
I started off this project knowing that the Kate Spain squares from Sarah are 10", so I decided to create blocks that measure 10" and maybe sew them into rows. The Kate Spain squares are pinned on the wall in various widths to create rows. I can see from this photo that some of those squares are not going to make it into this quilt, especially the ones that look too pink or too pale. They will have to be part of the backing. Looking at the photo I'm wondering if I need some horizontal lines to go with all that vertical movement. I'll try some and see if I like it. 

There is no "right" answer in improv... we're just making it up as we go along! The only thing I know for sure is that I am having fun and can't remember what I was working on before this!
Linking up to Small Quilts and Oh Scrap!

Sunday, June 17, 2018

Slow Sunday Stitching


Welcome to the weekly hand stitching celebration! 
This is a special weekend because it's Father's day and also my birthday. I'll be taking my Dad out for a special lunch today and remembering how blessed I am to have such a wonderful DAD!


At some point today I'll be enjoying some slow stitching time and conversation with Dad. In addition to visiting with his kids and grandkids (who adore him), Dad loves to spend time playing games, so I might need to put the stitching aside for a while!


Yesterday was also a day of celebrating - my friend Debby organized a sewing party for me with a mystery project, which was a bag with a measuring tape snap closure. Making 3D projects is a little challenging for me since my brain doesn't process the steps well, but I managed to keep up fairly well and am delighted with my finished product. 


Of course I made the  construction process a little longer by doing the quilting by hand. I can't help myself because I love it! You can maybe see that I quilted lines in all the seams, on some of the motifs in the fabric, and stitched a few diagonal lines for fun. It wasn't too difficult to hand quilt through the fusible batting.


When the quilting was done, I hand stitched a little pocket to the inside of the bag. So darn cute!


You can see my trusty little 1952 Featherweight machine was along and it did a lot of the work for me. But given a preference, I do like to do as much hand stitching as possible.


Here are the two sides of the bag... back and front. 


Many thanks to my friend Debby for organizing this special birthday party and making a lovely lunch for us, to her Mom Dorothy for sewing along while always keeping several steps ahead of us (and making sure we knew she was!) and to our wonderful teacher Deb Beirnes. Look at the pretty dessert she made for us!
So that was my fun birthday project, and in the time it took me to make one bag, both Debby and her Mom made two! That's what happens with hand stitching... you get to enjoy your project longer since it takes twice the time!

What you are hand stitching today? Link up your blog post below and share your slow progress with us.


    An InLinkz Link-up


Saturday, June 16, 2018

Scrappy Saturday

It's aqua month over at the Rainbow Scrap Challenge and for some unknown reason, most of my projects at the moment involve aqua, so the scraps are everywhere!
First I got a lovely surprise package in the mail from Sarah from Hands2Help Charity Quilt Challenge. Just look at these pretty Kate Spain fabrics which are mostly aqua, with a bit of lime and purple. The colours reminded me of a triangle quilt I made in 2009, and the Starburst quilt made in 2015. I searched around in the scrap bins and found the leftover blocks and scraps from both of those projects! It's a disaster in my quilt studio but miraculously I can usually find things I need!
Here are all the pieces I found. The plan is to combine the Kate Spain fabrics with the leftovers from these two finished quilts. It's so fun to make an improv quilt using this process. It's kind of like looking in the refrigerator and making a casserole from whatever is in there. You never know how it's going to turn out! 


I also finished up some quarter square triangles for the next border on my Clarissa quilt.

To see more aqua projects in the making, hop over to the weekly RSC link up.

Friday, June 15, 2018

Glue Batik Painting

At a recent weekend away with some friends we decided to make glue resist batiks. We watched a glue batik video and gathered some supplies... plain white handkerchiefs, Elmer's white glue, acrylic paints and paint brushes. We drew our designs with pencil and traced over the lines with the glue. 


My glue line was way too thick and took too long (overnight) to dry. Lesson learned. Once the glue was dry, we got out the paints. The dried glue contains the paint and prevents the colours from bleeding into other areas. I've done a lot of fabric painting with Setacolor paints but not much with acrylics. Both are fun.


Once the painting is dry, you put it in a hot water bath to dissolve the glue. There was definitely some colour loss in that process.
Here is the finished piece hanging outside on a table to dry. When picking up the freshly painted fabric some paint transferred from one area/colour to another.  You can see some blue where orange is, and some red where only blue should be. You can't control all the elements! That's life!


Here it is pinned to the design wall, which shows that some of the colours are much less intense once the paint dries. I'm looking forward to hand quilting this over the summer.
And I'm going to get more supplies for the kids to try out this technique on our annual family camping trip this summer.

Wednesday, June 13, 2018

Ideas needed!

The new Blockheads II has begun with the first pattern released last week. Every Wednesday will bring us a new pattern from the Moda designers, although the newly revised website is harder to navigate. Hop over to see if you can find the new block that will be posted today (here's the link to block #2). 
For this new project I bought a collection of fat quarters from the Harmony fabric line by Sweetwater.  I love to start a new project, and I love to open a new bundle of fat quarters!
Love 💕 love 💗 love💖
We are not going to talk about the fact that my version of the first Blockheads project has not been completed, nor the fact that I said I was not going to start the new one until the old one was finished.


I was wrong about my self control and once I saw the first block pattern posted, I immediately opened up the bundle and grabbed the rotary cutter. When I spread all the fabric out I wondered if I was going to have a problem with the lack of contrast. The values mostly read from light medium to dark medium. 


Hmmm what to do?
I went ahead anyway and was so happy cutting up the little pieces and sewing them back together. My favourites are the text prints and the sunshiny yellows.


Here is my Stellar Star block.


 I was disappointed to see how it turned out. After all that time and excitement, to not really like the end product is just... ugh.
Do you see what I mean about not enough contrast? What do I need to add in order to improve this fabric collection to make future blocks more appealing.
Add in some dark tone on tones? Use a pure white for the light, the lights for mediums and the mediums for darks? All ideas are welcome :)
Linking up to Sew Fresh Quilts.