Showing posts with label Finished Quilt 2022. Show all posts

Saturday, October 29, 2022

Scrappy Saturday Mini Quilt

The weather this week has been glorious and tempted me to be outside as much as possible. Quilting time has been greatly decreased, but soon the snow will fly and there will be lots (too much) indoor time.


I did finish Sewcialites block #2 called Tussy Mussy by in Susan Ache. I enjoyed using up some small pieces from the 2" scrap box to make this on point block. It doesn't have a "co-ordinated" look, but it makes me happy!


But what made me even happier was using up the tiny leftover baby HSTs I made while sewing this block. Whenever possible before cutting off block corners, I sew a second seam and cut between the stitching lines, which gives me bonus tiny blocks. In this case they were trimmed up to be 1.5" (1" finished).


These little pieces turned into a little coaster. To give a sense of the scale, this is the variegated green Aurifil thread I used for the quilting... almost as big as the coaster!


I enjoyed hand binding the mini quilt in the sunshine and took a ridiculous photo of the little quilted gem clipped to the tree in the front yard. The leaves are a beautiful golden colour and the sky was a pretty blue.


And one last shot of this new finish already doing it's job as a coaster! 

Finished size: 4.5" x 4.5"


Linking up to Rainbow Scrap Challenge and the Table Scraps Challenge


Thursday, June 30, 2022

Make it Miniature!

As my blog readers know, I am an avid miniature quilt maker and teacher. I have written almost 60 blog posts about making miniatures. Most of these little treasures serve no practical purpose, although sometimes they are special gifts, or they become mug mats or placemats. But the most important purpose is that it makes me feel great happiness, which is a good enough reason to spend lots of time doing it!

I recently watched the series called "Best in Miniaturewhere artists created dream homes in miniature size. 

My favourite episode was week 7 when the artists made hand sewn miniature pillows. This series validated my love of all tiny things, and the importance of pursuing your artist dreams. This show is casting now for the second season if you know anyone who would be interested (apply online here).

I will never use the true miniature scale of 1:12 that is used on the show. That means that a 12" block would become a 1" block which is too small for my enjoyment.

But I really enjoy making smaller projects, and this month I made a 4" berry with 49 pieces (pattern by Jackie MacDonald).

I love cutting the little pieces, and in this project the blocks are 1". 


Here are some tips for sewing miniature quilts:

1) Be precise in cutting and sewing. When you need a 1" square it must be exactly 1". When you sew the seam allowance is must be exactly 1/4".

2) Use a 50 weight thread for minimal bulk in the seams.

3) Keep your block layout right beside your sewing machine. This is my sewing station to the left of my machine. The layout is on the far left cutting mat and as rows are sewn, I pin them to the soft pressing mat right beside the machine.

4) Never use a steam iron, and only use an iron to press the finished block. Use a seam roller to flatten the seams as you go along. On a small block like this I press the seams in alternate directions for each row, and then press the row joining seams open.

5) Carefully check your seam allowance and fix every mistake as you go along. An incorrectly folded seam allowance is not a problem with regular blocks, but it makes a big difference with small blocks in terms of how flat the block will be. See how on the first seam the corner is folded back and the seam is pressed the wrong way?

6) Pin your rows to a soft pressing mat and double check your layout as you go along. I make at least one mistake in every block I sew. See how easily it happened?!? This is not a berry shape! It can easily be fixed at this point, but once rows are sewn together it's a little harder to fix.

7) Use lots of pins. This photo shows how I double pin a 1" square. It's amazing how much little pieces can shift between getting them accurately together between your fingers and how they end up under the needle. Don't let the feed dogs drag the pieces up to the needle (which causes shifting). Instead put the needle down at the beginning of the seam and then put the presser foot down.

8) Once the block is sewn, I use an iron to press the block carefully on a wool mat, and then move to a regular ironing board and use Best Press for a second pressing. Pressing is an up and down motion only - never drag the iron on the block/quilt, and never ever twist the iron on top of your precious block as it will distort the project.

9) Miniature quilts need minimal quilting. 
Instead of quilting this mini, I stitched some yellow french knots to hold the layers together which adds a texture element which looks a bit like the seeds on the outside of a strawberry. 


10) For mini quilts I use a single binding strip cut 1 3/8", machine stitched to the front and rolled over to the back, folded over and hand stitched. 


And drum roll please... here is the finished mini berry! So sweet!

Finished size: 4" x 4"

If you would like to make your own miniature berry, click here for the pattern in 2 sizes.


Hop over to Constant Quilter to see more mini quilts made in June.

Monday, June 27, 2022

Finished Unity Quilt!

A finished quilt is on the design wall today! 


This quilt is my variation of Bonnie Hunter's medallion pattern called Unity (which you can purchase here).  This was a mystery quilt that Bonnie freely shared with the quilting world at the beginning of Covid in 2020. Remember back when we were learning to sew masks, and staying safe at home? We had no idea what a global pandemic was at that time, but we do now and through it all... the quilters continued to quilt, as we always do!

I started my version in April 2020 and added two words into two borders as the quilt grew. I finally finished the quilt top in May 2022, machine quilted my way through June, and hand stitched the binding over the weekend. 

This quilt has a eucalyptus batting that I had in the closet. I have no idea how it will hold up to washing and use, so I look forward to finding out. It handled beautifully on my machine and I liked it as well as my "go to" batting which is Warm and Natural. It also has a lovely drape on the bed.

It's such an amazing accomplishment to take a pile of scraps and turn it into a beautiful quilt and I did it! Thank you to Bonnie Hunter for helping to sustain my sanity through all those early scary Covid days by distracting me with this fun quilt project!

Finished size: 72" x 80" 

Linking up to Design Wall Monday at Judy'sFavourite Finish at Cheryl's, and One Monthly Goal at Patty's

Sunday, May 08, 2022

Slow Sunday Stitching

Happy Slow Sunday Stitching and Happy Mother's Day! While people are visiting and enjoying family time today, why not pick up your needle and thread, and make some progress on your projects.

I have a finish to share this week! This embroidery pattern is by Joy MacDonald and was started as a stitching meditation in January. It was a wonderful project to spend time with during turbulent world events. Stitching is my therapy!

I'm very happy with my hand quilting on this little treasure. And I'm delighted that all the blue marks were removed after washing. I was nervous about that, but I worried for no reason. 

Today I will be putting more stitches into my other hand quilting project - March into Spring

The bottom section is quilted and I love how the lines in the flying geese block look. It's coming along slowly but surely!

What will you be hand stitching today? We hope you will link up your blog or instagram post below.


You are invited to the Inlinkz link party!

Click here to enter

Wednesday, March 30, 2022

March UFO is Finished

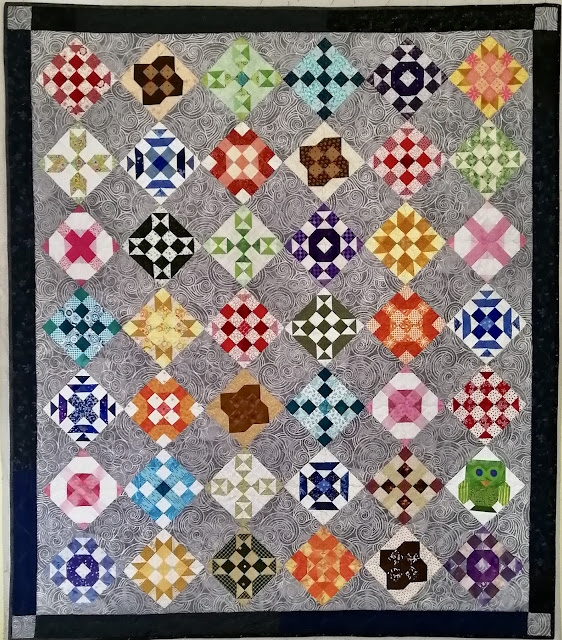
What great fun it was to quilt one of my favourite Rainbow Scrap Challenge projects!


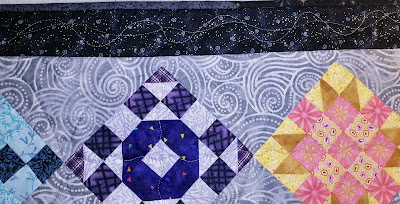
I quilted curves (or half melon shapes) in all the plain alternate grey blocks, and that was really fun.

And for the pieced blocks I quilted a wavy line through the centres.


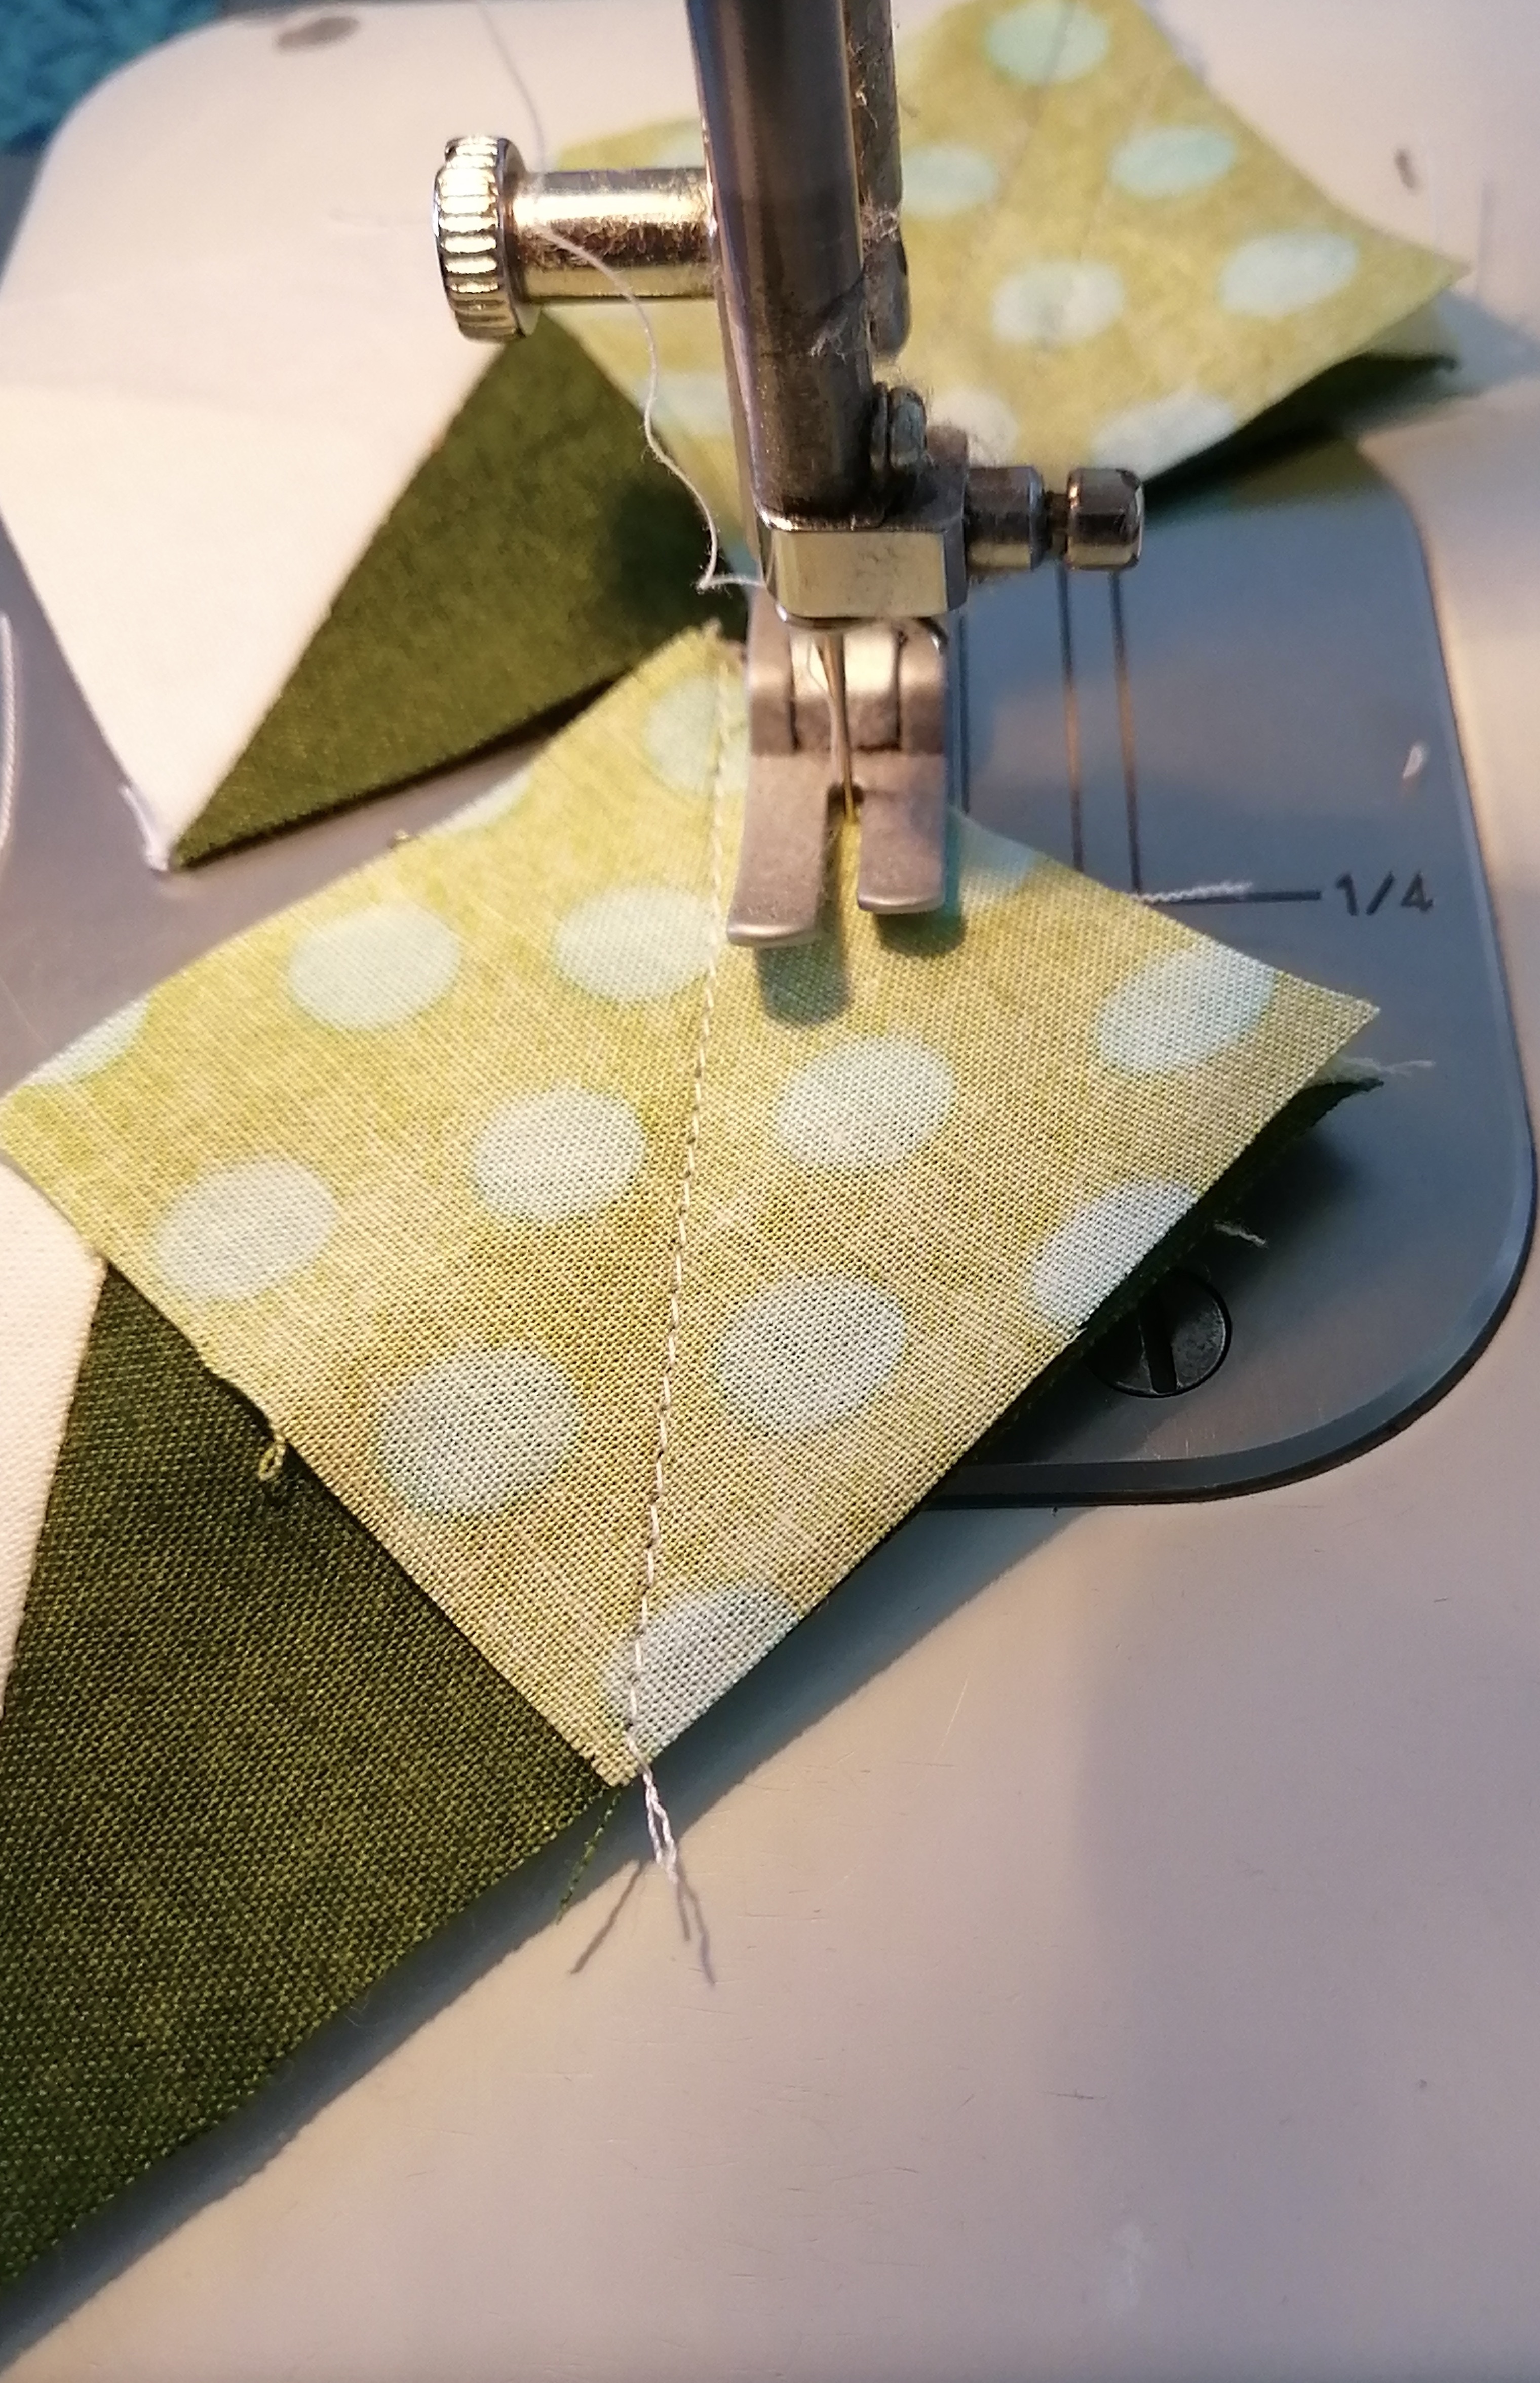
There was absolutely no stress at all when quilting this one! It was pure enjoyment and I think that might have something to do with no straight line quilting which is harder for me and takes longer to complete.


In the border I quilted wavy lines for a ribbon effect using 2 colours of grey. This photo shows me stitching along with the second line, making it up as I go along (no pre-marking) and quilting around pins when I'm stitching too fast to remove them!


I like the effect of this easy border quilting design and it's a perfect fit with the swirly  background fabric.


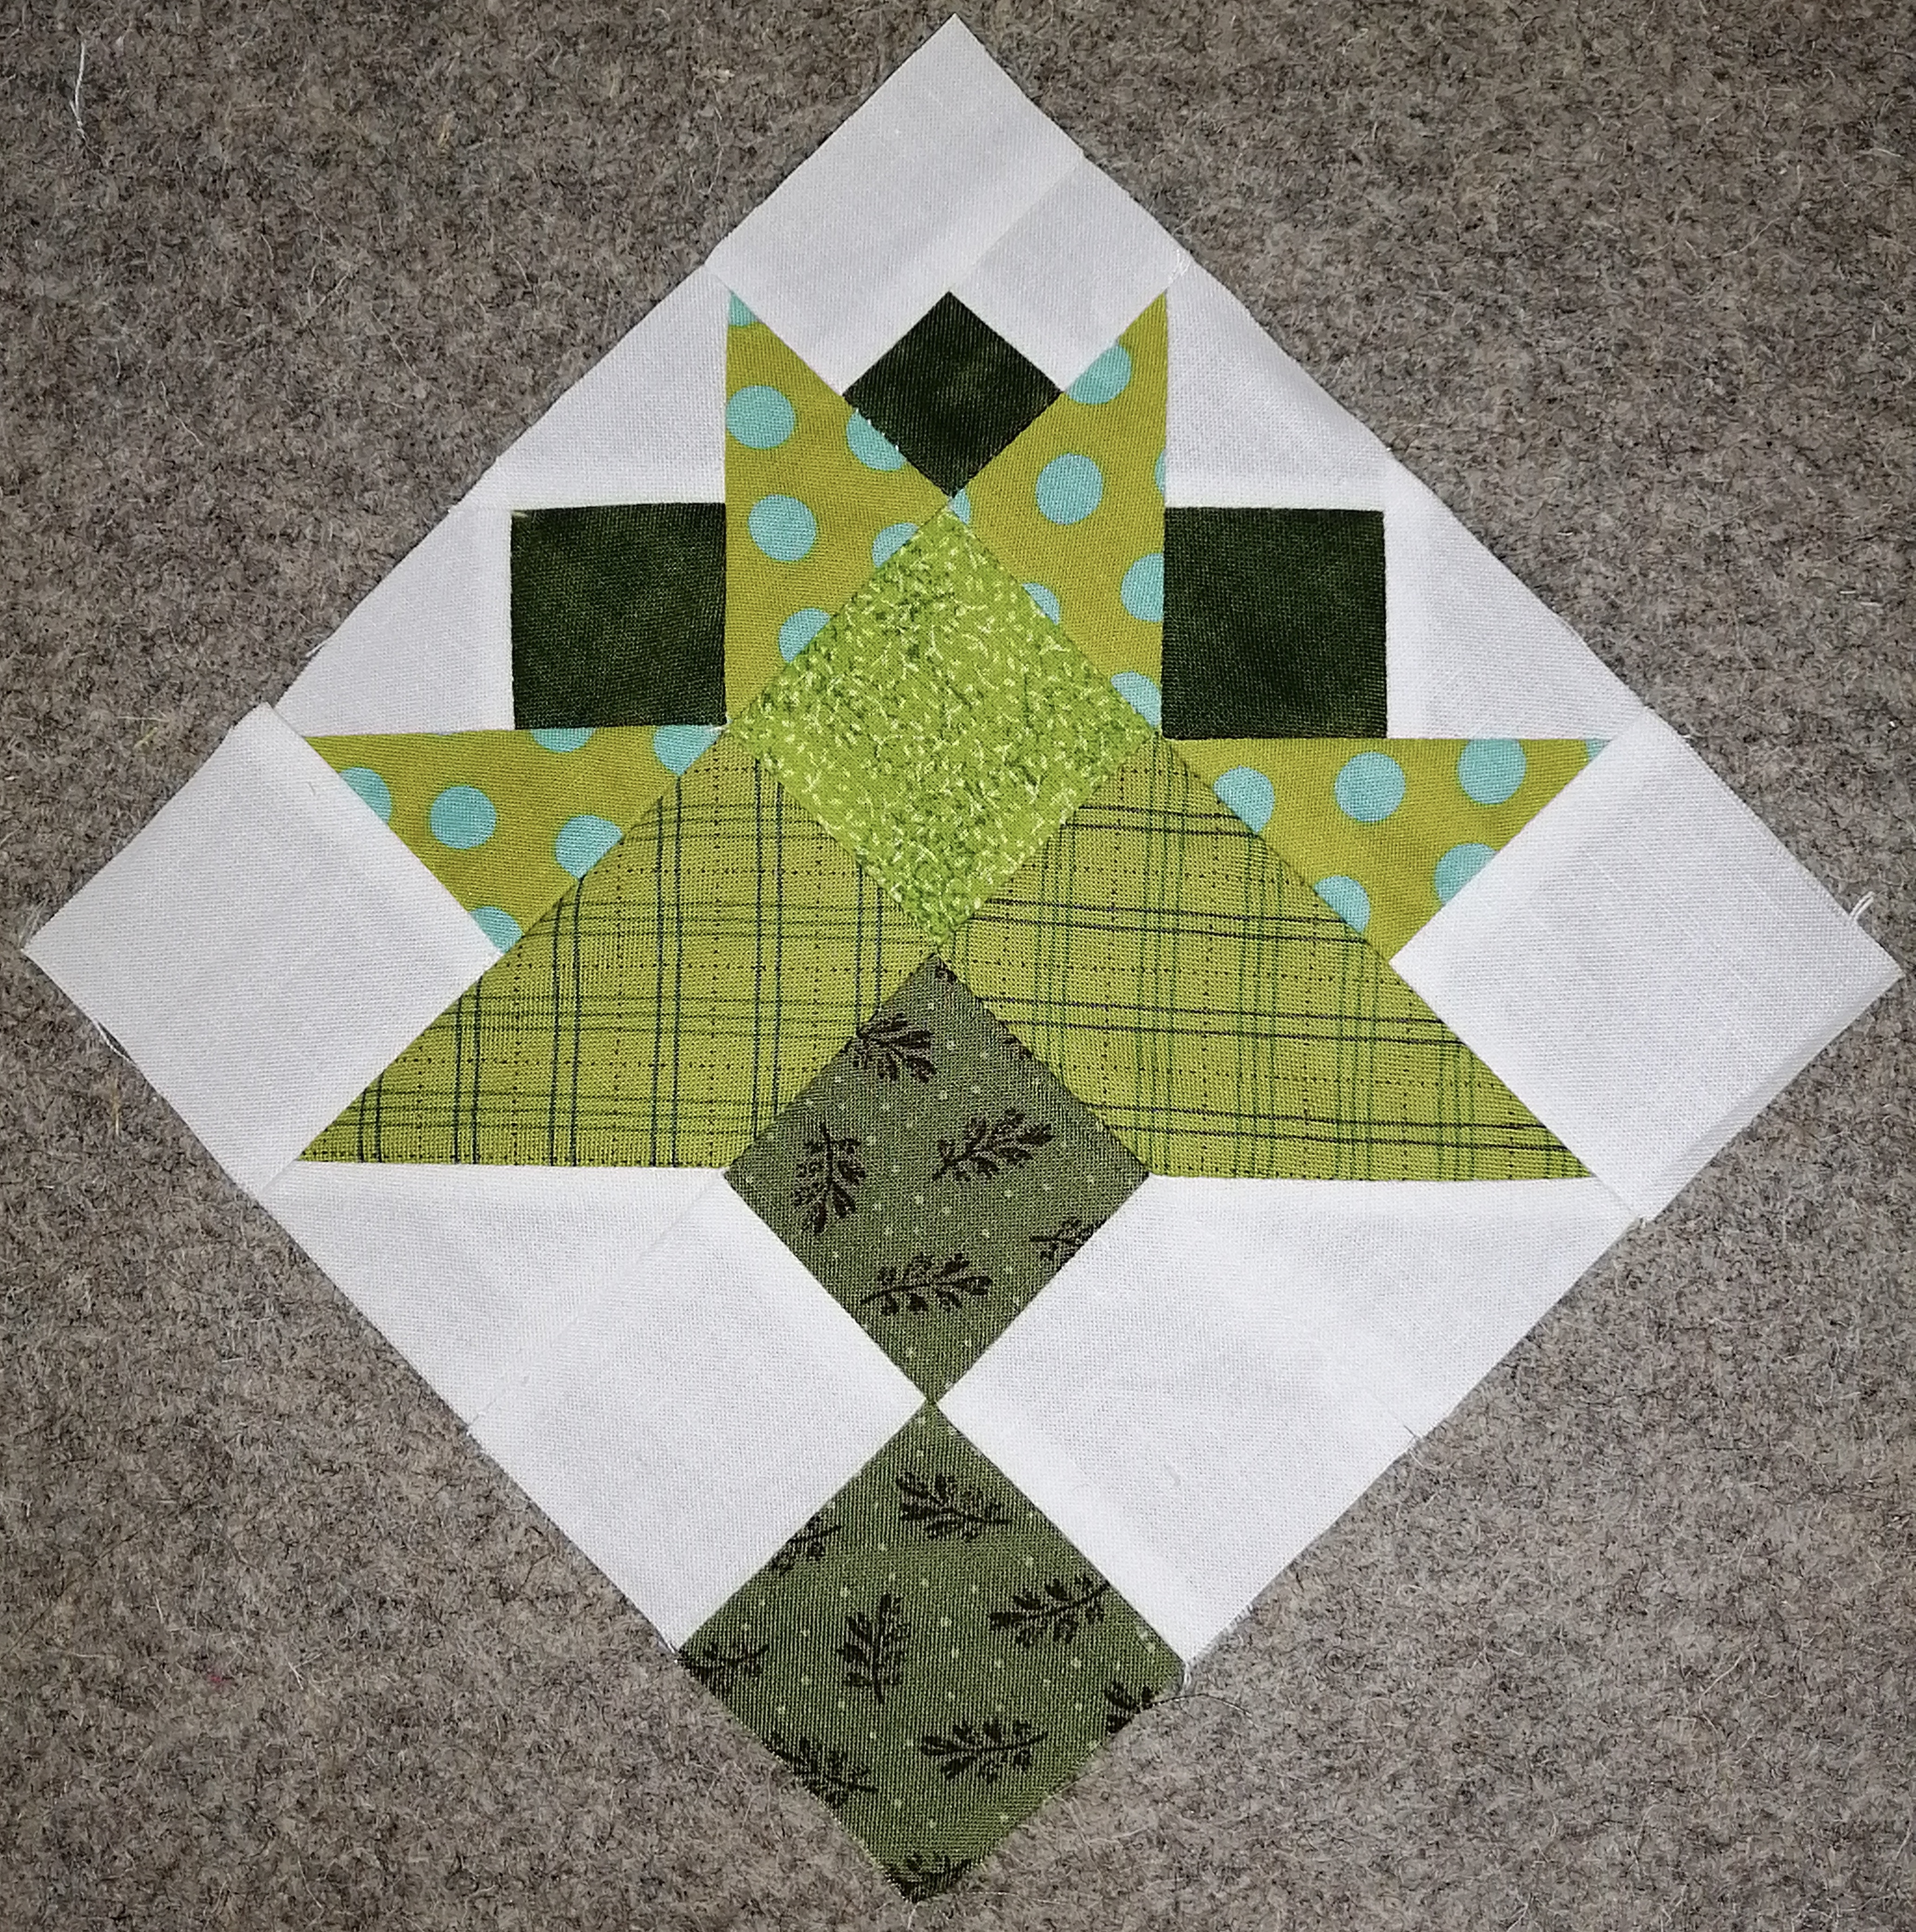
This sampler quilt is from the 2018 RSC challenge called "Squared Awayhosted by Mari and Angela My blocks are 5" and I set them on point to make the quilt bigger.


Finished size: 46.5" x 53.5"


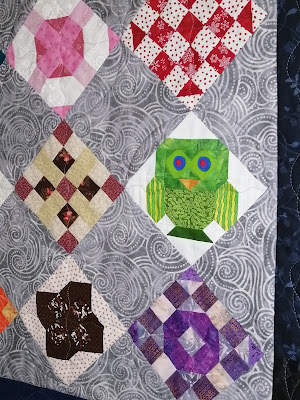
I love this little owl block that was not part of the original sampler project, but is a block designed by Sally at The Objects of Design. She (the owl, not Sally!) flew onto the sampler quilt and insisted on staying :)

Proudly linking up to One Monthly Goal and the Rainbow Scrap Challenge

Thursday, March 10, 2022

Baggie Challenge

Block construction

Well I am way past the deadline for this project, but I wanted to blog about it anyway. Last year Rogue Quilter Janet issued a scrap baggie challenge and I got started on mine in October - see my starting point here.
Then the blocks were ignored over Christmas, and they resurfaced again last month.


I started with 1" squares and strips from my friend Jackie, and made these sweet blocks. Would you call this a quarter log cabin block?


I made 9 blocks and they were supposed to be 3". Some of them needed trimming which means my 1/4" seam allowance was not consistent. UGH. A difference of 1/8" - 1/4" is a big problem when working with miniature quilt blocks and I should have checked/measured more frequently during construction, but I was having too much fun.


I set the blocks with a 1" sashing and black cornerstones. It was fiddly work getting the rows together and having the seams match up, and I often had to say "close enough".


Here is the finished quilt appropriately called "Jackie's Scraps". It measures 10" square.

You can read more about the bloggers who met the deadline here.


Even though I made a hanging sleeve and sewed it into the  binding at the top of the quilt, for some unknown reason, I am currently enjoying hanging it this way!

I love the scrappy neutrals!

Thanks for the challenge Janet and I'm sorry I missed the deadline :)


Monday, February 28, 2022

Finished Quilt on the Design Wall

I am so happy about this Scraphappiness finish! 


The blocks were started last winter when I made strip pieced scrappy blocks measuring 3.5" x 9.5". Then I joined 3 blocks together which became a  9.5" square. The blocks were joined with yellow sashings with scrappy cornerstones.

It makes such a big difference in my ability to finish a quilt when I chose an easy quilting design. I often make finishing (everything!) harder than it really needs to be! So this time I just quilted horizontal wavy lines about 3" apart and it went really fast.


Here you can see the quilting lines on the back. The photo makes it look like it's kind of ruffled, but it's really not.


One of the things I love about this quilt is that every bit of it is made of leftovers. The scrappy binding was made from my basket of leftover binding strips. Purple was the most plentiful in the basket so that is what the binding is made of...majority rules!

This quilt has been proudly donated to my guild's community outreach committee. Every little bit helps - every scrap, every effort, every kindness!

Linking up to Small Quilts and One Monthly Goal

Monday, January 31, 2022

Mini Mystery Reveal

Kathleen Tracy offered a Valentine mini mystery this month at her blog A Sentimental Quilter. Here are my little pieces cut out and ready to play. If you are still sewing your mystery and don't want to see the reveal, don't keep reading!

Here are the first blocks which should be the same but alas they are not! UGH. Did some quick unsewing and made them the same.

Here is the mystery block reveal. This was a fun and quick mystery to enjoy in the middle of the winter. I added a little checkerboard of squares on both sides to make it into a rectangular shape for a placemat.

Et voilà! 

A mini mystery quilt turned into a placemat! Quilting stitches were made "somewhere near the ditches", and some kisses stitched into the checkerboard sides. 

Thanks to Kathleen Tracy for this fun fabric adventure!

 Linking up to the mini quilters at Wendy's, and the Table Scraps Challenge at the Joyful Quilter

Finished Quilt!

On the design wall today is pinned a finished quilt!

This quilt was a mystery offered by my local quilt guild in the summer of 2021. The fabrics were curated by Trish from donations to the guild. I used extra blocks (aka mistakes!) to add a final border that was not in the original design. This quilt is called Milady and was designed by Judy Eckhardt. The pattern can still be found here.

Because it is a medallion quilt, I machine quilted it on my domestic machine in a medallion fashion by starting at the centre block and quilting each successive border.


There was a lot of yellow in the centre so I filled in that space with some feathers. The rest of the quilting was mostly straight lines following the design of the borders, and on each side of the sashings.

The last binding stitches were put in yesterday and now the quilt is ready for donation. Thank you to everyone who had a part in bringing this quilt to life - the fabric donators, the fabric curator, and the pattern designer, and to the quilt guild for offering us this fun summer project! This quilt has been loving donated to my guild's community outreach efforts.

Linking up to One Monthly Goal and Design Wall Monday