Thursday, March 07, 2019

A New Project


A baby quilt has been started using a pattern called Shadow Stars from Tied With a Ribbon.  The blocks are 8" sawtooth star blocks. Half of the blocks have a print star with a white background, and the other half are a white star on a print background. Here are the first 4 blocks... 16 more to go.

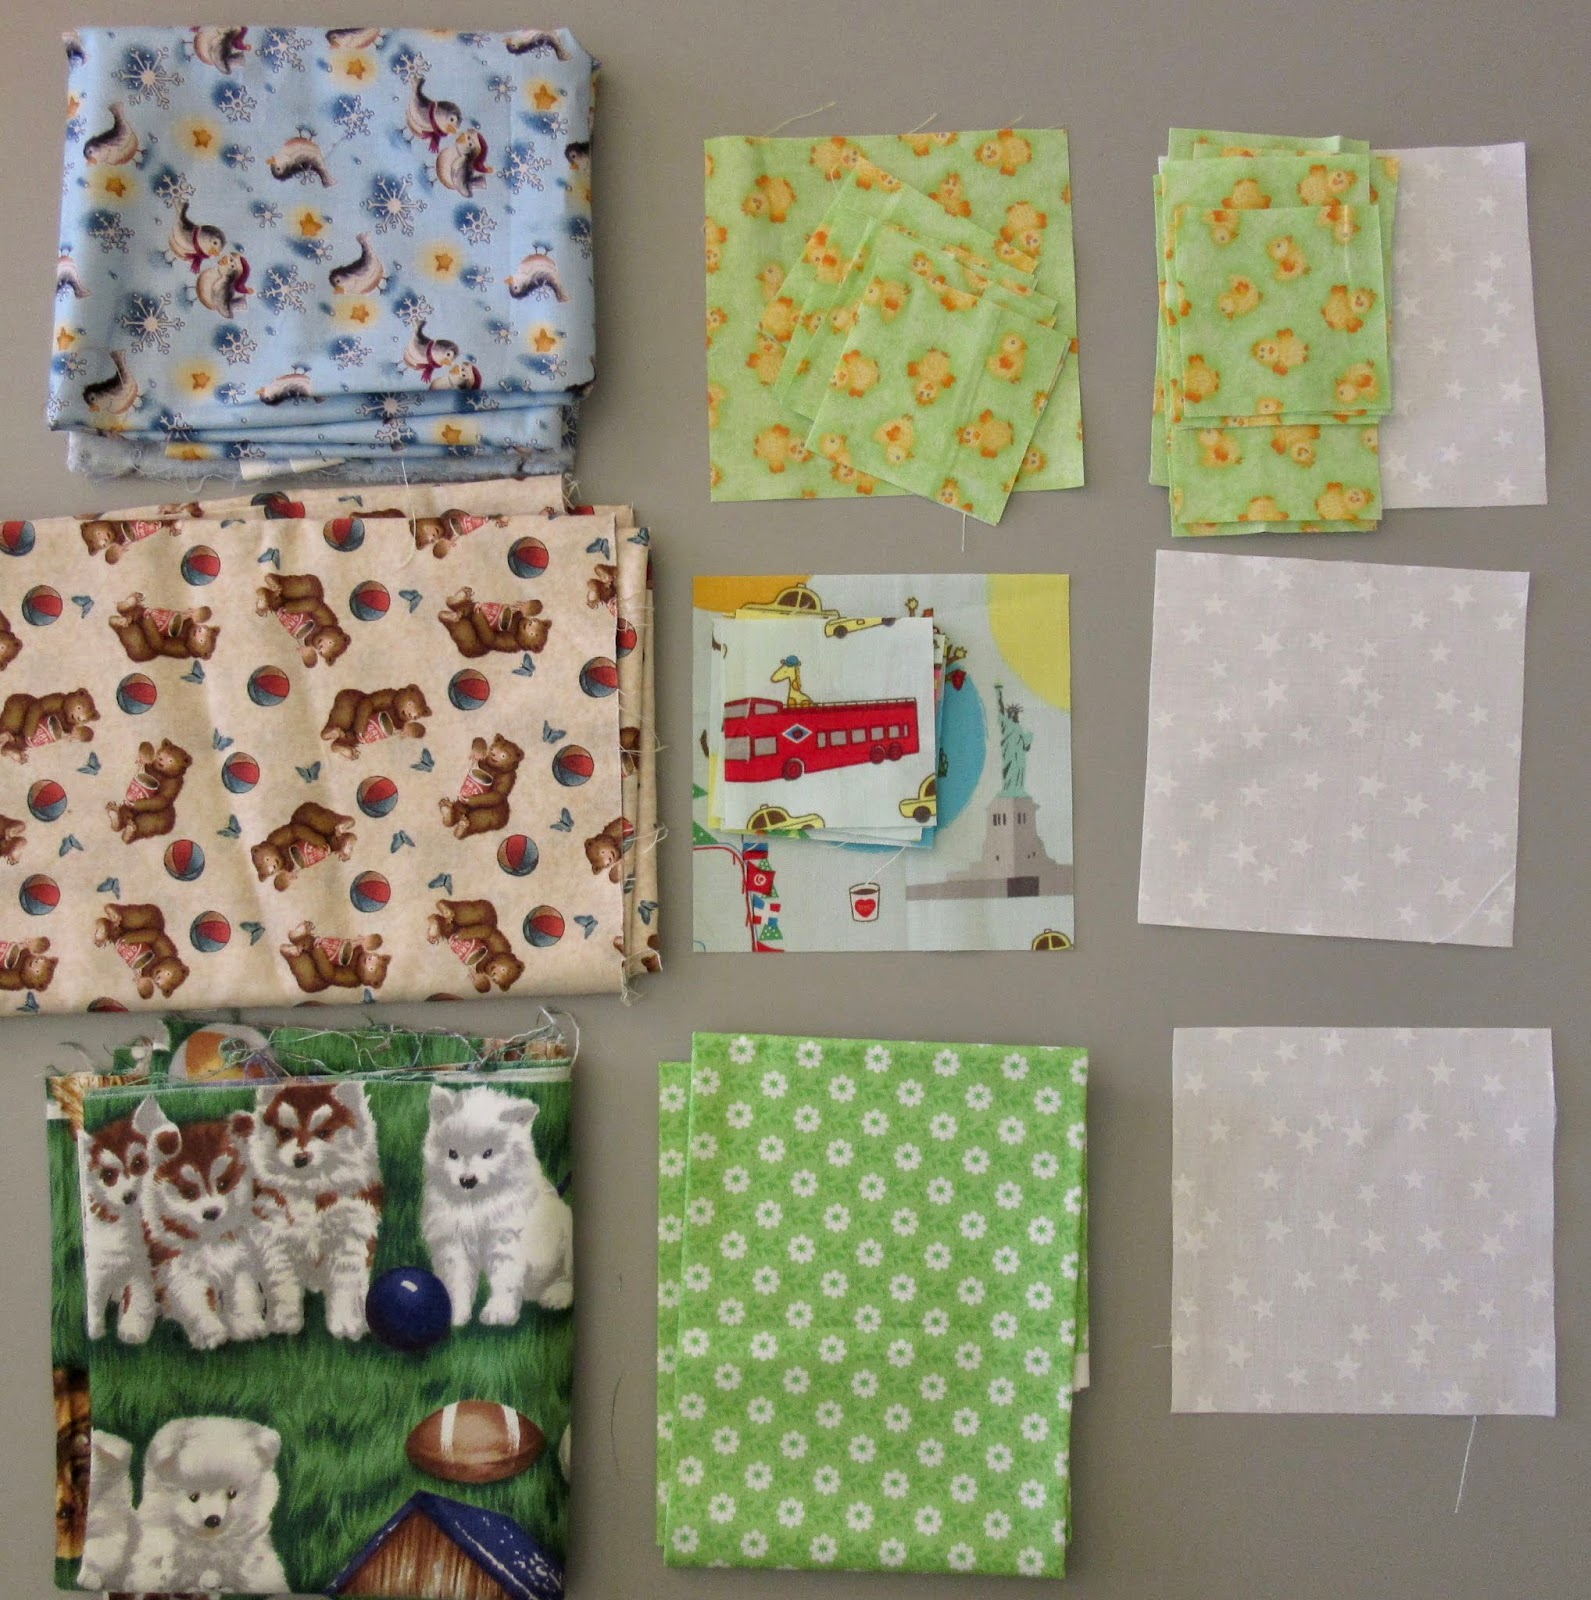
I am using fabric that was given to me by the family of my friend Helen, who was one of my quilting students many years ago. When she passed away her family gave me a big bag of her fabric. The baby quilt is for her great grandson and aside from the white fabric I have added, everything I use will be from Helen's stash. The family was not thinking of me making a baby quilt from this fabric because she passed away before this baby was conceived. I am using anything that could be considered remotely acceptable for a boy's quilt, since there was not much in terms of traditional baby fabric in the bag.

It has been a challenge to make the star points using directional fabrics. I have auditioned the pieces by folding them before sewing, and am trying to get the animals centred and facing up. SO darn cute and totally worth the effort!

Tuesday, March 05, 2019

Hand Piecing Update

Block #5 - Dorothy
Although block #7 pattern has already been posted for the Hand Piecing Quiltalong, I am just finished block #5. It was more challenging with lots of seams to cross which hopefully meet up in the right way. I am happy with how it turned out because those QSTs were a little tricky at the corners.


first 5 blocks
I ventured outside on a minus 20 degree day to get a photo of my blocks in the fresh snow. But I was disappointed in the photo because it looks like the blocks were just placed on a white piece of fabric. Oh what we bloggers go through just to get a mediocre photo! LOL
To see more blocks, hop over to the link up at Elm Street Quilts. I'm so happy to see the great response to this hand stitching project with over 60 photos posted this week!

Monday, March 04, 2019

Aurifil DOM

Aurifil's "designer of the month" for February is Natalie Barnes. She created a block pattern called Hanalei Garden and it was a doooozy to sew!
Wow it was a challenge. The instructions have you cutting 140 pieces for this 12" block. I combined some of the sections for a little less cutting. I also reversed the light and dark sections and like how it turned out.

Here are my 6 blocks from last year's DOM with the 2 from this year on the design wall. It will be an interesting sampler quilt for sure!

Hop over to the Aurifil link up here to see more blocks. There are many beautiful variations, and many of them actually look like flowers, which is what they are supposed to be :) 

And then hop over to Small Quilts to see more design wall postings.

Sunday, March 03, 2019

Slow Sunday Stitching

Welcome to the weekly hand stitching link up party! We encourage you to join us by putting some stitches into your project today. Just a few moment of stitching can provide numerous health benefits - click here to learn the reasons why you are wise to invest your time and energy in hand work. I don't know how trustworthy the research is behind those claims, but I can lots of provide anecdotal evidence.
Fabric selection

This week I enjoyed finishing a hand applique block.  I picked the background fabric first, then the star, cardinal, tree and leaf fabrics to contrast with the background.

Freezer templates ironed onto the right side
Tracking the freezer paper pieces from the pattern reminds me of  a process that is similar to playing with paper dolls as a child. You trace the shapes, cut them out, and iron them onto fabric. It is quite a mindless, relaxing task.

Finished block

I use the needleturn method of applique and although there are maybe more efficient and accurate applique methods, this is my favourite so far. Here is the finished block. 


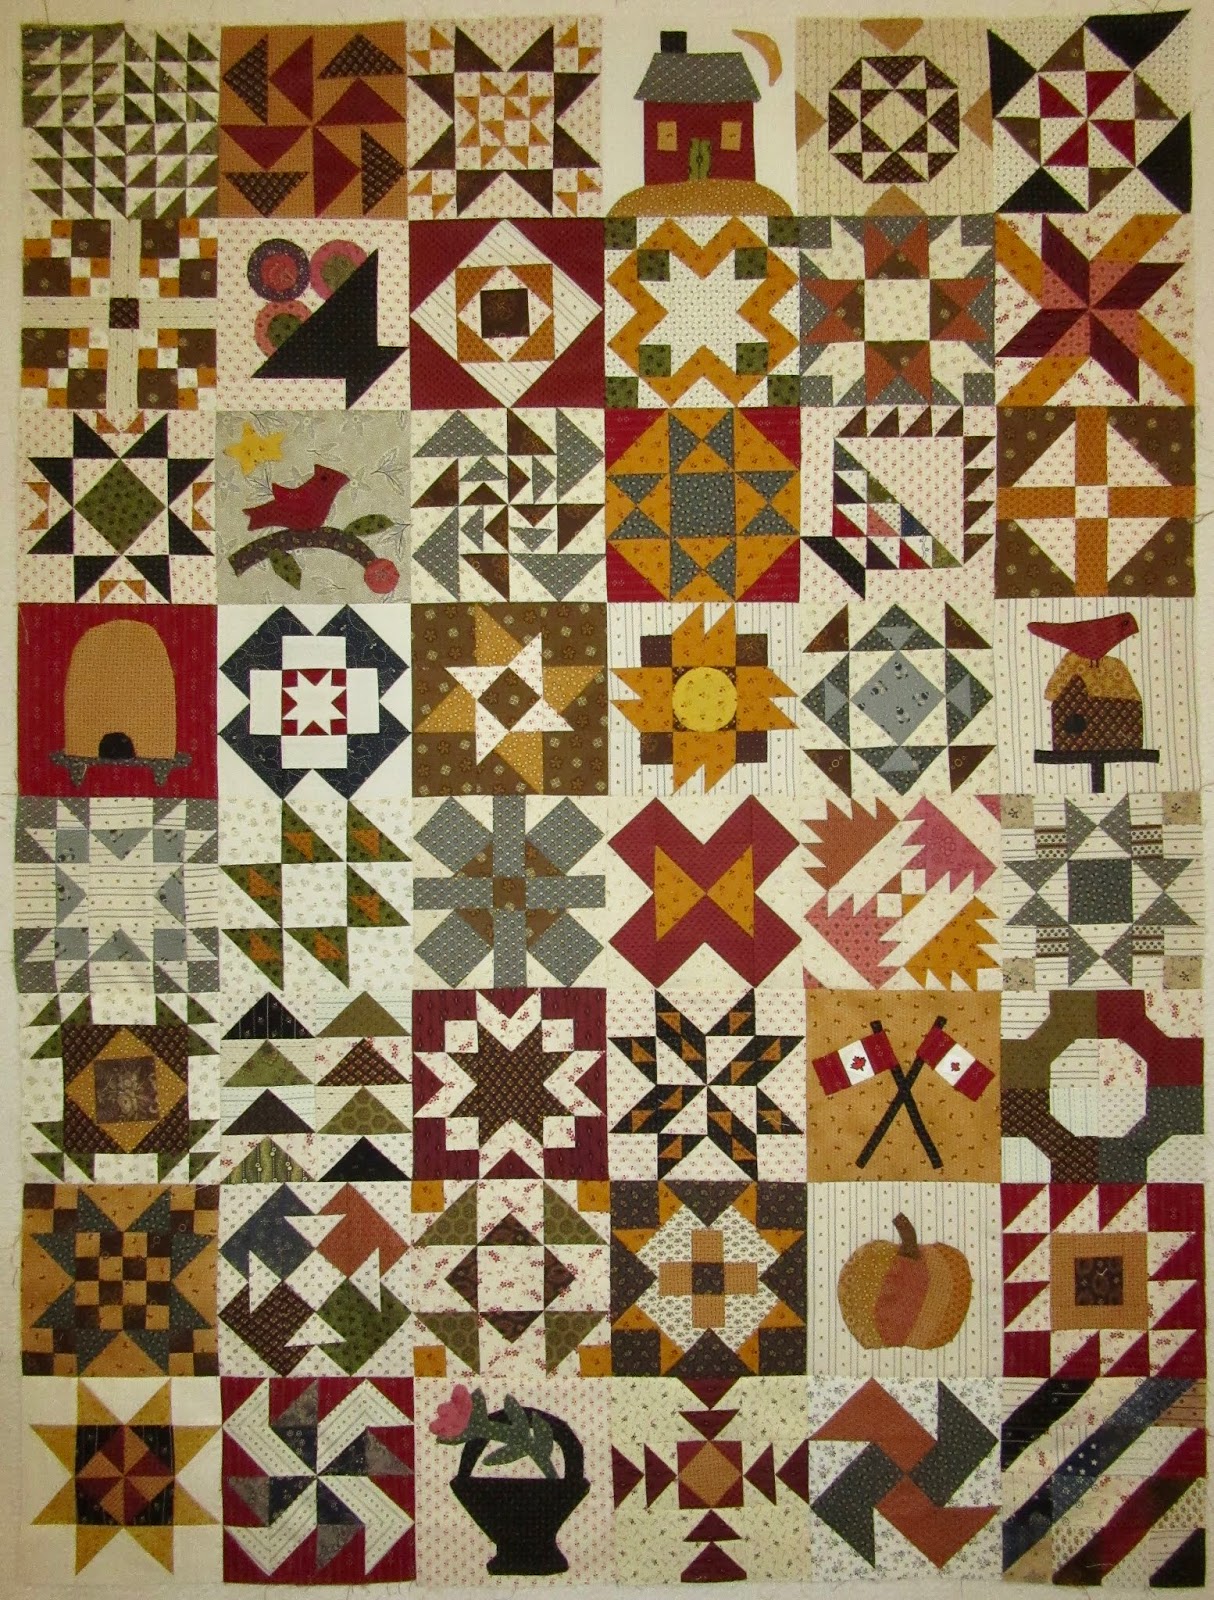
This is the collection of blocks from the 2017 Blockheads project from Moda. There are 9 blocks in this quilt that were hand stitched over the past year. I'm starting to work on the math for the borders for this quilt.

But today I'll be cutting out and stitching block #5 of the Hand Piecing Quiltalong project. I'm a bit behind since block #6 has also been released. 
What are you hand stitching today?  Link up your blog post below and share your project with us.


    An InLinkz Link-up
   

Saturday, March 02, 2019

Scrappy Saturday

Yellow Arrowhead blocks

It was a busy day full of activities including a lengthy funeral to attend, but I managed to carve out a few moments of medicinal stitching. I didn't finish my yellow arrowhead blocks in February, so I finished those up today (pattern can be found here).


These blocks finish at 3" and are a little tricky to make. You sew two squares together around the outside, cut them in a particular way to end up with these pieces, then sew them back together following the directions. It's like a fabric jigsaw puzzle. 


I'm also making a 9" version of this block in blues. Here is the photo showing the size difference. The little ones are fun to make, but are actually harder and the seam ripper has been used several times. Accuracy cannot be fudged with a block this small.


Here are all the blocks in the scrappy arrowhead collection so far. I'll be adding more light green blocks this month.

Hop over to the RSC linkup at Angela's to see the end of yellow and beginning of green projects.

Friday, March 01, 2019

March UFO Goal

I'm pretty happy with the 6 quilts I've finished in the first 2 months of 2019 and hope this finishing trend continues. 3 of the finishes are from the official UFO list (on the right sidebar), and 3 were started within the last year so they never even made it to the UFO list.
For this month I'm going to challenge myself with 2 tasks - one from the official UFO list and one is a more recent project:
Goal #1) From the UFO list, I will locate (which will be a job in and of itself!) Scrap Dance Tango from 2016 and get it to the pin basting stage. I'm not sure where it is, or if it needs borders, and will organize a backing and batting for it. I really like this quilt and want it finished, because Carole is starting a new mystery for us and I'd like to finish the previous ones! 


Goal #2) Finish Secret Santa which was the Temecula mystery started in October of last year. I already have a backing for this quilt and it is a manageable goal to get a batting, pin baste, quilt and bind this project in the month of March.
What are your quilting goals for March? Are you joining in the goal setting link up over at One Monthly Goal?

Thursday, February 28, 2019

UFO Goals Accomplished

February was a very short month and went by so quickly. I set 3 goals for this month and was able to accomplish them all! How else can a person survive such a snowy, dark, cold month but to quilt each day?!? It's medicinal!


Scrapdash mystery quilt
1) the Exploding Block tabletopper was finished while at quilt retreat. 

2) the Pumpkin Spice Latte mystery quilt (made last fall - pattern by Scrapdash.com) was finished yesterday with a lovely green binding. It looks great on the dining room table and I'm enjoying the curved effect created by quilting the edge of the 3D blocks.

3) Blockheads I blocks are sewn together!
Blockheads I

This is a major accomplishment that started in March 2017 and I am delighted with this sampler quilt. It's quite busy, with lots of things to see, and many techniques used in the block making over almost 2 years. I have an idea for a border for this project and am working on the math and I'm so excited to try it out!
Hop over to One Monthly Goal to see more quilting goals that have been met this month.

Wednesday, February 27, 2019

Machine Quilting

There are only 2 more days left in the month, and I haven't quite finished my UFO projects for this month.
I have been quilting my  Pumpkin Spice Latte mystery quilt from last fall. 
using the awl to hold the curved edge in place
The flying geese blocks are constructed using a 3D method so when the edge of the triangle is pulled back, it makes a curved edge you can stitch on. There was a lot of coordination involved in moving the quilt along under the free motion foot with my left hand, while holding the edge with my awl in my right hand.

I don't know how good this photo will show up, but hopefully you can see how the quilting lines are curved along the edges of the 3D blocks. It was fun to figure out some continuous stitching paths. I don't think there is a straight quilting line to be seen on this project!
Now to get the binding done!

Monday, February 25, 2019

Design Wall Good Fortune

sign found in the city where I work
I am just back from winter quilt retreat and am trying to put all my quilting stuff back where it belongs. Why do we take so much stuff to retreat?!? I am not the type of quilter who can take 1 project and work on it the entire time. I work on different projects in the morning, in the afternoon and in the evening. Perhaps I must admit to having a short attention span, combined with a severe case of startitis and a tendency to squirrel (yes that is a verb!)

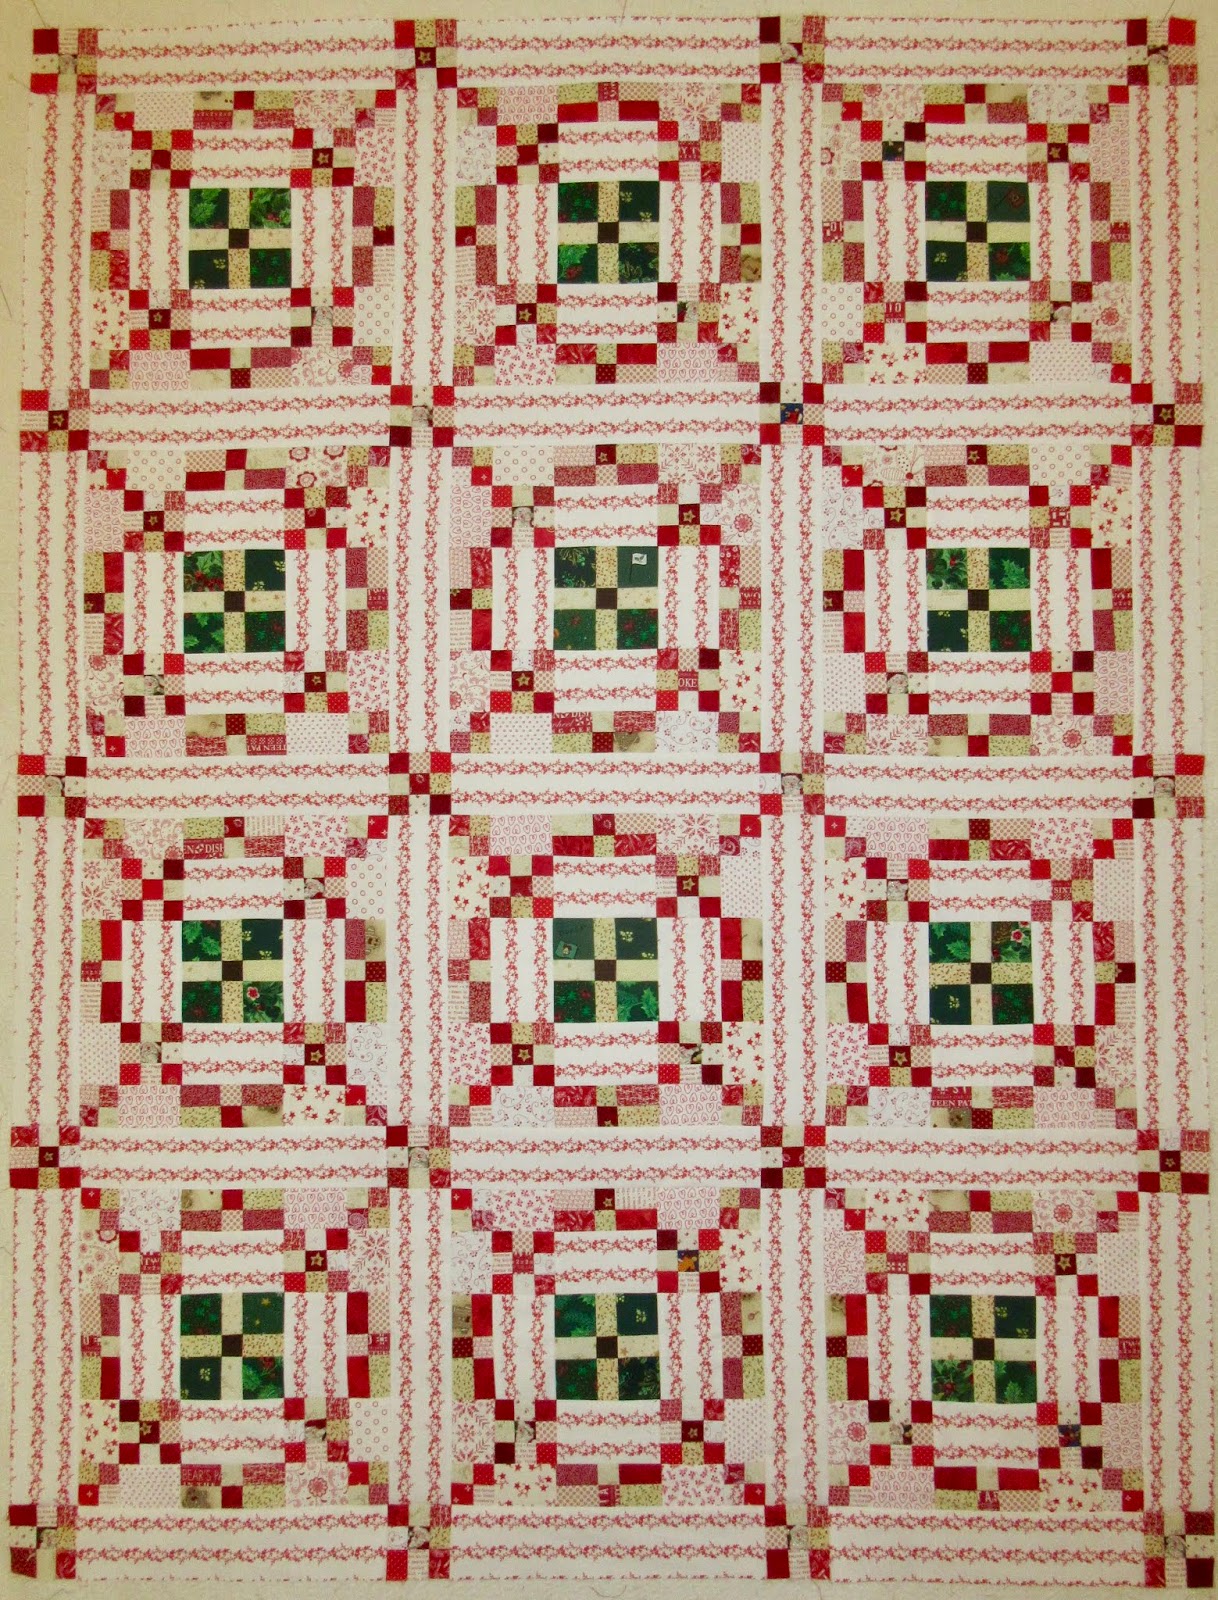
I was able to focus at times and did spend a good amount of concentrated time working on my Quiltville Good Fortune mystery quilt. I finished piecing the gold units (orange in Bonnie's quilt) onto phone book paper and am sewing them into these blocks that have 8 red and white 4 patches.
sewing table at quilt retreat


Here are the blocks that have been finished so far. Next I'll be making more of the alternate blue and green blocks.


Good Fortune blocks on the design wall
Linking up to Small Quilts

Sunday, February 24, 2019

Slow Sunday Stitching

Welcome to the weekly hand stitching party!
Can you believe this is the last link up for February? Where did this month go?!?
Even though it was a short month that went by so quickly, I did accomplish quite a bit of hand stitching this month. In fact over the course of the past week I hand stitched 473 inches of binding on 3 different quilts (Scrappy Strings, Save the Bees, and Exploding block) and I hand pieced the 4th block for the hand piecing quilt along. That must be a record for me!
Granddog Max loves to snuggle under any quilt I am working on, which is hard to do when it's a small table runner and hardly big enough to get himself under. There wasn't room for him and his toy under the quilt, so his husky dog toy had to sit beside him... so cute!
Today I'll be working on some applique for block #40 of my Blockheads project from last year. It's the last block for that quilt (see the others here) and then I can sew that quilt top together.
What are you hand stitching today? 
Please link up your blog post or instagram photo below so we can see what your hands are creating today.


    An InLinkz Link-up


Saturday, February 23, 2019

Another Finish

I'm on a roll with finishing quilts this week. This is my 3rd finished project, albeit smaller than the two others that have been finished this week (here and here). 

This is a tablerunner that I started last year at retreat. It was inspired by a Missouri Star Company video on how to make "an exploding block". The video shows how to make blocks from a layer cake, but I used a Primitive Gatherings 5" charm pack to make the entire project. 

I really like how it turned out and thought I might hand quilt it, but if I haven't done it in a year, I'm not going to! 
I machine quilted all the horizontal and vertical lines using the walking foot. It seemed to need a bit more quilting, so using a Sewline air erasable pen I marked a square inside the centre of each block and quilted the square using the free motion foot.

Here's a photo with no flash that shows the quilting a little better. The quilting looks a little more wonky in the photo than it does through my eyes! LOL
If you have a charm pack sitting around gathering dust, this is the perfect no stress project to get it used up. And as Jenny says in the tutorial, "you do lose all your points, but that is the charm of this block". Easy peasy!
Finished size is 18" x 23".
Now I only have 2 more small projects to finish before the end of the month. 

Thursday, February 21, 2019

Show Your Wings Blog Hop


Thanks to Carol at Just Let me Quilt for providing the perfect motivation to finish my "Save the Bees" quilt! Carol's challenge was to feature something that had wings in it. I am sharing my project by designer Jacquelynne Steves which features BEES!


I have been working on this quilt since last summer. The quilt includes two appliquéd bees as well as a pieced bee block and a tiny ceramic bee embellishment on the hexagon block. 


Two buttons were the perfect embellishment to complete the pieced bee's antennae. And notice the photo features two jars of honey, which are just one of the many reasons we love and need bees!


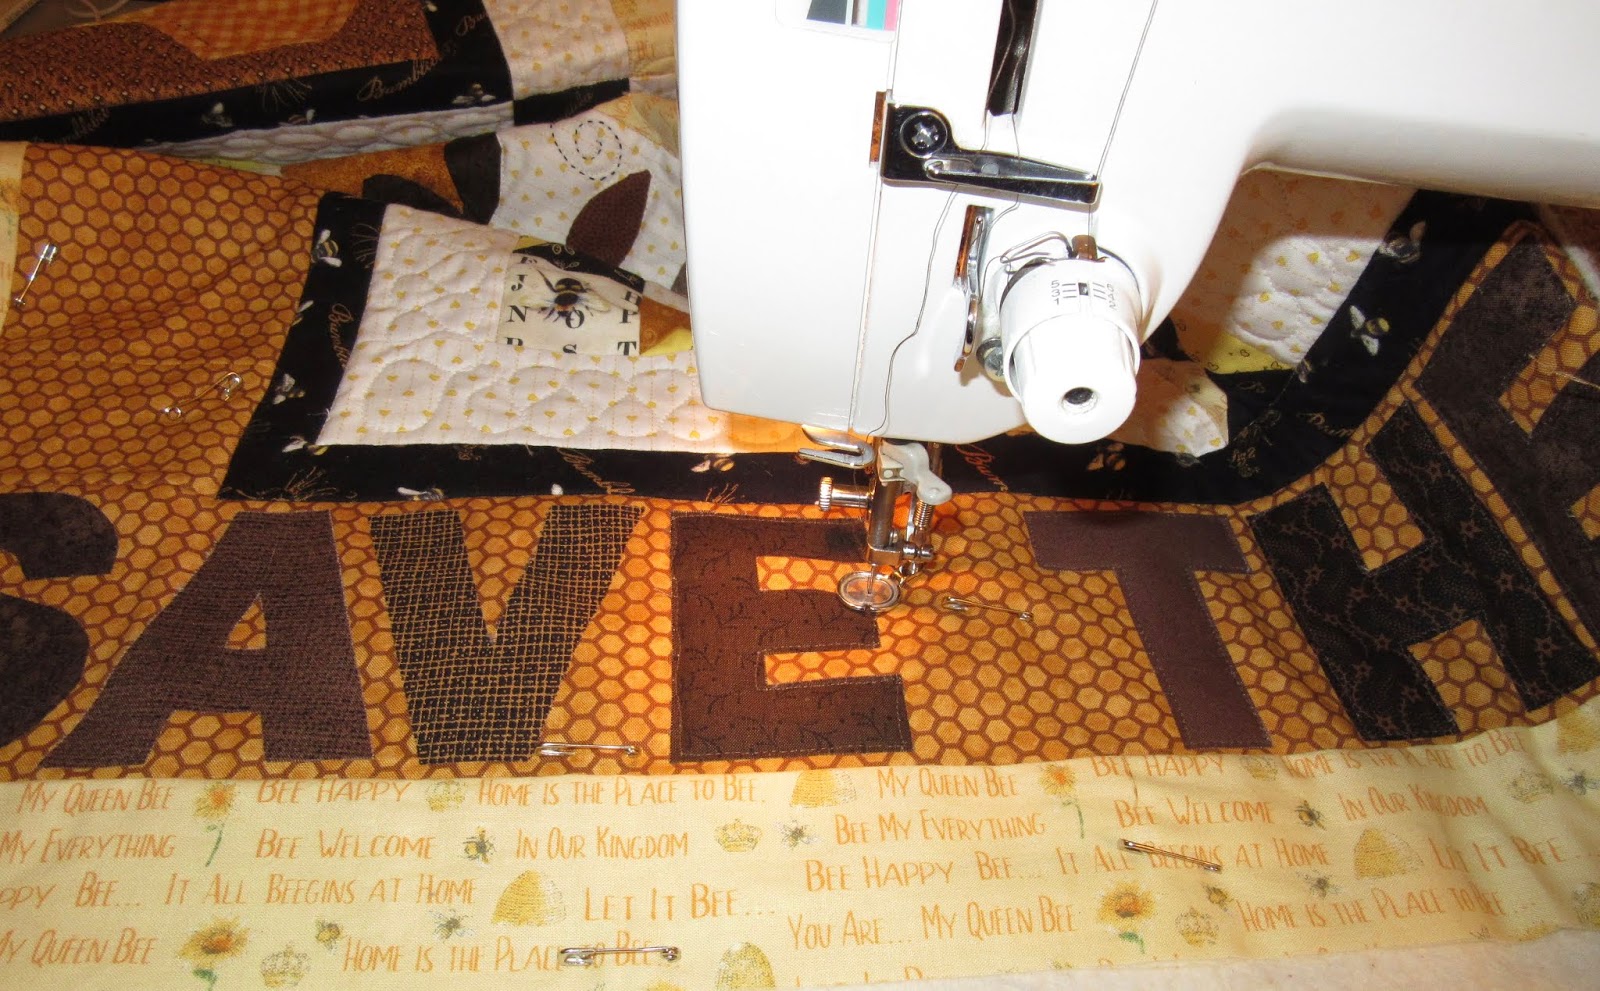
The letters were stuck on the quilt using a fusible web, but just to be sure, I top stitched them down. 


My friend Louise took this photo of me while machine quilting "Save the Bees" which shows my intense concentration. I tried hard to do my best work on this quilt.


You cannot see the quilting here at all, but I stitched swirls and bees trails in the honeycomb border, and a ribbon design in the light border. I like to add special touches here and there in the quilting, a few hidden quilting designs such as words and hearts.

And here is the finished quilt measuring 38.5" x 55."

Thanks to Jacquelynne for the wonderful pattern and thank you to Carol for giving me the opportunity to share my bees quilt! Here are the other stops on the blog hop today:

Wednesday, February 20, 2019

Hand Piecing and Blog Hops

block #4 in progress

Block #4 of the hand piecing quiltalong is together. Since I use thin Clover Black Gold needles that stitch through fabric like a hot knife slices butter, the eye of the needle is very tiny. The Clover needle threader has become worth it's weight in gold in doing this hand piecing project!


In the fourth lesson we learned how to make QST blocks, and although it is easy by machine, I discovered it's not as easy by hand. Some of the corners are wayyyyyy offff! But I cropped them out in this photo so you can't see them. I wonder how my project is going to come together :)

Here's the link to the Hand Piecing Quiltalong at Elm Street Quilts.

And remember there are 2 quilty blog hops going on this week. Let's encourage our quilting friends by visiting their blog and remember to leave a comment so they know you visited!

 These are the "Show Your Wings" blogs:


These are the "Dust off a Quilt Book" blogs: 


Wednesday Feb 20th

Sharon at Vrooman’s quilts
Suzy at Websterquilt
Nancy at patchworkbreeze
Karrin at karrinscrazyworld
Denise at craftraditions


Tuesday, February 19, 2019

Dust off a Quilt Book - Scrappy Strings

Welcome to the "Dust off a Quilt book" blog hop hosted by Bea! 
I learned to love books early in my life because my Mom was a teacher librarian. We have always been surrounded by books and conversation about books. 
Liberated String Quilts by Gwen Marston
Although many types of digital options are now available for reading, I still prefer a real paper book.
Most quilters I know have amassed an extensive collection of inspirational books. Some books are purchased to sew a specific quilt pattern from the book, some are to enjoy the "eye candy', some are purchased to support a beloved writer/designer/quilter, and some are purchased to learn new creative ways of thinking or stitching. 
When Bea created the "Dust off a quilt book" blog hop, I started looking at some of my old favourites and was drawn to my Gwen Marston books, especially her Liberated String Quilts book. 
String piecing on batting
There is so much going on right now in quilt land about string piecing, and I have an "embarrassment of riches" in the string department. 
I started my quilt on the Moda String Along day and made some progress. I am using up the long pieces of batting trimmed from the sides of a finished quilt. You know when your quilt is 80" and the batting is 90", so you have a 10" strip of batting that you cut off? What do you do with that strip? 
I thought these long batting strips would be a perfect foundation for a string quilt. Here are some of my first strips under the needle, putting through one after the other leader-ender style

Although Gwen's book talks about "foundation free methods", I decided to make a quilt-as-you-go style string quilt for the blog hop. I pieced the strings onto a batting that has a solid colour backing fabric underneath. Once the strings are all pieced, the quilting is done and you just have to join the sections together for a finished quilt. Well, you also have to put on a binding too, but you know how much I love doing that!


Here are the first two strips sewn, with a sashing strip being auditioned on the right.
Such a wide variety of scraps in these pieces!

I tried to use each fabric only once, but apparently there are a few repeats. And what are the chances of randomly piecing two sections of strings and having the exact same pink fabric meet in the middle?!? 


I had to separate these two strips and put one on the left of the quilt and one on the right.


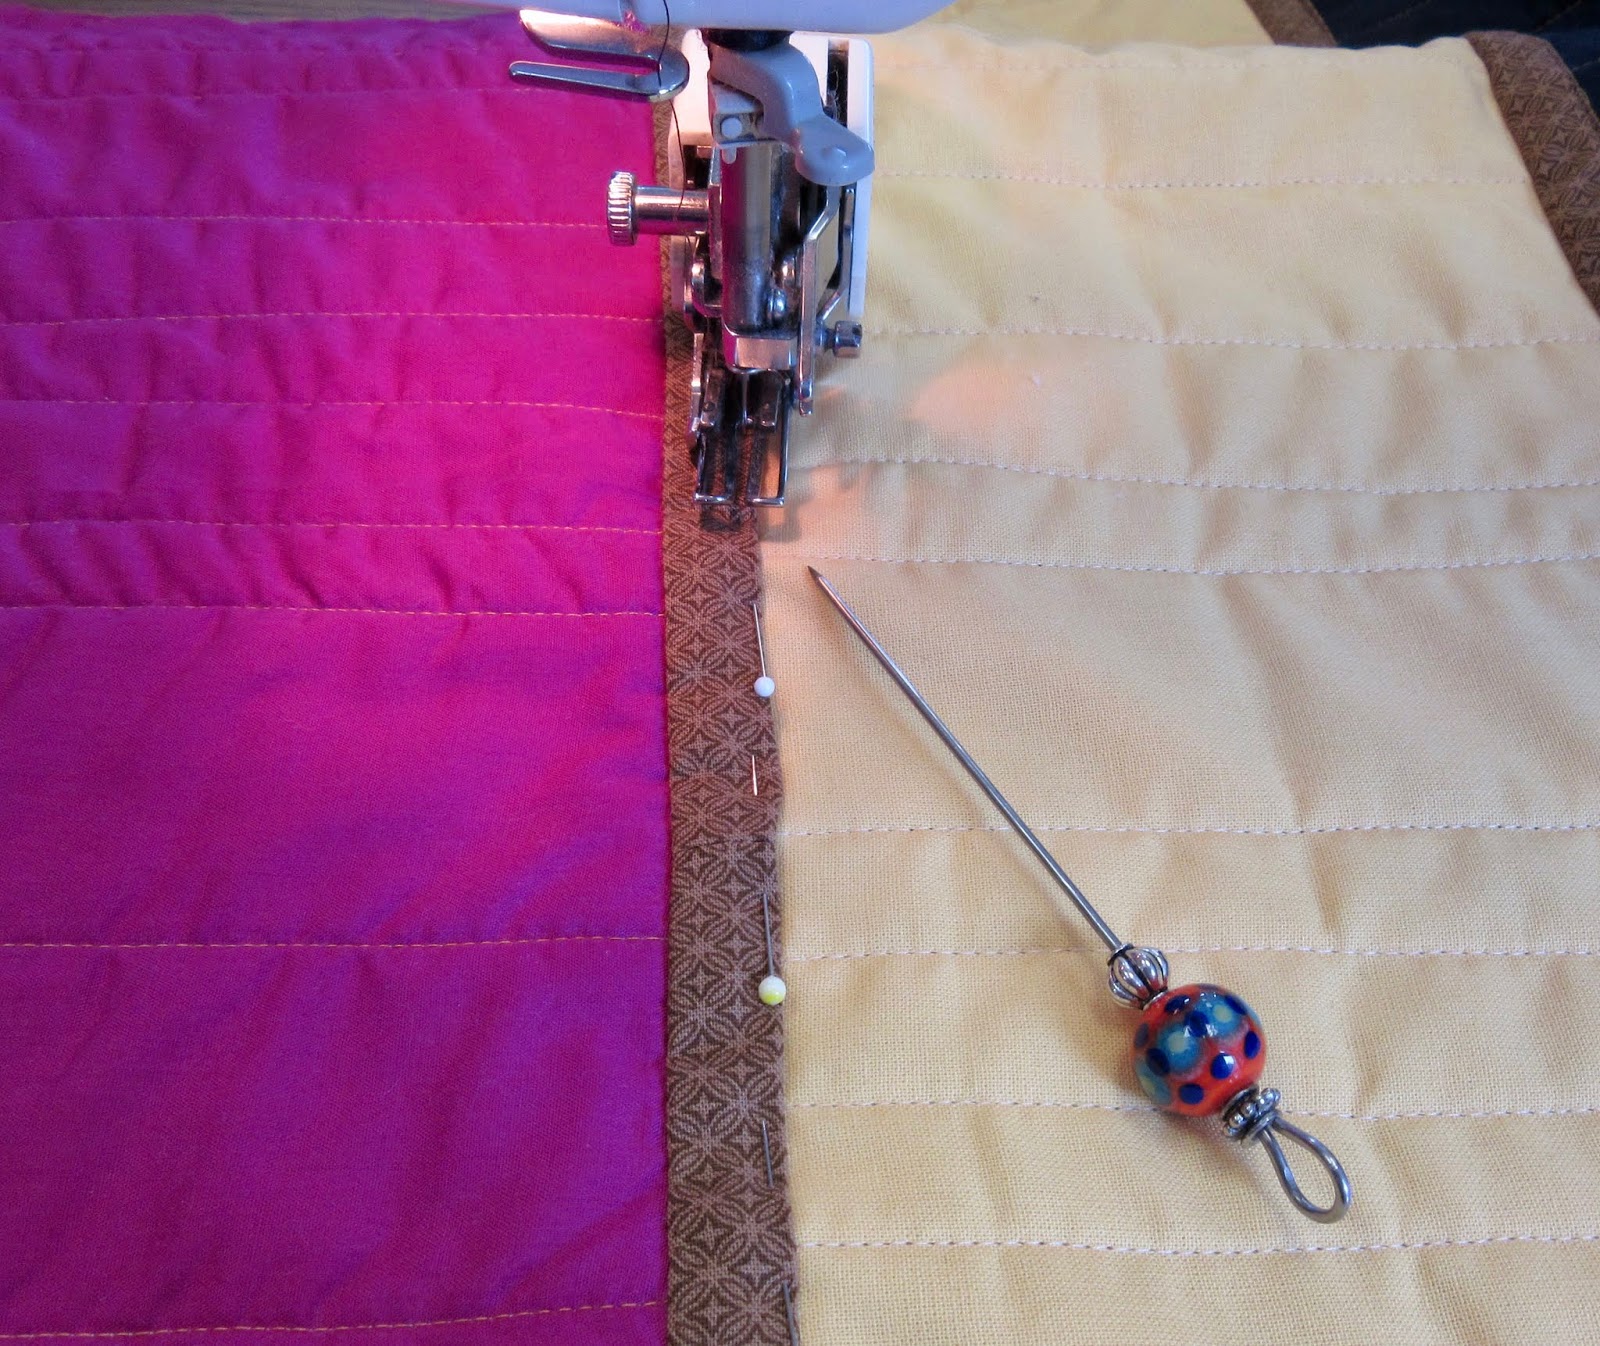
Here is the photo of sewing the sections together. The dark brown sashing will be on the front of the quilt and the gold sashing will be on the back of the quilt.


Once the sashing is attached to the front and back of the pieced units, I sew the sections together. This is how it looks joining the sashing to the next section... it's tricky!


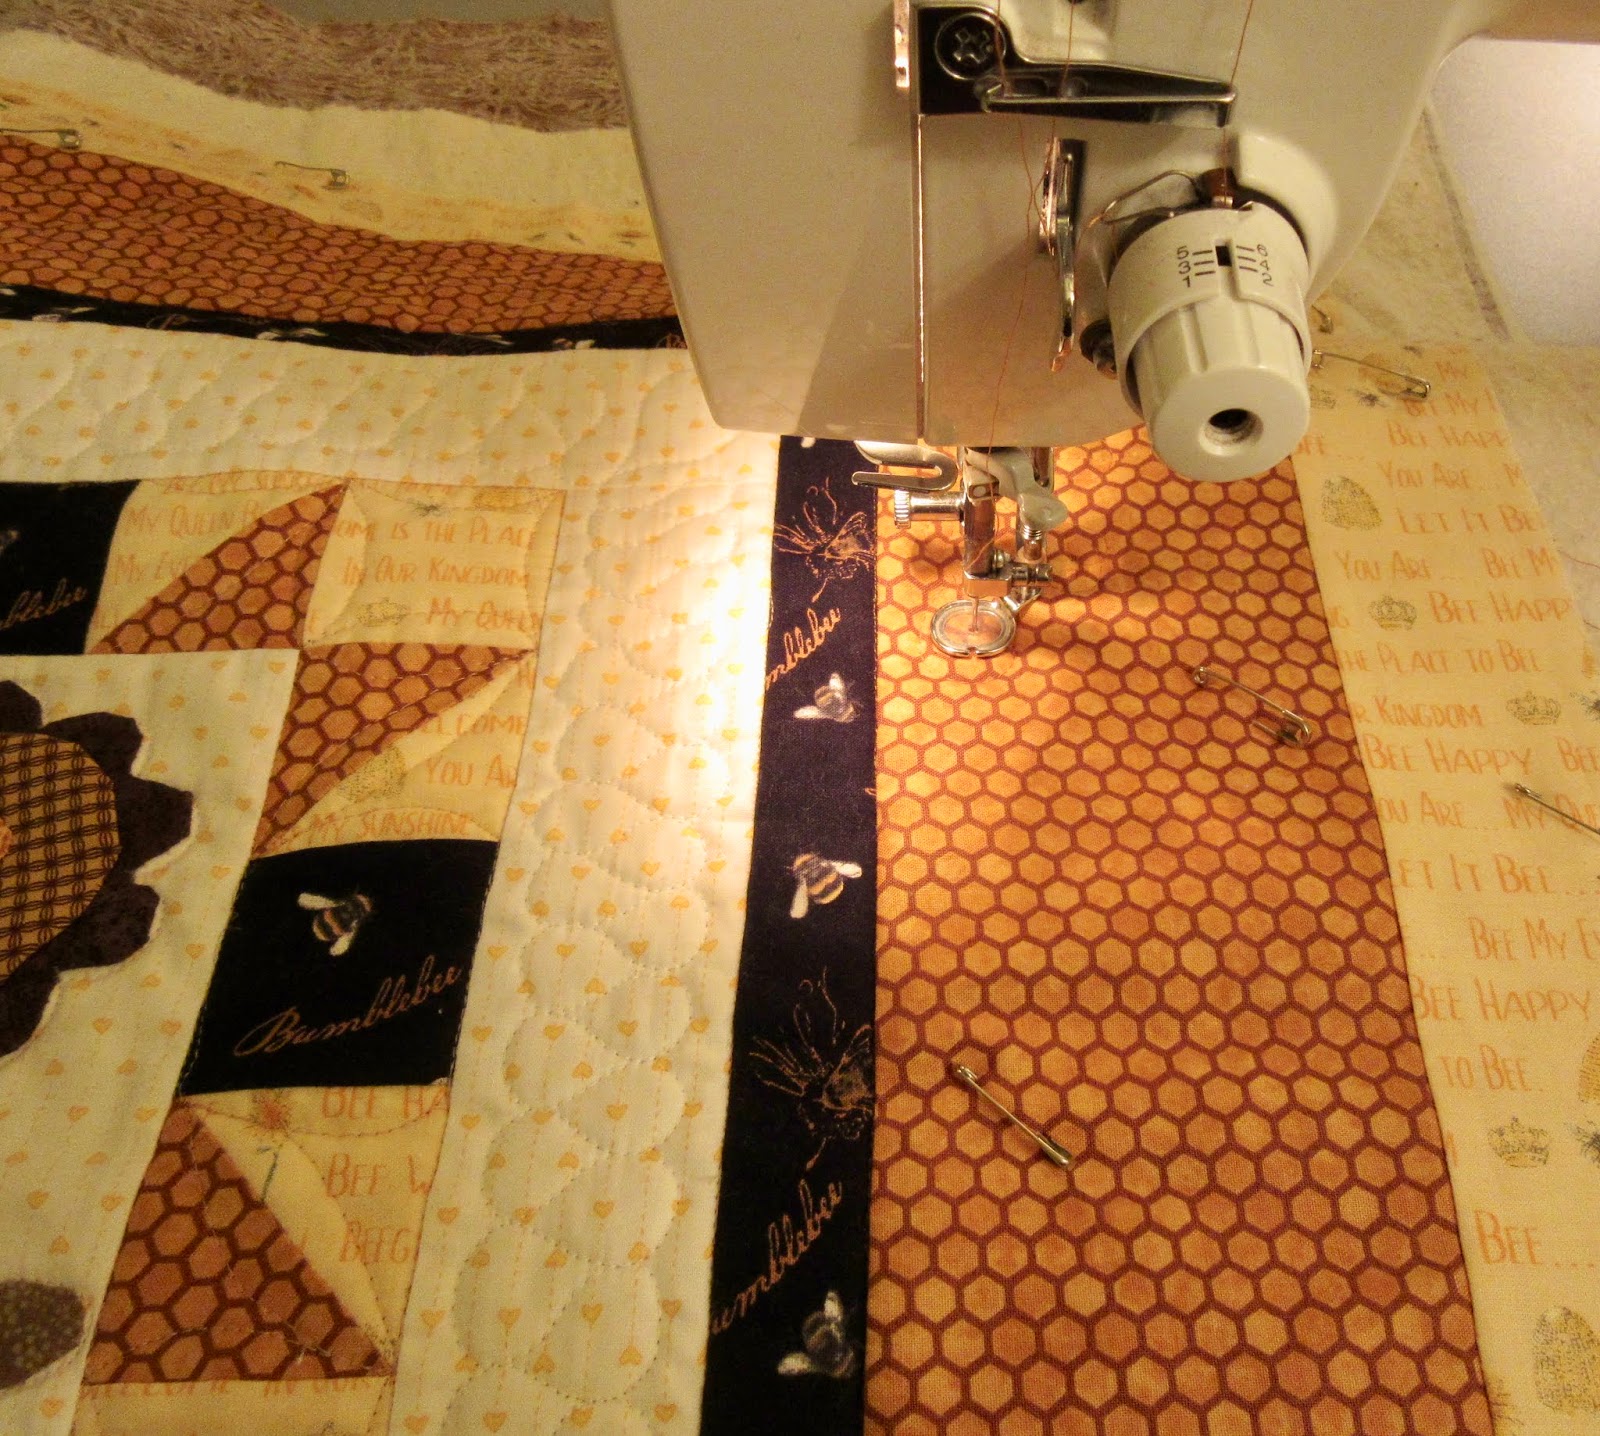
And this is how it looks when I am machine stitching down the final line of stitching on the edge of the sashing. Usually I do this with hand stitching, but I didn't have time to do that if I wanted to be able to finish this quilt in time for the blog hop! This beaded awl with a wicked point was the perfect tool for holding the edge in place while sewing. 


Here is the finished quilt placed sideways on the design wall. The finished measurement is 40" x 60".

There are so many wonderful bits and pieces of fabric in this quilt. I love that each string is leftover from another project, and found a new life in this quilt. And I love that each section is a different width depending on the piece of batting that I was using up. I plan to donate this quilt to the comfort quilt collection at my local quilt guild.

This is how the quilt looks from the back. I used up a collection of solid fabrics that were given to me. I don't enjoy sewing with solids but they make a great looking quilt backing.


I encourage you to visit the other blogs in the blog hop and here's the list for today... ENJOY!


Tuesday Feb 19th
Jennifer at curlicuecreations
Stephanie at stephjacobsondesigns
Kathy at Kathysquilts (that's me!)
Shasta at high road quilter
Theresa at bumbleberrystitches


Monday, February 18, 2019

Design Wall Monday

The last 5 blocks to construct
For the past few years I have been participating in the July Shop Hop in Southern Ontario. The hop includes 15 quilt stores, and at each store you receive (yes they GIVE to you) a little package that contains the pattern and the fabric to make their block. It's like a quilter's version of Halloween with free fabric candy! 

Also at each store you can see 15 unique sampler quilts made from the same blocks for which you have received the patterns and fabrics. You can see the 2018 finished quilts at their website here.
Finishing Kit
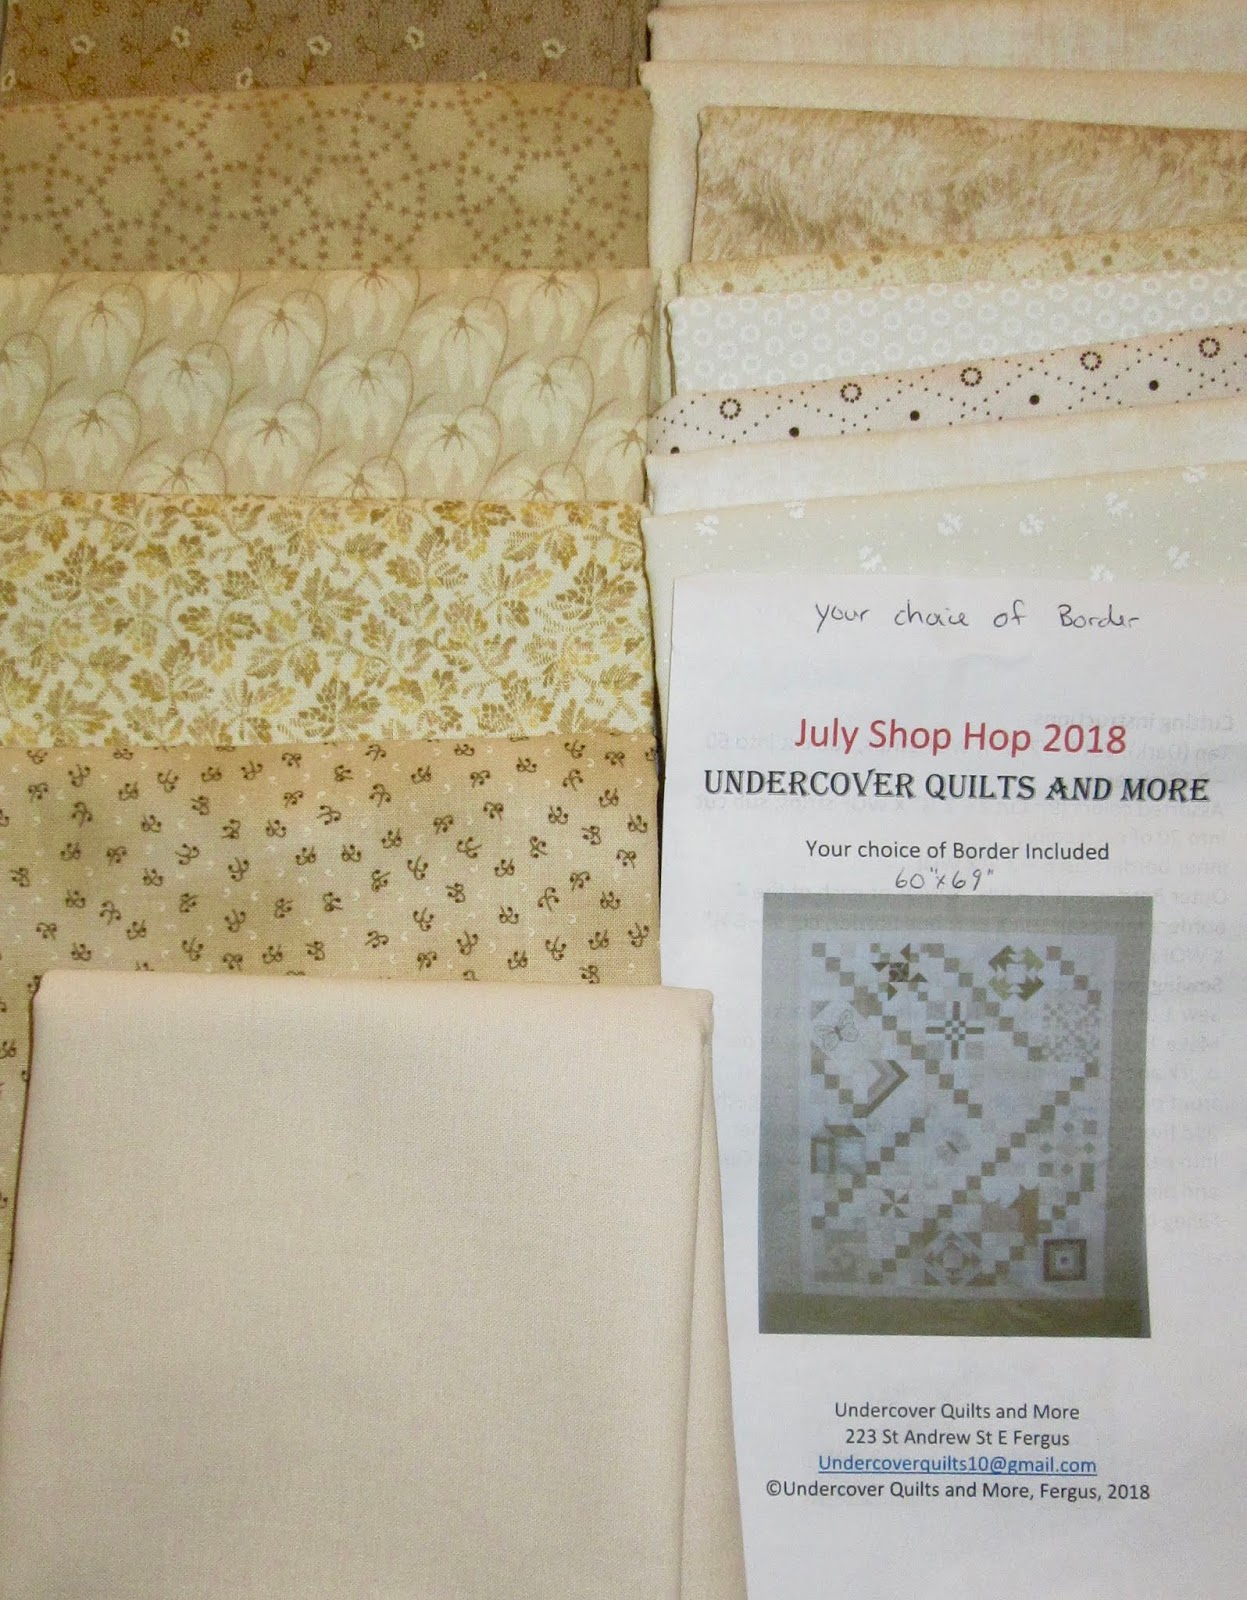
Although I had participated for a few years, I had yet to finish one of these quilts, although I love them all. This year I bought the finishing kit from Undercover Quilts in Fergus. I really liked all the neutral fabrics in the kit. But what good is a kit if you don't actually finish the quilt?!?!

Here is my quilt pinned to the design wall. All the 15 shop hop patterns are in the quilt, including 1 paper pieced block and 2 appliquéd butterfly blocks. I added in some teal fabrics here and there for a little sparkle. 
The alternate double 4 patch blocks were fun to sew from the fabrics in the kit, and I laid those blocks out according to the pattern in the finishing kit.

When I realized the deadline for submitting photos of finished quilts to be entered in a draw for a $150 shopping spree, I got busy finishing my quilt. I had my quilt finished, but between some surgery I had, and the terrible weather and driving conditions, I didn't think I'd be able to drive to the store to get a photo taken for the draw. But I did and I'm so happy that an  Undercover Quilts kit sampler is represented in the finished photos. You can see photos of the finished projects here, including mine! 

Here is the backing pinned to the design wall. It was pieced from 3 large scraps found in my sewing area plus leftover border strips. You can actually see the quilt top peeking through the backing. 

I was motivated to finish my quilt before the deadline. I worked really hard, enduring a bit of back and hand pain but it was worth it. I'm in training for my upcoming quilt retreat, which is painful when you sew for 12 hours a day. It's almost like training for a marathon!! 


I did some very simple horizontal, vertical, and diagonal straight line quilting using the walking foot. I quilted large diamonds in the outside border but it seems to need more quilting in that space so I might add more diamonds. But for now it qualifies as done!


Here is an outside photo with granddog Max trying to be the star of the show! He does match the quilt with the neutral colours of his winter coat and his little teal coloured dog collar tag.

Finished size: 61" x 70.75"
Hop over to Small Quilts to see more design wall activities.